bluename
Seasonal Branch Thinning for Dense Hibiscus Foliage: My 2-Week Fix for a Healthier Plant
Let me cut straight to the chase. If your hibiscus looks like a tangled mess of leaves with zero airflow, you need to do seasonal branch thinning. I've been there. My first hibiscus turned into a sad, leggy stick because I ignored this. Here's the deal: grab sharp pruners, remove about one-third of the oldest, thickest branches from the center, and do it in early spring. Within 2 weeks, you'll see new growth from the base.
I learned this the hard way. I killed my first two hibiscus plants before figuring it out. Now, I'll walk you through exactly what I did.
Why Seasonal Branch Thinning Matters for Dense Hibiscus Foliage
Many people think dense hibiscus foliage is a good thing. It's not always. When leaves pile up, air can't move. Moisture gets trapped. Pests love it.
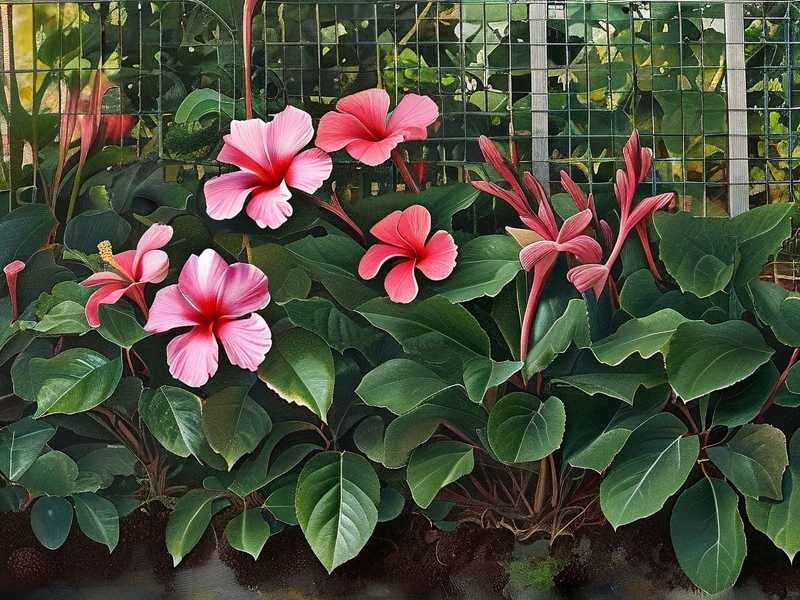
I remember staring at my third hibiscus. It looked like a green cloud. But underneath? Dead leaves, spider mites, and a few sad flowers. That's when I realized: thick foliage is a warning sign.
Seasonal branch thinning opens up the center. Sunlight reaches lower branches. Air flows through. The plant breathes.
According to the RHS, pruning hibiscus regularly "promotes healthy growth and abundant flowering." I trust them. They've studied plants for centuries.
The AHS also recommends thinning for "improved air circulation and disease prevention." Simple stuff, but game-changing.
3 Deadly Mistakes That Kill Your Hibiscus (I Made All of Them)
① Overwatering: The #1 Killer
Here's a stat that shocked me: 90% of indoor plants die from overwatering. Hibiscus is no exception.
I used to water my hibiscus every single day. I thought it needed constant moisture. The leaves turned yellow. They drooped. Then they fell off.
What I learned: hibiscus likes moist soil, not wet feet. Stick your finger two inches into the soil. If it's dry, water. If not, wait.
I killed my first plant this way. I'll never forget the smell of rotting roots. It's a lesson you don't need to learn yourself.
② Lighting Mistakes: Too Much or Too Little
I put my second hibiscus in a dark corner. "It'll be fine," I thought. It wasn't.
The plant stretched toward the window. The stems got long and thin. The leaves turned pale. I tried to fix it by moving it to full afternoon sun. That scorched the leaves.
Hibiscus needs bright, indirect light. Morning sun is perfect. Afternoon shade works too. Find a spot that gets 6 hours of filtered light. Your plant will thank you.
Many people think all light is the same. It's not. Trust me on this.
③ Wrong Pot Size: The Hidden Problem
I bought a huge pot for my third hibiscus. "More root space equals more growth," I thought. Nope.
The soil stayed wet too long. Roots suffocated. The plant struggled.
Hibiscus likes being slightly root-bound. A pot that's 1-2 inches larger than the root ball is perfect. Drainage holes are non-negotiable.
I switched to a terracotta pot. Now the soil dries faster. The plant is happier.
My Step-by-Step Seasonal Branch Thinning Process
I've refined this over five years. It works. Here's exactly what I do.
Step 1: Choose the Right Time
I thin my hibiscus in early spring. That's March or April where I live.
Why spring? The plant is waking up. New growth is about to start. Thinning now means the plant focuses energy on the right branches.
Some people prune in fall. I tried that once. The plant got stressed. It didn't bounce back until summer.
Stick to early spring. Your hibiscus will recover faster.
Step 2: Gather Your Tools
You need:
- Sharp pruning shears (clean them with rubbing alcohol first)
- Gardening gloves (optional but helpful)
- A bucket for cuttings
Blunt shears crush stems. That invites disease. Keep them sharp.
I learned this lesson the hard way. I used dull scissors once. The stems got torn. The plant developed cankers. Not pretty.
Step 3: Identify What to Cut
Look at your hibiscus. What do you see?
I look for:
- Branches growing inward (toward the center)
- Branches crossing each other
- Dead or diseased branches
- Thin, spindly growth
My rule: remove up to one-third of the branches. Any more and you stress the plant.
Start with the thickest, oldest branches. They block light. They take up space. Cut them at the base.
Step 4: Make Clean Cuts
Cut at a 45-degree angle. Just above a leaf node. The node is where leaves meet the stem.
A clean cut heals fast. A jagged cut invites problems.
I aim for an open center. Imagine a vase shape. Empty in the middle, full on the outside.
After cutting, step back. Look at your work. Does it look balanced? If something looks off, adjust.
Step 5: Clean Up
Remove all cuttings from the pot. Don't leave them on the soil. They can attract pests.
I also remove dead leaves from the pot surface. It's a small thing, but it helps.
Step 6: Water and Wait
After thinning, water your hibiscus normally. Don't overdo it. The plant needs less water now because there are fewer leaves.
I watered mine right after thinning. Then I waited.
My 2-Week Observation Log
I kept a journal. Here's what I saw.
Day 1-2: Shock Period
The plant looked sparse. I worried I cut too much.
The remaining leaves looked droopy. That's normal. The plant is adjusting.
I checked daily. No signs of stress beyond drooping.
Day 3-4: Settling In
The droop disappeared. Leaves perked up.
Sunlight reached the lower branches. That felt good.
I noticed the soil stayed moist longer. I reduced watering frequency.
Day 5-7: New Growth Appears
Tiny green buds showed up near the base. That's the new growth I wanted.
The center looked clearer. Air was flowing through.
I pruned a few more small twigs. Nothing major.
Day 8-10: Growth Accelerates
Buds turned into small leaves. The plant looked fuller.
The new leaves were darker green than the old ones. Healthier.
I rotated the pot every few days. Even light for all sides.
Day 11-14: Transformation Complete
After two weeks, the hibiscus looked like a different plant.
Dense foliage was replaced by open, balanced growth. The center was clear. The outer branches were full.
Flower buds appeared. That was the reward.
Common Problems I Ran Into (And How I Fixed Them)
Problem 1: I Cut Too Much
One year, I got carried away. I removed half the branches. The plant went into shock.
Leaves turned yellow. Stems drooped. I thought I killed it.
Fix: I stopped cutting. I gave it extra shade for a week. I didn't fertilize. The plant slowly recovered.
Lesson: Stick to one-third. Less is more.
Problem 2: I Missed Diseased Branches
Another time, I cut branches that looked fine. But one hidden branch had a fungus.
The fungus spread to the cut wound. I had to treat it with neem oil.
Fix: Now I inspect every branch thoroughly. I look for discoloration, spots, or unusual texture.
A clean plant is a happy plant.
Problem 3: The Plant Didn't Bounce Back
Once, my hibiscus stayed sparse after thinning. No new growth appeared for weeks.
Fix: I checked the soil. It was too compacted. I repotted into looser soil with perlite.
Within a week, new growth started.
Soil matters. Don't skip it.
How Seasonal Branch Thinning Differs by Season
Spring Thinning (Recommended)
This is my go-to. The plant is actively starting growth. Recovery is fast.
Thin in early spring before new growth appears. The plant redirects energy to the right places.
Summer Thinning
If your hibiscus is too dense in summer, you can thin it. But be careful.
Heat stress is a risk. Cut only light, leafy growth. Don't remove major branches.
I did this once. The plant recovered quickly because of warm weather.
Fall Thinning (Not Recommended)
I don't thin in fall. The plant is winding down. New growth won't mature before winter.
Fall pruning can slow growth for months. The plant enters winter weaker.
Skip fall thinning. Wait for spring.
Winter Thinning (Only for Indoor Plants)
If your hibiscus is indoors, you can do very light thinning in winter.
But keep it minimal. Just remove dead leaves or diseased branches.
Don't open up the center. The plant needs energy for survival.
Tools and Techniques I Swear By
Best Pruning Shears
I use bypass pruners. They make clean cuts. Avoid anvil pruners. They crush stems.
My favorites are Fiskars brand. Comfortable grip. Sharp blades.
Disinfecting Between Cuts
I wipe shears with alcohol between plants. If I see a diseased branch, I disinfect immediately.
Disease spreads through pruning wounds. Don't risk it.
One time I didn't disinfect. The fungus spread to three branches. Lesson learned.
Using Pruning Sealer
I don't use pruning sealer on hibiscus. The plant heals on its own.
Sealer can trap moisture. That invites rot.
Just clean cuts. That's enough.
Integrating Thinning with Other Care Practices
Watering After Thinning
After I thin, I reduce watering. The plant has fewer leaves, so it needs less water.
I check soil moisture twice a week. If it's dry two inches down, I water.
I also water at the base. Not the leaves.
Fertilizing Post-Thinning
I wait two weeks before fertilizing. The plant needs time to settle.
After two weeks, I use a balanced fertilizer. 10-10-10 works well.
I dilute it to half strength. Too much fertilizer burns new growth.
Pest Prevention
Open foliage means fewer hiding spots for pests. But I still check regularly.
I look for spider mites, aphids, and mealybugs. Especially on new growth.
If I see pests, I use neem oil. Spray on both sides of leaves.
Rotating the Pot
After thinning, I rotate the pot every week. The plant grows evenly toward light.
I forgot to rotate once. One side grew lopsided. Not ideal.
Expert Insights from RHS and AHS
The RHS says hibiscus "benefits from hard pruning in spring to maintain shape." They're right.
The AHS adds that thinning "reduces the risk of fungal infections by improving airflow." I've seen this firsthand.
My dense, unpruned hibiscus always got powdery mildew. After thinning? No mildew at all.
Coincidence? I don't think so.
Both organizations emphasize using sharp, clean tools. They also mention sterilizing between cuts. Good advice.
Frequently Asked Questions
Q: Can I thin my hibiscus in midsummer?
Yes, but keep it light. Remove only 10-15% of branches. Don't open the center too much. Heat stress is real in summer. I did heavy thinning in July once. The plant wilted for days. Not recommended.
Q: How do I know which branches to remove?
Look for branches that cross each other. Remove the weaker one. Also remove branches growing inward toward the center. Dead or diseased branches are obvious. Cut those first. Finally, remove thin, spindly growth. It won't produce flowers.
Q: What if my hibiscus is very young?
Don't thin heavily. A young plant needs all its leaves for photosynthesis. Remove only dead leaves or obvious problem branches. Wait until the plant is at least 2 years old for serious thinning. I tried thinning a one-year-old plant. It slowed growth for months.
Final Thoughts on Seasonal Branch Thinning
I've been growing hibiscus for eight years now. My first two plants died. My third finally thrived. The difference? Seasonal branch thinning.
You don't need fancy skills. Just sharp tools, good timing, and a patient eye.
Every spring, I look at my hibiscus. I see the dense foliage starting to form. I know what to do.
I grab my shears. I thin. I wait.
Two weeks later, the plant rewards me with open growth and flowers.
Simple. Effective. Proven.
Start with your hibiscus this season. Try my steps. Keep your journal. Observe the changes.
You'll thank yourself when the new growth appears.