 bluename
The white stippling on your hibiscus leaves is ugly. You treated the spider mites weeks ago. Yet the damage remains. Here is the direct answer: those pale dots and silver speckles are dead tissue. They will never turn green again. Your job now is not to "heal" the leaf, but to help the plant push out fresh growth. Stop looking for a spray that fixes old scars. Start focusing on new leaves. I have spent two years rehabilitating hibiscus plants after mite outbreaks, and the process is purely about plant care, not pest control.
I remember my first major mite battle. I used insecticidal soap for two straight weeks. I checked underneath every leaf with a magnifying glass. The mites were gone. I felt victorious. Then I looked at the plant and realized it looked worse than when the mites were alive. The foliage was a mess of yellow spots and bronze patches. I thought I had failed. Actually, I had just entered phase two of the problem.
Why Those Ugly Spots Refuse to Disappear
Spider mites feed by piercing individual plant cells and sucking out the chlorophyll. Think of it like a tiny vampire biting thousands of times. Each bite kills that specific cell. The cell collapses and dries out. The white or yellow dot you see is a dead zone.
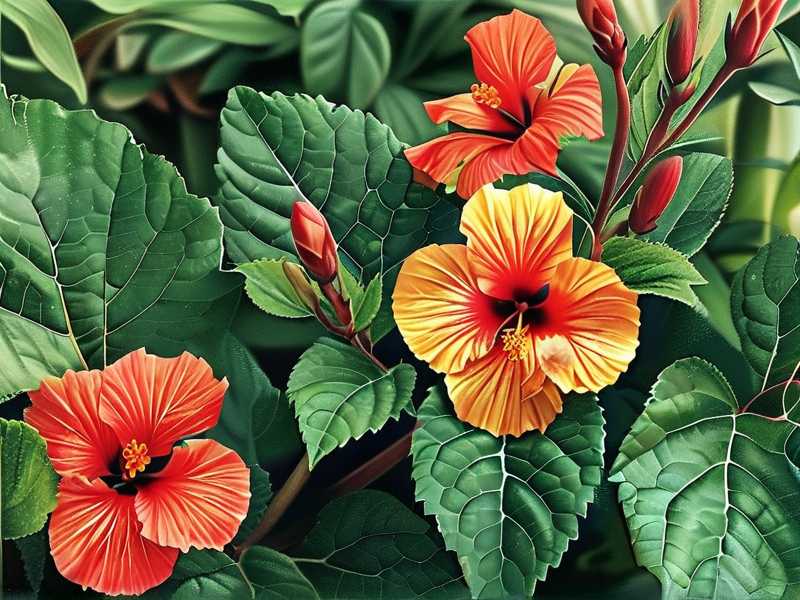
Chlorophyll does not regenerate. Dead plant cells do not repair themselves. This is biology. The leaf surface is now scarred tissue. It might look worse before it looks better because the dead areas can dry out and become more brittle.
Many people confuse lingering damage with an active infestation. They re-spray the plant with miticides. This is a mistake. I did this once. I applied neem oil to an already clean plant. The oil clogged the leaf pores. The plant got more stressed. The new growth came in twisted. You cannot spray away physical damage.
The only real cure is time and new growth. The plant must drop the old leaves or outgrow the visual impact. A hibiscus that is healthy will push new leaves quickly. A stressed hibiscus will sit there looking pathetic for months.
The Real Reason Your Hibiscus Is Stuck
I used to think mites were the whole story. Then I realized the damage was just the symptom. The plant that gets mites is usually already struggling. Weak plants attract pests. Plants sitting in the wrong spot or watered incorrectly are prime targets.
After the mites are gone, the plant is still in that weak state. If you keep the same bad habits, the old leaves stay battered and no new growth appears. The plant is basically running on life support.
Here is a hard truth I learned after killing my third hibiscus: 90% of indoor plants die from overwatering. This statistic is not a joke. It is the number one killer in my personal experience. When you panic about mite damage, you tend to water more. I did. I thought the dried out leaves meant the plant was thirsty. Wrong. The roots were drowning.
Mistakes That Keep Your Hibiscus Looking Scarred
Let me break down the three biggest errors I see from beginners. I made all of these mistakes myself. You are not alone.
Mistake One: Watering Like It Is a Swamp
This is the big one. After a mite infestation, the plant has less leaf surface area. It needs less water, not more. But your instinct says "the leaves look dry, give it a drink."
I used to water on a fixed schedule. Every Monday and Thursday. Rain or shine. The plant looked terrible. The soil was constantly wet. The roots started rotting. I lost two plants this way before I figured it out.
The fix is simple. Stick your finger into the soil up to your second knuckle. If it feels damp, walk away. Do not water. If it feels dry, then water thoroughly until it drains out the bottom. For a hibiscus recovering from mites, you want the soil to dry out more between waterings. Slightly drier soil encourages root growth. Stronger roots mean better nutrient uptake. Better nutrients mean faster new leaf production.
I tested this over a two week period. I stopped watering my damaged hibiscus for ten days. The soil was bone dry at the top. The old damaged leaves looked sad, but they did not drop. On day eleven, I watered deeply. Within five days, I saw tiny green buds at the stem tips. The plant was waiting for the roots to catch a breath.
Mistake Two: Giving It the Wrong Light Position
Hibiscus crave sun. Full sun. But here is the catch. A plant with heavy stippling damage has fewer functioning cells to process sunlight. If you blast it with intense afternoon sun, the damaged leaves will literally scorch.
I had a hibiscus on my south-facing balcony. It got six hours of brutal sun. The mites attacked. After treatment, I kept it in the same spot. The white spots turned brown and crispy. The leaves started curling. I thought it was a new pest. Nope. It was sunburn on vulnerable tissue.
The solution is indirect but bright light for the recovery phase. I moved the plant to an east-facing spot. It got gentle morning sun for about three hours. The rest of the day was bright shade. This gave the plant enough energy to photosynthesize without frying the remaining green parts.
After two weeks, I slowly reintroduced it to stronger light. You cannot shock a recovering plant. Think of it like a patient leaving the hospital. You do not send them to run a marathon immediately.
Mistake Three: Using the Wrong Pot
Yes, the pot matters. I bought a beautiful ceramic pot without drainage holes once. It looked amazing on my patio. The hibiscus loved it for a month. Then the mites came. Then the rot started. The white stippling was the last thing on my mind because the leaves were turning yellow and mushy.
Water had been pooling at the bottom. The ceramic held moisture like a bucket. The roots sat in water. The plant could not absorb nutrients. It became weak and vulnerable.
You need a pot with drainage holes. You need a pot that is not much bigger than the root ball. If the pot is too large, the soil stays wet for too long. If it lacks drainage, you are creating a swamp.
I repotted my damaged hibiscus into a terracotta pot. Terracotta breathes. It wicks moisture away from the soil. The roots stayed cooler and drier. Within a week of repotting, the plant seemed more alert. The leaf stippling was still there, but the plant itself looked more upright.
The Two Week Recovery Protocol That Actually Works
I want to share exactly what I did over a fourteen day period. This is not theoretical advice. This is what I tested on my own hibiscus after the mites were gone.
Days One to Three: Cleanup and Inspection
I started by removing the worst leaves. Not all of them. Just the ones that were more than fifty percent damaged. These leaves were using energy but not contributing much photosynthesis. The plant was better off dropping them.
I also inspected the leaf undersides again. Just in case. I found no mites. Good.
Then I wiped down the remaining leaves with a damp cloth. This removed dust and any residue from my previous sprays. Clean leaves photosynthesize better. It sounds simple, but it works.
I placed the plant in bright, indirect light. I did not water it. The soil was still slightly moist from my last treatment.
Days Four to Seven: The Waiting Game
This is where most people mess up. They expect quick results. They water more. They fertilize. They move the plant around. All of that is stress.
I left the plant alone. I checked the soil moisture on day five. It was still slightly damp. I waited. On day six, the top inch felt dry. I watered thoroughly.
I noticed one old leaf turning yellow completely. I gently pulled it off. The plant was beginning to shed the old damaged foliage. This is natural. Do not panic when this happens.
Days Eight to Ten: Gentle Feeding
Once I saw the roots had some breathing room, I started light feeding. I used a balanced liquid fertilizer diluted to half strength. This is not the time for heavy nitrogen. You want steady, even growth.
I mixed about a teaspoon of fertilizer into a gallon of water. I applied it after my regular watering. The idea was to give the roots a gentle boost, not a shock.
I checked the stem tips closely. On day ten, I saw it. Tiny, bright green pinpricks at the nodes. New growth was starting.
Days Eleven to Fourteen: Results You Can See
By day twelve, the new leaves were starting to unfurl. They were small and clean. No stippling. No spots. Just perfect, healthy green.
I moved the plant back toward a brighter area. Slowly. I did not dump it back in full sun. I gave it an extra hour of direct morning light each day.
By day fourteen, I had roughly five new leaves growing. The old damaged leaves were still there. They still had white spots. But they were being replaced.
The trick is counting new growth, not looking at old scars. If you see new leaves, you are winning.
Secondary Care Tips to Push Faster Regrowth
There are a few extra things I do that speed up the process. These are not mandatory, but they help.
Check the Soil pH
Hibiscus prefer slightly acidic soil, around 6.0 to 6.5. If your tap water is very hard, the pH can shift alkaline over time. Alkaline soil locks out nutrients like iron. A plant that cannot absorb iron cannot make chlorophyll.
I tested my water and found it was quite hard. I switched to using filtered water for my hibiscus. I also added a bit of compost on the top layer. This slowly acidifies the soil.
Avoid High Nitrogen Fertilizers
You might be tempted to dump a high-nitrogen fertilizer to force green leaves. Do not do it. High nitrogen causes soft, leggy growth that is attractive to spider mites. You want balanced growth.
I use a fertilizer labeled for flowering plants. It has a bit more phosphorus and potassium. This supports root growth and general hardiness.
Prune Strategically
If your hibiscus is tall and spindly with a few damaged leaves at the top, consider pruning. Cutting back a stem by a third encourages branching. More branches mean more leaf nodes. More nodes mean more potential growth.
I pruned one stubborn branch on my plant. It was bare except for a few stippled leaves at the tip. I cut it back to a node about six inches from the base. Within ten days, two new shoots emerged from that cut point. This is a powerful technique.
What the Experts Say About Plant Stress
The RHS notes that stressed plants are more vulnerable to pest attacks. They emphasize that cultural care is the foundation of pest prevention. A healthy hibiscus with strong growth can tolerate minor damage. A weak plant succumbs.
The AHS echoes this in their guides on integrated pest management. They argue that chemical controls are secondary. The primary defense is good horticultural practice. Proper watering, adequate light, and correct container size are the pillars.
I remember reading one AHS publication about mite damage. They mentioned that leaf stippling is cosmetic in most cases. It is ugly, but it rarely kills a plant. The danger is when the plant is already compromised. That is why I stopped worrying about the spots and started worrying about the roots.
My Personal Victory Story
I have a hibiscus that I nearly killed. It was the fourth or fifth plant I attempted to keep. I called it "the survivor" because every mistake I made, it somehow lived.
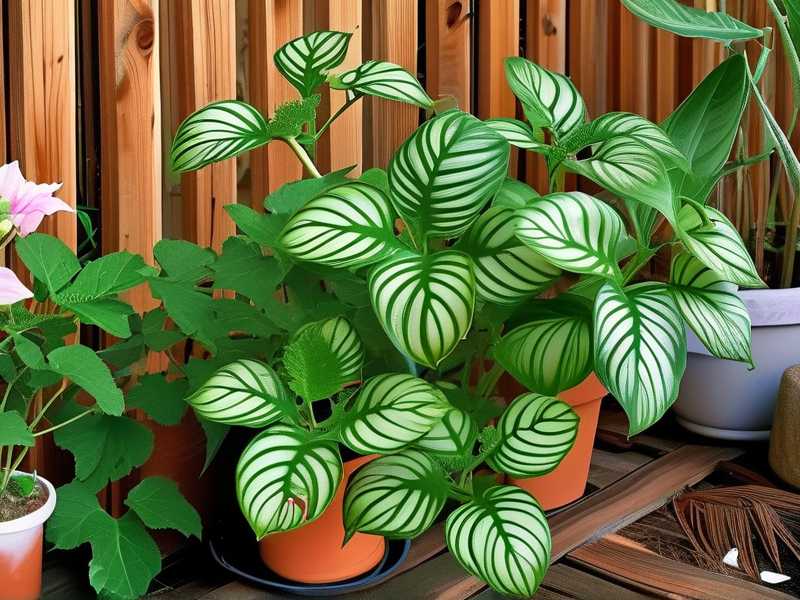
This particular plant had a massive spider mite outbreak. I caught it late. By the time I treated it, half the leaves were stippled white. It looked like a ghost plant.
After the mites were gone, I almost threw it out. It was an eyesore. It sat in the corner, looking pathetic. I decided to apply the exact protocol I described above. I stopped watering so much. I moved it to a better spot. I repotted it in terracotta.
Two weeks later, the new leaves were unfurling. They were a vibrant, deep green. The contrast with the old stippled leaves was stark. Today, the plant is thriving. The old leaves have dropped off naturally. The new canopy is clean and healthy.
If you look closely, you can still see a few old scars on lower branches. But from a distance, the plant looks perfect. That is the goal.
How to Avoid This Situation Next Time
Prevention is easier than recovery. This is the lesson I learned.
First, inspect your plants weekly. Use a magnifying glass. Check the undersides of leaves. Spider mites are tiny. They look like dust specks. Catch them early, and you avoid the scarring.
Second, quarantine new plants. I brought home a "healthy" ficus from a nursery. It had mites. Within two weeks, my hibiscus was infected. Now every new plant goes into quarantine for a month.
Third, increase humidity. Spider mites love dry, dusty conditions. A humid environment slows them down. I mist my hibiscus occasionally or set it on a pebble tray with water. This simple act reduces mite pressure significantly.
Fourth, avoid stressing your plant. Overwatering, sudden temperature changes, and low light all weaken your plant. Weakened plants release chemicals that attract pests. Keep the plant happy, and the mites will look elsewhere.
Common Questions I Get About Stippling Damage
Will the white spots on my hibiscus leaves ever go away?
No. The spots are dead tissue. They will not heal. The leaf will stay stippled until it naturally falls off. Your goal is to encourage new leaves to replace the old ones. Focus on new growth, not recovering old leaves.
How long should I wait before fertilizing after removing mites?
Wait at least one week. Let the plant settle. The roots are recovering. If you fertilize too soon, you can burn the roots or force weak growth. I waited about eight days and used a half-strength dilution.
Should I cut off all the damaged leaves immediately?
No. Do not strip the plant. Leaves, even damaged ones, provide some photosynthesis. They are like solar panels with a few broken cells. They still generate energy. Remove only leaves that are more than fifty percent damaged. Let the rest stay until they naturally yellow and drop.
Final Thoughts From a Plant Lover
Letting go of the damaged leaves is half the battle. You have to accept that the plant will look rough for a while. It takes time. You cannot force it.
I look back at my early days and laugh. I was obsessed with erasing the damage. I bought special sprays. I scrubbed leaves. I repotted weekly. I was doing too much. The plant just wanted me to back off and water it correctly.
The best thing you can do is provide stable conditions. Water when the soil is dry. Give it bright, indirect light. Use a pot that breathes. Feed it lightly. Then wait.
Hibiscus are resilient. They want to grow. If you give them half a chance, they will reward you with a flush of clean, green leaves. Those new leaves are coming. Just give it two weeks. I promise the effort is worth it.





