Hardy Hibiscus Fall Mulching: Your Essential Guide to Protect Roots from Frost
As the vibrant blooms of your hardy hibiscus begin to fade and the first chill whispers through the air, a critical question arises for every dedicated gardener: how do I ensure this stunning perennial returns with its spectacular floral show next year? The single most important autumn task you can perform is also one of the simplest—yet it’s often overlooked or done incorrectly. Without proper protection, the robust root system of your Hibiscus moscheutos or other hardy varieties, which is surprisingly vulnerable to freezing temperatures and freeze-thaw cycles, can suffer severe damage or even perish over winter. This guide will walk you through the precise, science-backed steps of fall mulching, transforming uncertainty into confidence and ensuring your hibiscus emerges stronger than ever when spring returns.
Why Fall Mulching is Non-Negotiable for Hardy Hibiscus

Many gardeners mistakenly believe that "hardy" in the plant's name means it is completely impervious to cold. While the top growth dies back after frost, the crown and roots remain alive underground. The primary threat isn't necessarily sustained deep cold, but rather the erratic temperature swings typical of fall and early winter. Repeated freezing and thawing of the soil can heave the root mass out of the ground, exposing it to drying winds and killing cold. According to horticultural experts at university extension services, a consistent layer of mulch acts as an insulating blanket, moderating soil temperature and preventing these damaging cycles.
Furthermore, a well-mulched hibiscus enters dormancy more smoothly and conserves vital soil moisture during dry winter periods. This preparatory care directly influences the plant's vigor and bloom potential for the following season. Think of fall mulching not as an optional chore, but as the foundational investment for next summer's breathtaking display.
The Step-by-Step Guide to Perfect Fall Mulching
Timing and technique are everything. Follow this clear sequence to give your plants the best possible defense.
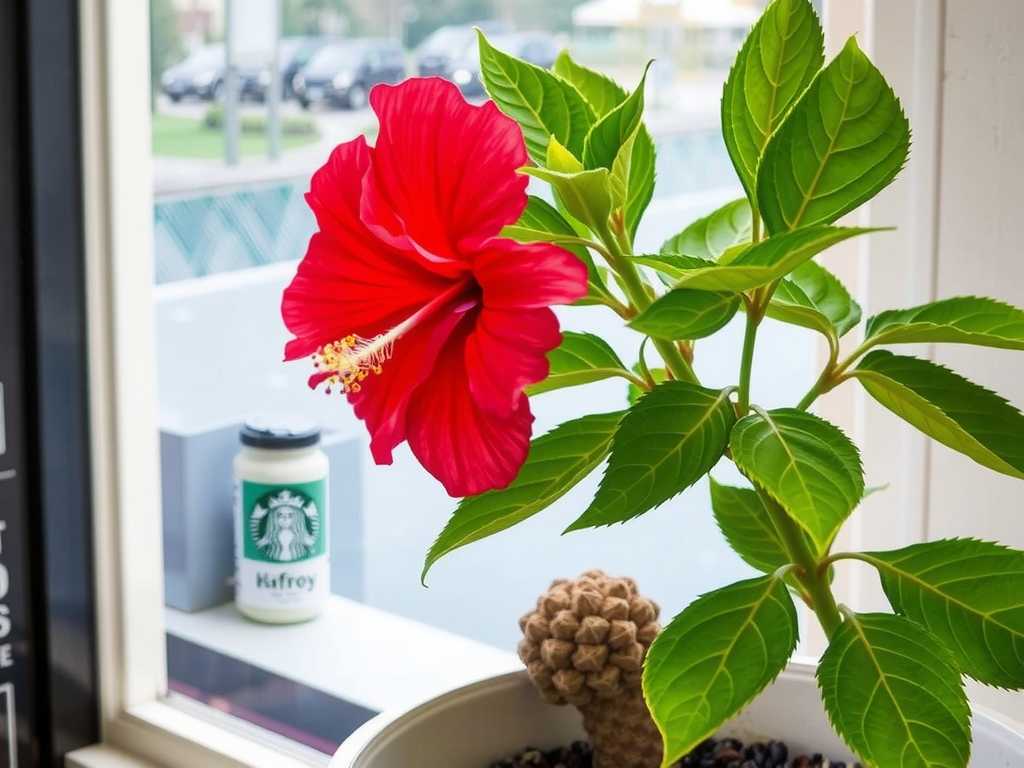
")
Pre-Mulch Preparation: Setting the Stage
Begin your mulching ritual after the first hard frost has blackened and wilted the stems of your hibiscus. This signals the plant has entered dormancy. Using clean, sharp pruners or loppers, cut the stems back to a height of 4 to 6 inches above the ground. This tidy-up removes potential hiding places for pests and disease and allows you to work easily around the plant crown. Gently clear away any fallen leaves or debris from the base to discourage rot.
Choosing the Right Mulch Material
Your choice of mulch is crucial. The goal is insulation, not suffocation or moisture retention against the crown. The best mulches are loose, airy, and organic.
- Excellent Choices: Shredded bark, pine straw, chopped leaves, or straw. These materials interlock to resist matting down and allow for excellent air circulation while providing superb insulation.
- Use with Caution: Wood chips are acceptable if they are not too large. Avoid fine materials like sawdust or grass clippings, as they can compact, become soggy, and promote crown rot.
- A Pro Tip: The American Horticultural Society notes that organic mulches like shredded bark have the added benefit of slowly improving soil structure as they decompose, feeding the microbial life that supports your plant's health.
Applying the Mulch: The "How-To" for Maximum Protection
This is where precision matters. Do not simply dump mulch in a pile around the stems—this is a common mistake that can lead to rot.
- Start with a clear area around the pruned stems.
- Apply your chosen mulch material in a wide, donut-shaped ring around the plant. The mulch layer should extend out to at least the drip line (the area under the outermost leaves), if not a bit further, as this is where the feeder roots are located.
- Pile the mulch to a depth of 4 to 6 inches. In regions with particularly severe winters (USDA zones 4-5), err on the side of 6 inches.
- The Golden Rule: Keep the mulch away from direct contact with the central crown and stems. Leave a 2-3 inch mulch-free zone right around the base of the plant. This prevents excess moisture from being held against the crown, which is the primary cause of winter rot.
Spring Un-Mulching: The Critical Follow-Up
Your job isn't finished when winter ends. As consistent warm weather arrives in mid to late spring and you see new shoots beginning to emerge from the crown, it's time to carefully pull back the bulk of the mulch. You can spread the now-partially decomposed material thinly around the plant as a general summer mulch or work it into the surrounding soil. This gradual removal allows the soil to warm up and prevents the new, tender growth from being trapped in cool, damp conditions.
Advanced Tips for Extreme Climates and Container Plants
For gardeners in the coldest zones, an extra layer of protection can make all the difference. After applying the standard mulch layer, consider placing a breathable protective cover over the entire plant, such as a burlap sack or a commercial frost blanket, secured with stakes. This helps trap the mulch in place and adds another buffer against wind and extreme cold.
Protecting Potted Hardy Hibiscus from winter frost requires a different strategy. The roots in containers are far more exposed. The best method is to move the pot to an unheated but sheltered location like a garage or shed after it goes dormant. If that's not possible, insulate the pot by wrapping it with several layers of bubble wrap or burlap and then apply mulch heavily over the soil surface. Grouping potted plants together also provides mutual protection.
Frequently Asked Questions
When is the absolute latest I can apply mulch in the fall? Aim to have your mulch in place before the ground freezes solid. If you miss the window after the first frost, it's still beneficial to apply mulch later in fall or even in early winter before the deepest cold sets in. Late protection is far better than no protection.
Can I use rocks or rubber mulch instead of organic materials? It is not recommended. Rocks and rubber mulch do not provide the same insulating benefits. They can actually transfer cold to the root zone and do not improve soil health. Organic mulch is a functional choice, not just an aesthetic one, for winter root protection.
My hibiscus is newly planted this fall. Does it need special care? Yes, newly planted hardy hibiscus requires extra attention. Its root system is not yet fully established. Be especially diligent with your mulching practice, ensuring a good 6-inch layer, and consider a protective cover for its first winter to ensure it gets a strong start.
Mastering the art of fall mulching transforms you from a hopeful gardener into a confident steward of your hardy hibiscus. By understanding the why and meticulously executing the how, you provide the exact buffer your plant's roots need against the unpredictable forces of winter. This simple, annual act of care is the key to unlocking the plant's full perennial potential, guaranteeing that each summer, your garden will be crowned with the magnificent, dinner-plate-sized blooms that make the hardy hibiscus a true standout. So, as autumn settles in, take heart—you hold the secret to ensuring its glorious return.


发表评论