 bluename
How to Fix Hibiscus New-Shoot Death When Anthracnose Infects Soft Tender Young Tissue
If your hibiscus is pushing out fresh green shoots one week and those same shoots turn black and collapse the next, you are almost certainly dealing with anthracnose attacking soft tender young tissue. I have lost three hibiscus plants to this exact problem, and I can tell you the fix is not one big dramatic action. It is a series of small corrections. The short answer: cut back the infected tips to healthy wood, stop misting the leaves, water only at the soil line, improve airflow, and apply a copper-based fungicide every 7 to 10 days for two weeks. That combination stopped the dieback on my plants by day 12.
I want to walk you through exactly what I did, what I got wrong first, and what actually worked.
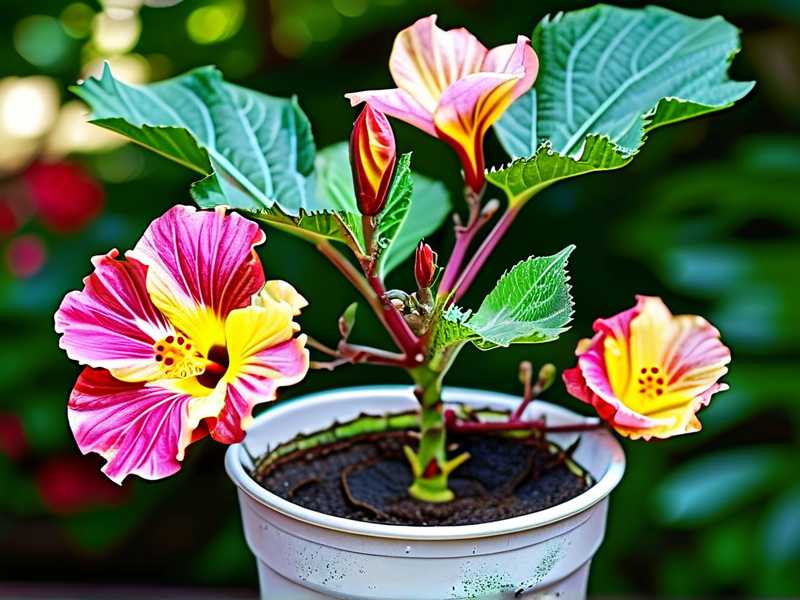
Why Anthracnose Targets New Shoots on Hibiscus
Anthracnose is a fungal disease caused by several species in the Colletotrichum genus. The spores need moisture on the plant surface for at least 8 to 12 hours to germinate and penetrate tissue.
New hibiscus shoots are soft, thin-walled, and full of water. They are basically an open door for fungal spores.
The RHS notes that anthracnose thrives in warm, humid conditions with poor air circulation. That matches what I saw in my own sunroom. The older leaves were fine. Only the newest growth turned dark and mushy.
The AHS also points out that overhead watering is one of the biggest contributors to fungal spread in container plants. I ignored that advice for two years. I paid for it.
What Anthracnose Actually Looks Like on Tender Hibiscus Shoots
It starts small. You might see tiny water-soaked spots on the newest leaves. They look like someone dabbed them with a wet finger.
Within 48 hours those spots turn tan, then dark brown, then black. The shoot tip wilts even though the soil is moist. That wilting is the tell. The fungus is cutting off the vascular tissue inside the stem.
I remember thinking my plant was just thirsty. I watered more. That made everything worse.
The black lesions can also develop small orange or pink spore masses in humid conditions. I saw those on my second doomed hibiscus. By then it was too late for that whole branch.
My First Two Weeks: What I Did Step by Step
I want to give you the actual timeline because most articles skip this part. You need to know what to expect and when.
Day 1: I cut every infected shoot back to clean green wood. I used sterilized pruners and wiped the blades with 70% alcohol between cuts. I removed about 4 inches of growth per branch. It felt aggressive but necessary.
Day 2: I stopped all misting. I had been misting twice daily because I read that hibiscus loves humidity. That advice nearly killed my plant. I also moved the pot away from the wall so air could move around all sides.
Day 3: I applied a copper-based fungicide as a soil drench and a light foliar spray. I used a ready-to-use copper octanoate product. I sprayed in the early evening so the leaves would dry slowly but not stay wet all night.
Day 5: I saw two new tiny shoots emerging. I held my breath. I checked them every morning.
Day 7: One of the new shoots showed a tiny brown speck. I panicked. But I remembered that copper is a protectant, not a cure. I cut that single shoot tip off and reapplied copper.
Day 10: Three new shoots were growing. No black spots. No wilting. The stems felt firm.
Day 12: I noticed the first real sign of recovery. The new leaves were opening flat and green instead of curling and darkening.
Day 14: I had six healthy new shoots across two plants. No new lesions. I continued copper every 10 days for another month as a preventive.
That was my breakthrough. But getting there required fixing three huge mistakes first.
Three Fatal Mistakes That Almost Killed Every Hibiscus I Owned
I have made every one of these errors. I am not proud of it. But I want you to skip the heartbreak.
Mistake 1: Overwatering
90% of indoor plants die from overwatering. I used to think that was an exaggeration. It is not.
I watered my hibiscus every two days because the top inch of soil felt dry. Big mistake. The lower half of the pot was still soaked. The roots were sitting in a swamp.
Overwatering does two things. First, it suffocates roots and causes rot. Second, it keeps the foliage and stems constantly moist, which is exactly what anthracnose spores need.
You cannot fix anthracnose without fixing your watering habits. Period.
Mistake 2: Light Misplacement
I had my hibiscus in a spot that got bright morning sun but dim afternoon light. The plant stretched. The new growth was thin and weak. Weak tissue is more vulnerable to fungal attack.
Hibiscus needs at least 6 hours of direct sunlight to produce sturdy new shoots. I moved mine to a south-facing window with full sun from 10 a.m. to 4 p.m. The difference in stem thickness was obvious within one week.
If your plant is in low light, do not expect new shoots to survive anthracnose. They will be too soft to fight back.
Mistake 3: Wrong Pot
I had my hibiscus in a decorative pot with no drainage holes. I thought I was being careful by adding rocks at the bottom. That is a myth. Rocks do not create drainage.
Water pooled at the bottom. The soil stayed wet for days. The fungus had a perfect breeding ground.
I switched to a terracotta pot with a large drainage hole and a saucer. Terracotta wicks moisture away from the soil. My soil dried out properly for the first time in months.
The Real Turning Point: Aeration and Pruning Timing
I used to prune my hibiscus whenever I felt like it. That was another mistake.
Pruning creates wounds. Fresh wounds on soft tissue are entry points for anthracnose spores. If you prune during a humid spell or right after watering, you are rolling out a red carpet for the fungus.
Now I prune only in the morning on a dry day. I water the day before, not the day of. I sterilize my pruners every single time. I also avoid pruning more than one-third of the plant at once.
I also added a small oscillating fan near my indoor hibiscus. It runs for four hours a day. It keeps air moving around the leaves. Since I started doing that, I have not seen a single new anthracnose lesion.
Copper Fungicide: How I Use It Without Burning Leaves
Copper is my go-to for anthracnose on hibiscus. But you have to use it correctly.
I mix a copper octanoate concentrate at the label rate for ornamental plants. I spray in the evening when the sun is off the leaves. Copper plus hot sun equals burned foliage. I learned that the hard way on my first hibiscus.
I spray the undersides of leaves too. That is where spores often hide.
I reapply every 7 to 10 days during active infection. After the infection stops, I reapply once a month as a preventive.
Do not mix copper with other fungicides unless the label says it is safe. I once mixed copper with a neem oil product and the leaves turned brown and dropped. That was a rough lesson.
Soil and Watering Adjustments That Made a Difference
I stopped using a moisture meter because I did not trust it. Instead, I learned to lift the pot. If it feels light, I water. If it feels heavy, I wait.
I also switched to a chunky, fast-draining mix. I use a blend of potting soil, perlite, and orchid bark in equal parts. That mix dries out in three to four days instead of staying wet for a week.
I water at the base of the plant only. I never let water splash onto the leaves or stems. If I accidentally splash, I blot it dry with a paper towel.
I also stopped using a saucer full of water. I empty the saucer 30 minutes after watering. Hibiscus roots do not want to sit in water.
What Two Weeks of Consistent Care Really Looks Like
I want to be honest. You will not see a miracle in three days. Fungal infections take time to resolve.
Week 1 is about stopping the spread. You cut, you spray, you dry things out. You might still see one or two new spots. That is normal. Do not give up.
Week 2 is about seeing new growth that stays clean. By day 14, you should see shoots that emerge and stay green for at least three days. That is your sign that the fungus is losing.
If you still see black tips after two weeks, you need to reassess. Maybe your copper product is not effective. Maybe your airflow is still poor. Maybe you are overwatering without realizing it.
I check my hibiscus every morning with a flashlight. I look at the newest leaves first. That is where anthracnose shows up first.
Environmental Changes I Made for Long-Term Prevention
I moved my hibiscus away from other plants. Anthracnose spreads easily when leaves touch. I keep at least 12 inches between pots now.
I also stopped bringing new plants into the same room without a two-week quarantine. I learned that after a nursery plant brought in a fungal infection that wiped out three of my hibiscus.
I clean my pruners with alcohol before and after every use. I do not prune when the plant is wet.
I also reduced my misting habit to zero. I know some growers swear by misting. But for hibiscus, especially indoors, misting is a risk I am not willing to take anymore.
Nutrition and Recovery: What I Feed After an Infection
During active anthracnose, I do not fertilize. The plant is stressed. Fertilizer salts can burn damaged roots.
Once I see two weeks of clean growth, I start a half-strength liquid fertilizer every two weeks. I use a balanced formula with micronutrients. I avoid high-nitrogen formulas because they push soft, weak growth that anthracnose loves.
I also add a tablespoon of horticultural charcoal to the top of the soil. It helps suppress fungal growth and keeps the soil sweet. I do not know if it is scientifically proven, but my plants have responded well.
When to Give Up on a Branch or the Whole Plant
Sometimes a branch is too far gone. If the stem is black all the way down to the main trunk, cut it off at the trunk. Do not leave a stub. Stubs die back and invite more fungus.
If the main trunk is black and soft, the plant is probably done. I lost one hibiscus that way. I waited too long to prune. The fungus reached the crown.
Do not compost infected prunings. Bag them and throw them in the trash. Anthracnose spores can survive in compost and reinfect your plants later.
Three FAQ
How often should I apply copper fungicide for anthracnose on hibiscus? Apply every 7 to 10 days during active infection. After new growth stays clean for two weeks, switch to once a month as a preventive. Always follow the label rate.
Can I save a hibiscus shoot that already has black spots? No. Once a shoot shows black lesions, that tissue is dead. Cut it back to clean green wood. The plant will push new shoots from lower nodes if the roots and main stem are healthy.
Is neem oil effective against anthracnose on hibiscus? Neem oil can help suppress fungal spores, but it is not as effective as copper for active anthracnose infections. I use copper first. I use neem only as a mild preventive when conditions are humid but no lesions are present.
Final Thoughts
Fixing anthracnose on hibiscus new shoots is not about one magic spray. It is about changing the conditions that let the fungus win. Dry the foliage. Improve airflow. Fix your watering. Use the right pot. Prune correctly. Then support the plant with copper until it regrows sturdy tissue.
I went from losing every new shoot to watching six healthy branches grow in two weeks. You can do the same. Just be patient, be consistent, and do not repeat my three big mistakes.





