How to Encourage Hibiscus to Branch: Pinching & Pruning Tricks
I remember staring at my tall, lanky hibiscus plant last season. It had a few stunning blooms at the very top, but its lower half was bare, a single, spindly stem reaching for the sky. It was all height and no heart. I wanted a lush, bushy explosion of flowers, not a lonely flagpole. If you’re facing the same frustration, you’re in the right place. The secret to transforming that leggy specimen into a full, floriferous masterpiece lies in two simple but powerful techniques: pinching and pruning. Over the next few minutes, I’ll walk you through my hands-on, two-week experiment with these methods, sharing exactly what worked, what didn’t, and how you can confidently encourage your hibiscus to branch for a spectacular show.
Why Your Hibiscus Isn't Branching Out
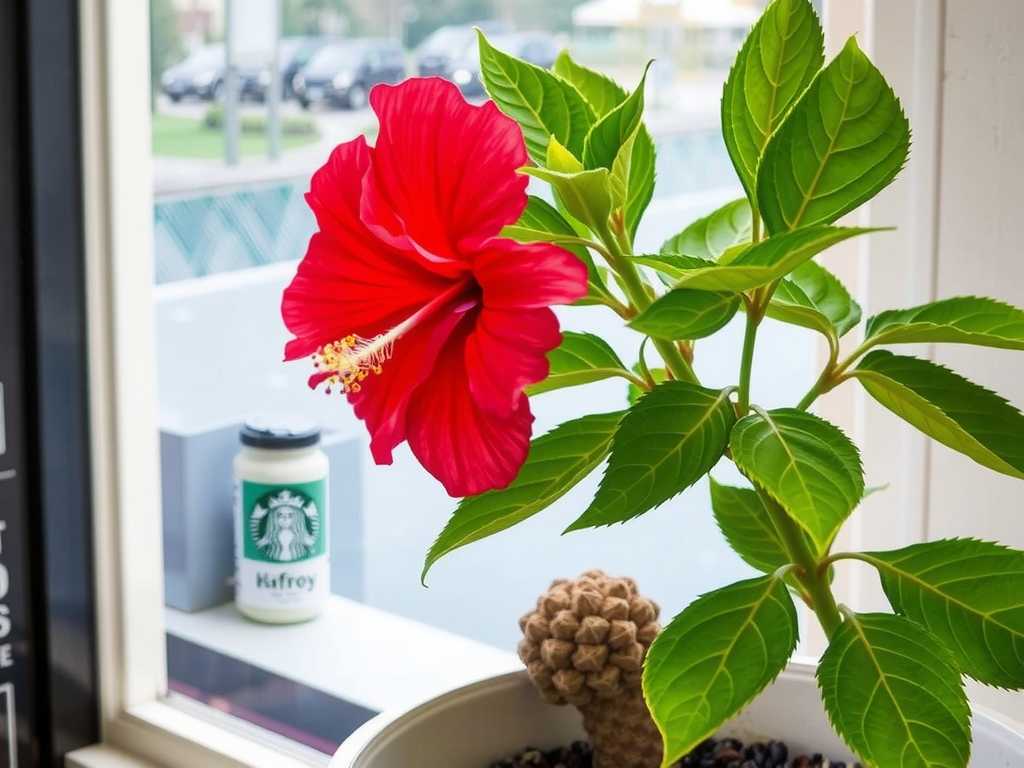
Before we make the first cut, it's crucial to understand the "why." Hibiscus plants, especially the popular tropical varieties (Hibiscus rosa-sinensis), have a natural apical dominance. This means the main, central stem grows strongest, suppressing the growth of side branches lower down. The plant puts all its energy into reaching upward. Without intervention, you get exactly what I had: a tall, weak structure with limited flowering sites. Strategic pinching and pruning redirect the plant's energy, breaking that apical dominance and stimulating new growth points, or nodes, to awaken and develop into sturdy branches.

The Essential Tools: Keeping It Clean and Sharp
My first lesson was about tools. I initially grabbed an old pair of household scissors for pinching. Big mistake. They crushed the tender stems rather than making a clean cut. Here’s what you actually need:
- For Pinching: Your own clean fingertips and fingernails are perfect for soft, new growth.
- For Pruning: A pair of sharp, bypass hand pruners. I use a dedicated pair I keep clean with isopropyl alcohol. As experts from the American Horticultural Society (AHS) emphasize, clean, sharp cuts heal faster and drastically reduce the risk of introducing disease.
- Disinfectant: Rubbing alcohol or a bleach solution (1 part bleach to 9 parts water) to wipe down pruners between plants or cuts on diseased wood.
My Two-Week Pinching and Pruning Journey
I chose a healthy but leggy potted tropical hibiscus for this experiment. The goal was to use pinching on new growth and light pruning on older stems to promote bushier hibiscus growth.
Week 1: The Strategic Pinch
Day 1: Identification and First Action. I examined my plant for new growth—those bright green, soft tips extending from the ends of branches. Finding several, I used my thumb and forefinger to literally pinch off the very top set of tiny leaves (the apical bud), about a quarter to a half-inch down. This process, sometimes called "tip pruning," removes the growth hormone source at the tip, signaling the lower nodes to kick into gear. I made sure to pinch just above a set of leaves facing the direction I wanted new growth to go, usually outward.
The Immediate "Cringe" and First Mistake. Honestly, it felt wrong. Removing healthy new growth is counterintuitive. On one stem, I pinched too far down, removing two sets of leaves and leaving a long, bare nub. I later learned this can delay regrowth. The key is to be gentle and precise.
Days 2-4: The Waiting Game. Nothing visible happened. I maintained my regular watering (deeply when the top inch of soil was dry) and placed the plant in its usual spot with 6+ hours of sunlight. I resisted the urge to over-fertilize; a balanced, water-soluble feed at half-strength is plenty during this growth-stimulation period.
Day 5-7: The First Signs of Success. Here’s where the magic began. At the base of where I made my clean pinches, the tiny, dormant nodes just above the remaining leaves started to swell. They were barely noticeable bumps, but they were there! The incorrectly pinched stem, however, showed no activity. This was a clear, real-time lesson in technique.
Week 2: Introducing Selective Pruning
Day 8: Assessing and Making the Cut. With the pinching showing promise, I moved to address some of the older, woodier stems that were too long and bare. This is where pruning hibiscus for more flowers comes into play. I targeted one or two of the tallest, leafless stems. Following guidance from resources like the Royal Horticultural Society (RHS), I looked for a leaf node or a lateral branch facing outward. Using my sterilized pruners, I made a confident, angled cut about one-third of the way down the stem, just above that chosen node.
Day 9-12: Vigilance and Care. I kept a close eye on the pruning cuts for any signs of die-back or oozing (a sign of potential infection). All remained clean. I continued normal care, ensuring good air circulation around the plant.
Day 13-14: The Breakthrough. By the end of the second week, the results were undeniable. The pinched tips had sprouted into not one, but two new side shoots, each about half an inch long. The stem I had pruned back had a swollen node that was clearly greening up and preparing to burst. The plant’s silhouette was already looking fuller and more balanced. The energy had been successfully diverted.
Key Lessons Learned and How to Avoid My Pitfalls
- Timing is Everything: I performed this in early spring as new growth commenced. Pruning a dormant or stressed hibiscus can weaken it. The best time for major shaping is late winter/early spring before the growth flush. Pinching can be done throughout the active growing season.
- Less is More, Especially at First: My initial over-enthusiasm led to that one bad pinch. Start conservatively. You can always pinch or prune a bit more later, but you can't reattach a stem.
- Sterilize Without Fail: After my scissor mishap, I became religious about cleaning tools. It’s the simplest way to prevent spreading problems.
- Post-Care is Not Optional: Don't prune and forget. Consistent light feeding and proper watering support the energy-intensive process of producing new branches and leaves.
Beyond the Basics: Advanced Tips for Maximum Blooms
Once you've mastered the basic pinch and prune, consider these steps for an even more spectacular plant. Consistent deadheading—removing spent flowers—further encourages branching and blooming. For truly full hibiscus plant development, consider a three-year rotational pruning plan for in-ground shrubs: each year, cut back one-third of the oldest, woodiest stems to the ground to rejuvenate the entire plant. This aligns with professional horticultural practices for maintaining long-term plant vigor and structure.
Will pinching and pruning hurt my hibiscus? Not when done correctly. It mimics natural browsing and redirects the plant's energy. My plant looked bushier and healthier within weeks, and it produced more flowers than ever by mid-summer.
")
How often should I pinch my hibiscus? You can pinch the soft new growth tips every few weeks during the peak growing season (spring and summer). I typically do a round of pinching whenever I notice 3-4 inches of new growth on a branch that I want to be fuller.
Can I do this on a hardy hibiscus (Hibiscus moscheutos)? The principle is similar, but the timing differs. Hardy hibiscus dies back to the ground in winter. The best approach is to pinch the new shoots when they emerge in late spring, once they are about 8-12 inches tall, to encourage branching on these fast-growing perennials.
Seeing those tiny green bumps swell and finally burst into new growth was incredibly rewarding. The process of learning to encourage your hibiscus to branch is a dialogue with your plant. It requires observation, a bit of courage to make the first cut, and patience. By understanding the simple science of apical dominance and applying these targeted pinching and pruning tricks, you shift from a passive observer to an active guide. Your hibiscus will respond with a denser, stronger framework capable of supporting a breathtaking canopy of flowers. Start with one pinch, one careful cut, and watch your garden’s performance transform.


发表评论