How to Grow Hibiscus in Zone 4: Winter Protection Hacks
I used to think hibiscus were only for tropical postcards and sunny southern gardens. That was until I saw a stunning, dinner-plate-sized crimson bloom on a shrub in a fellow gardener’s yard right here in chilly Zone 4. My jaw dropped. “You can grow that here?” I asked. The answer was a resounding yes, but with one massive, non-negotiable caveat: winter protection isn’t just helpful; it’s the difference between a perennial spectacle and a heartbreaking pile of dead stems come spring. If you’re dreaming of those exotic blooms but dread the deep freeze, you’re in the right place. I’ve been through the trial, error, and ultimate success, and I’m here to share every hack that actually works.
This guide isn’t about theory; it’s my hands-on, dirt-under-the-fingernails journey of learning how to grow hibiscus in Zone 4. We’ll move beyond the generic advice and dive into the specific, sometimes quirky, winter protection hacks that shield these floral treasures from sub-zero temperatures. I’ll walk you through my exact process, the mistakes I made (so you don’t have to), and the simple strategies that ensure my hardy hibiscus return, vigorous and blooming, year after year.

Understanding Your Zone 4 Hibiscus: It Starts with the Right Plant
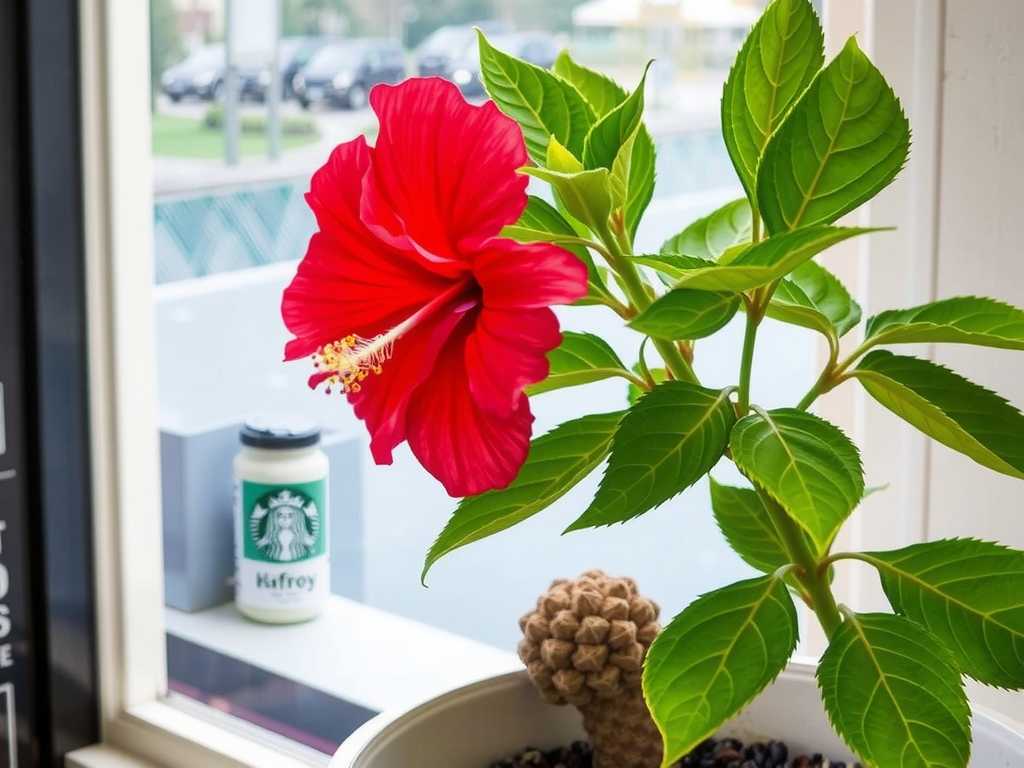
First, let’s clear a major point of confusion. The lush, evergreen hibiscus you see in Florida won’t survive a Zone 4 winter. We’re talking specifically about Hardy Hibiscus (Hibiscus moscheutos and hybrids), also known as Rose Mallow or Swamp Mallow, and Hardy Hibiscus Shrubs (Hibiscus syriacus), commonly called Rose of Sharon.
The perennial Hardy Hibiscus (H. moscheutos) dies back completely to the ground each winter, sending up new, towering shoots (up to 7 feet!) in late spring. The shrub type (H. syriacus) is a woody-stemmed plant that should maintain its structure. Both are rated for Zone 5, and with proper care, they can thrive in the colder Zone 4. The American Horticultural Society (AHS) notes that microclimates and consistent snow cover can effectively alter a plant’s hardiness, which is the principle we’ll exploit.
My first big mistake was not paying attention to the plant’s positioning. I planted my first ‘Lord Baltimore’ in a windy, exposed spot where frost settled first. It struggled. Now, I always choose a full sun location—at least 6-8 hours—with protection from harsh north and west winds. A south-facing wall or a spot near a evergreen windbreak makes a world of difference. Good drainage is also critical; “wet feet” in frozen soil is a death sentence.
My Proven Winter Protection Framework: A Step-by-Step Guide
My protection strategy is a layered approach, like putting your plant to bed with a warm blanket, a cozy comforter, and a sturdy roof. I typically begin this process in late fall, after a few hard frosts have signaled the plant to go dormant but before the ground is permanently frozen.
Step 1: The Post-Frost Prune & Clean-Up (Late October) After the first hard frost blackens the foliage of my perennial hibiscus, I cut the stems down to about 4-6 inches above the ground. I mark the location with a sturdy stake—this is crucial because they are late to emerge in spring, and you might accidentally dig into them. For my Rose of Sharon shrubs, I do only light pruning in fall, removing dead or crossing branches; major shaping is saved for early spring. I meticulously clear away all fallen leaves and debris from the base to discourage rodents and disease.
Step 2: The Root Zone Insulation Layer (Early November) This is the most critical step. Once the soil is cold (but not yet frozen solid), I pile a thick, loose mulch around the base of the plant. I’m not talking about a light sprinkle. For the perennial types, I mound 8-12 inches of material over the shortened stems. For the shrubs, I create a 6-8 inch deep mound covering the entire root zone, which extends out to the drip line.
What do I use? My go-to is chopped leaves. They mat together nicely but remain airy. Straw is another excellent option. Avoid using heavy materials like whole leaves or fine mulch that can compact and smother the crown. The goal is to trap insulating air pockets and prevent the freeze-thaw cycles that heave roots out of the soil. The Royal Horticultural Society (RHS) emphasizes that the purpose of winter mulch is to keep the ground consistently frozen, not to keep it warm, which prevents damaging heaving.
Step 3: Creating a Protective Microclimate (Mid-November) For young shrubs or those in exposed locations, I add a physical wind and snow barrier. I drive four stakes around the shrub, slightly wider than its branches. Then, I wrap the stakes with burlap or landscape fabric, creating a cylinder. I never wrap the plant tightly in plastic, as this creates a greenhouse effect on sunny winter days, leading to fatal temperature swings and moisture buildup. The burlap cylinder breaks the wind, catches insulating snow, and provides shade to prevent early spring thaw on the stems.
For my prized perennial specimens, I sometimes take it a step further. After mulching heavily, I place an overturned, vented bushel basket or a tomato cage stuffed with straw over the mound. This adds an extra layer of protection from ice and extreme cold.
The 2-Week Winter Thaw Test: My Critical Observation
The real test of any Zone 4 hibiscus care plan isn’t the deepest cold of January; it’s the unpredictable winter thaw. Two years ago, we had a bizarre 10-day period in late February where temperatures soared to 50°F (10°C), melting all the snow and thawing the ground, only to crash back to -15°F (-26°C).
This is where I learned my second major lesson. My mulch layer was too thin on one plant. The thaw penetrated, the plant’s crown started to think it was spring, and then the refreeze caused significant crown rot. On another, the burlap wrapping had sagged and was touching the stems, holding moisture against the bark and encouraging mold.
I immediately went out during a warmer moment in that thaw period. For the under-mulched plant, I added a fresh, fluffy layer of straw. For the shrub with the damp burlap, I carefully loosened it to re-establish an air gap and trimmed back a few small stems that looked questionable. I also made sure all protective structures were still secure against wind.
When spring finally arrived, the difference was stark. The plant I had corrected with extra mulch was slightly slower but grew back healthily. The one where I’d fixed the burlap issue had minimal dieback. A third plant, which I’d neglected to check, suffered significant damage and took most of the summer to recover. This two-week crisis taught me that mid-winter maintenance is a non-negotiable part of protecting hibiscus from frost.
Spring Unwrapping: The Art of Patience
As eager as we are for spring, patience is vital. I start removing the protective layers gradually in mid to late April, when I’m confident the threat of severe hard frosts has passed. I remove the burlap wraps and stakes first. Over the course of a week or two, I slowly scrape away the mulch mound from the perennial hibiscus, a little each day, to allow the soil to warm up gently. I don’t remove the last bit until I see definite red nubs of new growth emerging. For the shrubs, I gently rake the mulch back to the drip line.
What are the most cold-tolerant hibiscus varieties for Zone 4? For perennial types, look for the H. moscheutos hybrids like ‘Lord Baltimore’ (deep red), ‘Lady Baltimore’ (pink with red eye), and the ‘Summerific®’ series, which are bred for robustness. For shrubs, H. syriacus varieties such as ‘Diana’ (pure white), ‘Blue Bird’ (blue with red eye), and ‘Minerva’ (lavender) have proven exceptionally resilient in my garden and are often recommended for borderline zones.
Can I grow hibiscus in a container in Zone 4? Yes, but it requires a different approach. The pot exposes the roots to much colder air temperatures. My method is to sink the entire pot into the ground in a vacant garden bed for the winter, mulch over it, and treat it like an in-ground plant. Alternatively, you can move the pot to an unheated but insulated garage or shed, water it sparingly once a month to prevent desiccation, and bring it back out in spring.
My hibiscus looks dead in late spring—should I give up? Absolutely not! Hardy Hibiscus are famously late to break dormancy. Don’t panic if you see nothing in May while everything else is leafing out. I’ve had them wait until early June to show signs of life. Keep the area clear, water if the spring is dry, and have faith. Only declare it dead if you see no growth by mid-July. Their spectacular late-summer bloom is worth the wait.
Growing hibiscus in Zone 4 is a rewarding testament to a gardener’s dedication. It’s about working with the climate, not against it. By selecting the right plant, employing a layered insulation strategy, and staying vigilant during winter’s mood swings, you can transform your garden with these breathtaking, tropical-looking blooms. The process taught me more about plant resilience and microclimates than any other gardening endeavor. Start with a well-sited plant, pile on the mulch, and next summer, you’ll be the gardener causing the jaw-drops in your neighborhood.
")


发表评论