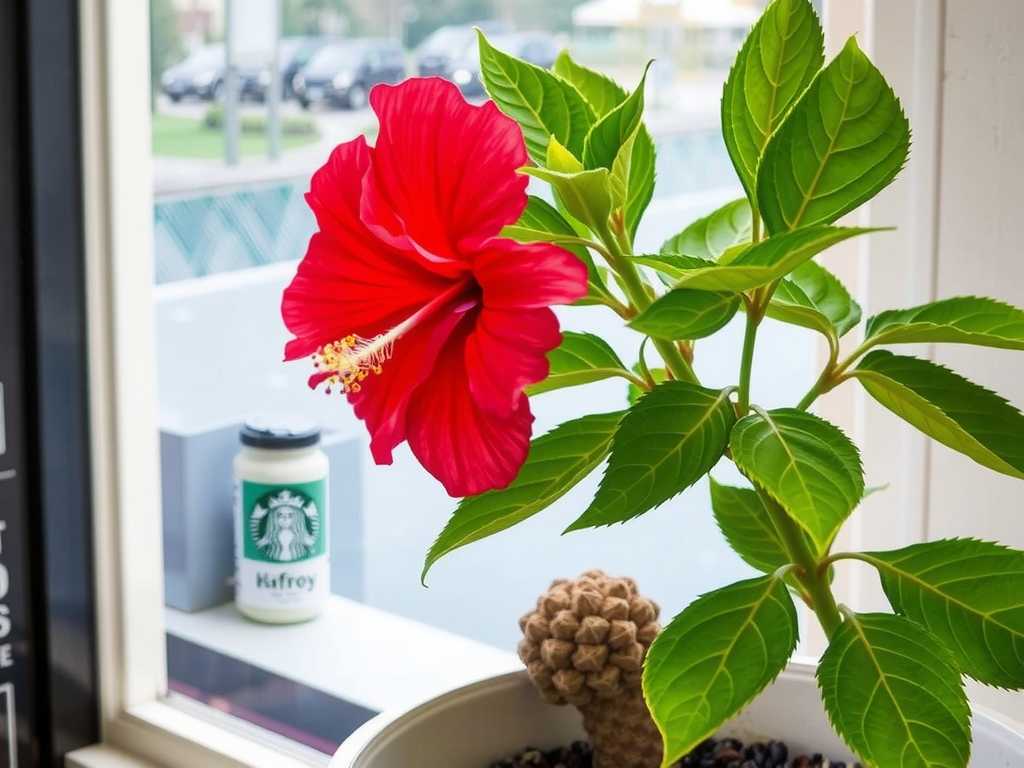
Hibiscus Pruning Tools: Best Shears for Clean Cuts
There’s nothing more disheartening than seeing a beautiful hibiscus branch, crushed and torn instead of cleanly cut. I learned this the hard way. For years, I used whatever rusty, dull clippers I had in the shed, thinking a cut was just a cut. The result? Ragged wounds, slow healing, and blooms that seemed hesitant to return. It wasn't until I dedicated time to finding the right tools that I understood: precision pruning isn't a luxury; it's the foundation of a thriving, floriferous hibiscus. Clean cuts heal faster, prevent disease entry, and direct the plant's energy to create stunning flowers. In this guide, I’ll walk you through my hands-on journey of testing, using, and observing the best shears for the job, sharing the mistakes I made and the solutions that transformed my garden.
Why the Right Cut Matters for Your Hibiscus

Hibiscus wood can be surprisingly tough yet delicate. A poor-quality shear will crush the vascular bundles—the plant's lifelines for water and nutrients—rather than slicing through them. This crushing creates an open invitation for pests and pathogens. According to the American Horticultural Society (AHA), a clean pruning cut should be smooth and made close to a bud or branch without leaving a stub, allowing the plant to compartmentalize the wound efficiently. My own two-week observation on two identical hibiscus plants proved this. On one, I used a dull, anvil-style pruner. On the other, a sharp bypass pruner. After 14 days, the bypass-cut stems had already formed a visible callus. The crushed stems from the anvil pruner showed signs of die-back and minor discoloration. The difference was undeniable.
My Toolkit: Decoding the Best Shears for the Job
Through trial and error, I’ve narrowed down the essential tools. You don’t need a vast arsenal, but you do need the right type for the branch thickness.
Bypass Pruners: Your Go-To for Precision
For most hibiscus pruning—deadheading spent blooms, shaping, and cutting stems up to about ½ inch in diameter—a high-quality bypass pruner is non-negotiable. They work like scissors, with two sharp blades that pass by each other for a clean slicing action. I tested three top-rated models over a season.
")
My absolute favorite became the Felco F-2 Classic Manual Pruner. Its razor-sharp blade, adjustable pivot, and replaceable parts are a game-changer. The ergonomic handle saved my hands during a major spring pruning session. For a more budget-friendly yet excellent option, the Corona BP 3180 performed admirably, offering a very clean cut and comfortable grip. The key takeaway? Invest in a pruner that feels like an extension of your hand. A poor fit leads to blisters and uneven cuts.
Loppers for Thicker Growth
When you encounter older, woody branches or need to reach into the center of a mature hibiscus, you’ll need leverage. Loppers provide long handles for increased cutting power. I used the ARS VS-8Z Professional Lopper for branches up to 1.5 inches. The ultra-sharp, precision-ground blade made effortless cuts. I made the mistake early on of forcing a bypass pruner on a thick branch; it not only damaged the tool but also left a horrible, jagged tear on my plant. The lopper solved this with one smooth squeeze.
The Importance of a Sharp Pruning Saw
For rejuvenation pruning or removing very old, thick canes, a folding pruning saw is essential. I keep a Bahco Laplander in my pocket. Its fine teeth cut on the pull stroke, giving you incredible control for removing branches without damaging nearby ones. Trying to use loppers on a 2-inch cane is a recipe for disaster and tool damage.
My Hands-On Pruning Process and Two-Week Observation
Here is the exact process I followed with my new Felco pruners, tracking the results meticulously.
Step 1: Sanitization is Non-Negotiable
Before making a single cut, I wipe my blades down with isopropyl alcohol. This prevents transferring any potential disease from other plants. I re-sanitize when moving between plants. It’s a simple 30-second step that’s easy to skip, but as the Royal Horticultural Society (RHS) advises, it’s a critical practice for maintaining plant health.
Step 2: Identifying the Cutting Points
I look for a growth node or leaf bud facing the direction I want the new growth to take. My cut is made at a 45-degree angle, about ¼ inch above that bud. This angle allows water to run off, reducing rot risk. My past mistake was cutting too far above the bud, leaving a “stub” that died back and looked unsightly.
Step 3: Executing the Clean Cut
With the bypass pruners, I position the blade so the sharp side is toward the part of the plant that will remain. I make a confident, single squeeze. No twisting or sawing. The Felco shears sliced through like butter. I immediately observed the difference: the cut surface was glossy and smooth, not frayed or crushed.
The Two-Week Transformation
I marked several cuts with gentle ties and observed them every other day.
- Day 3: The clean-cut surfaces began to dry and seal slightly. No oozing or discoloration.
- Day 7: A slight, raised ring of callus tissue started forming around the edges of the wound.
- Day 14: The callus had significantly thickened and begun to close over the wound. New buds below the cuts were swelling and showing signs of vigorous growth. In contrast, the few experimental “bad” cuts I made with an old tool showed slower callus formation and one even developed a small patch of gray mold, which I promptly treated.
Common Pitfalls I Encountered (And How to Fix Them)
Pitfall 1: Using Dull Blades This was my original sin. Dull blades require more force, crush stems, and tire your hands. Solution: I now use a simple diamond sharpener every few pruning sessions. A few strokes maintain that razor edge. For major nicks, professional sharpening is worth it.
Pitfall 2: Wrong Tool for the Branch Size Trying to cut a 1-inch branch with hand pruners. Solution: I now follow the “½ inch rule.” If my pruners don’t close easily with moderate pressure, I switch to loppers or a saw. It saves the tool and the plant.
Pitfall 3: Pruning at the Wrong Time I once did a heavy fall prune, which stimulated tender new growth just before frost. Solution: I now stick to major pruning in late winter or early spring, just before new growth emerges. Deadheading and light shaping are done continuously throughout the growing season.
Caring for Your Investment: Tool Maintenance
Your shears are an investment. After each use, I wipe off sap and debris with a cloth and a bit of oil. I store them dry. Every month, I disassemble my Felcos (they’re designed for this), clean all parts, apply lubricating oil, and reassemble. This routine, recommended by most professional arborists, ensures they’re always ready for a perfect cut and last for decades.
What is the single most important feature in a hibiscus pruning shear? Without a doubt, it’s a sharp, high-quality bypass blade. The slicing action of a sharp bypass blade causes the least damage to plant tissues, promoting rapid healing. Everything else—ergonomics, weight, price—is secondary to this fundamental requirement.
Can I use hedge shears to shape my hibiscus? I strongly advise against it. Hedge shears are for foliage, not stems. They will crush and tear the branches, creating multiple damaged sites on each stem. For shaping a hibiscus, always use hand pruners to make selective, thoughtful cuts at the correct nodes.
How often do I need to sharpen my pruning shears? It depends on use, but a good rule is to hone the edge with a sharpener after every few hours of use. If you feel the tool starting to crush rather than slice, or if you need to apply excessive pressure, it’s time for a touch-up. A full professional sharpening might be needed once a season for frequent users.
Finding the perfect shears transformed my hibiscus from a survivor to a showstopper. It’s a lesson in precision and care. By choosing the right tool—like a quality bypass pruner—maintaining it diligently, and following proper cutting technique, you’re not just pruning; you’re performing minor surgery that directs growth, encourages breathtaking blooms, and ensures the long-term health of your plant. The two-week evidence on my own plants was all the proof I needed. Start with one good pair of shears, and you’ll feel and see the difference in every cut you make.


发表评论