How to Grow Hibiscus in Clay Soil: My Proven Amendment and Care Guide
I’ve always been mesmerized by the bold, dinner-plate blooms of hibiscus. Their tropical flair promised to transform my garden into a paradise. But my excitement hit a wall—quite literally—when I first tried to dig into my garden’s heavy, stubborn clay soil. Water pooled for days, roots struggled to breathe, and my first hibiscus plant became a sad, yellowing lesson. I was determined to crack the code. If you’re facing the same brick-like challenge, I want to share the exact, step-by-step process I developed over years of trial, error, and success. This guide is the result of my hands-on experience, including a detailed two-week observation of a newly planted hibiscus in amended clay soil, the mistakes I made, and how I fixed them. Let’s turn that challenging clay into a thriving foundation for your hibiscus.
Understanding Your Clay Soil: The First Step to Success

Before you can fix it, you need to understand it. Clay soil isn’t your enemy; it’s actually rich in minerals. Its problem is structure. The particles are incredibly fine and pack tightly together, leaving little room for air or water movement. For hibiscus, which demand well-drained soil to prevent root rot, this is a major issue. My initial mistake was treating it like any other soil. I learned the hard way that simply digging a hole and plopping the plant in was a recipe for failure. The hole would act like a bathtub, drowning the roots. According to the American Horticultural Society (AHS), improving soil structure is paramount for plant health in heavy soils, as it directly impacts root respiration and nutrient uptake.
My Essential Toolkit for Amending Clay Soil
Gathering the right materials is half the battle. Here’s what I use and why:
- Coarse Organic Matter: This is the superstar. I use a mix of well-rotted compost and fine pine bark mulch (not chunks). The compost adds nutrients and beneficial biology, while the pine bark helps create lasting air pockets. Avoid fresh manure or sawdust, as they can harm plants or tie up nitrogen during decomposition.
- Gypsum (Calcium Sulfate): A natural mineral that helps flocculate clay particles, causing them to clump together and create space. It’s particularly useful for sodic clays. The Royal Horticultural Society (RHS) notes gypsum can improve soil structure without altering pH significantly.
- Coarse Sand: Use with caution and only in large volumes. Mixing a small amount of sand into clay can create a concrete-like substance. I only incorporate it when I’m amending a very large bed, using a 1:1:1 ratio of soil, organic matter, and sharp sand.
- A Sturdy Garden Fork and Spade: For breaking ground and mixing.
- A Soil Test Kit: I can’t stress this enough. A simple test told me my soil’s pH was too low (acidic) for hibiscus, which prefer slightly acidic to neutral soil (6.5-7.0). This guided my amendment choices.
The Step-by-Step Amendment Process: A Two-Week Observation
I decided to document the entire process for a new ‘Midnight Marvel’ hardy hibiscus, from planting to the critical first weeks.
Week 1: Preparation and Planting
Day 1-2: The Initial Work. I chose a site with full sun (at least 6 hours). Instead of digging a simple hole, I excavated a wide, shallow area—about three times the width of the plant’s root ball and only as deep. This encourages roots to spread horizontally. I placed the excavated clay soil on a tarp.
Day 2: The Amendment Mix. Here’s my golden ratio for a planting hole: 2 parts native clay soil to 1 part amendment mix. My amendment mix was 60% compost, 30% fine pine bark, and 10% horticultural grit. I also added a handful of gypsum per wheelbarrow load. I thoroughly mixed this with the native clay on the tarp until it was uniform. This is backbreaking but crucial—creating a seamless transition zone for roots.
")
Day 2 (Later): Planting. I set the hibiscus in the center, ensuring the crown was slightly above the soil line to account for settling. I backfilled with my amended mix, firming gently. I created a shallow berm around the plant to direct water to the roots and finished with a 3-inch layer of mulch (shredded hardwood) to retain moisture and regulate temperature. I gave it a deep, slow watering.
Days 3-7: The Critical Watch. I watered deeply every other day, unless it rained, checking soil moisture with my finger. The “clay bathtub” effect was my biggest fear. To monitor, I dug a small test hole about 8 inches away from the plant. After watering, I checked it 30 minutes later. Success! The water had drained, leaving moist but not soggy soil. The mulch was already preventing the surface from crusting into a hardpan.
Week 2: Establishment and Signs of Life
Days 8-14: Observing Growth. The plant showed no signs of transplant shock—no wilting or significant yellowing of lower leaves. This was a huge win. By day 10, I noticed the first signs of new growth: a tiny, reddish bud at a leaf node. This indicated the roots were establishing and the plant was happy. I reduced watering to twice a week, encouraging deeper root growth. The amended soil dried out at a reasonable rate, unlike the solid, wet mass of unamended clay nearby.
The Pitfalls I Encountered and How I Solved Them
My journey wasn’t perfect. On an earlier attempt, I made a classic error: I amended only the planting hole. The roots grew beautifully in their loose pocket but hit the wall of solid clay and refused to expand, eventually becoming rootbound and stunted. The solution was amending a much wider area.
Another mistake was overwatering. “Wet feet” is the fastest way to kill a hibiscus. I learned to let the top inch of soil dry out before watering again. A moisture meter became my best friend.
Long-Term Care for Hibiscus in Improved Clay Soil
Amending at planting is just the beginning. Hibiscus are heavy feeders and drinkers.
- Feeding: I use a balanced, slow-release fertilizer in early spring and switch to a fertilizer higher in potassium (like a 10-4-12) as blooming approaches to support those massive flowers. I also top-dress with fresh compost every spring.
- Watering: Deep, infrequent watering is key. I aim for 1-2 inches per week, allowing the soil to dry slightly between sessions. Drip irrigation is ideal.
- Mulching: I religiously replenish mulch annually. It continues to break down, feeding the soil and protecting the structure from compaction.
Choosing the Right Hibiscus for Clay Soil
While all hibiscus benefit from amended soil, some are more tolerant. Hardy hibiscus (Hibiscus moscheutos) and its hybrids, like the popular ‘Summerific’ series, are native to swampy areas and can handle heavier, moister soils better than tropical varieties (Hibiscus rosa-sinensis). For tropical hibiscus in clay, I strongly recommend using large containers with premium potting mix.
Can hibiscus survive in unamended clay soil? While a very established, hardy variety might survive, it will likely struggle, be more susceptible to disease, and produce fewer blooms. Amending the soil is the single most important thing you can do for its long-term health and vibrancy.
How often should I re-apply gypsum? Gypsum works over time as it dissolves. I apply a light top-dressing (following package rates) once a year in the fall or early spring. It’s a supplement, not a replacement for organic matter.
My hibiscus leaves are turning yellow. Is it the clay soil? Yellowing leaves can have several causes. In clay soil, the most likely culprit is overwatering and poor drainage leading to root stress. Check your soil moisture first. Other causes include nutrient deficiency (often iron or nitrogen) or a pH imbalance, which a soil test can diagnose.
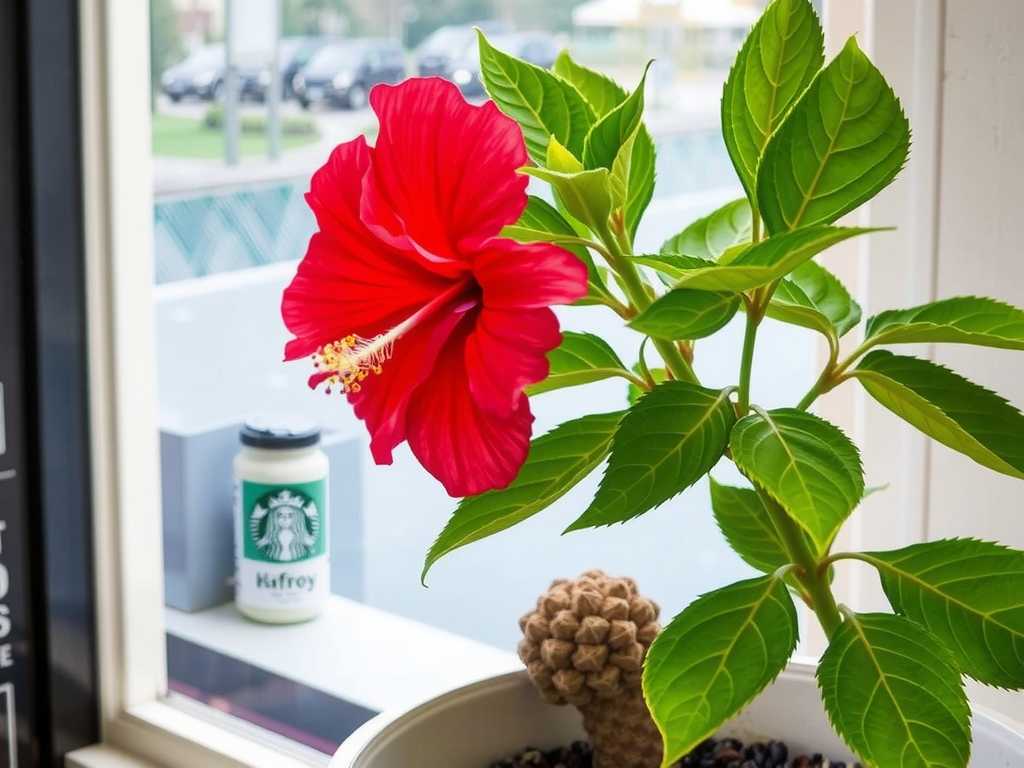
Growing hibiscus in clay soil is a testament to the gardener’s patience and understanding. It’s not about fighting the clay, but about working with it—transforming its dense nature into a fertile, well-structured home. By investing time in proper soil amendment at the start, you build a foundation for years of spectacular, jaw-dropping blooms. My ‘Midnight Marvel’ now stands as a lush, dark-leaved shrub covered in crimson flowers, a vibrant proof that even the toughest clay can become a garden treasure. Start with the soil, and the flowers will follow.


发表评论