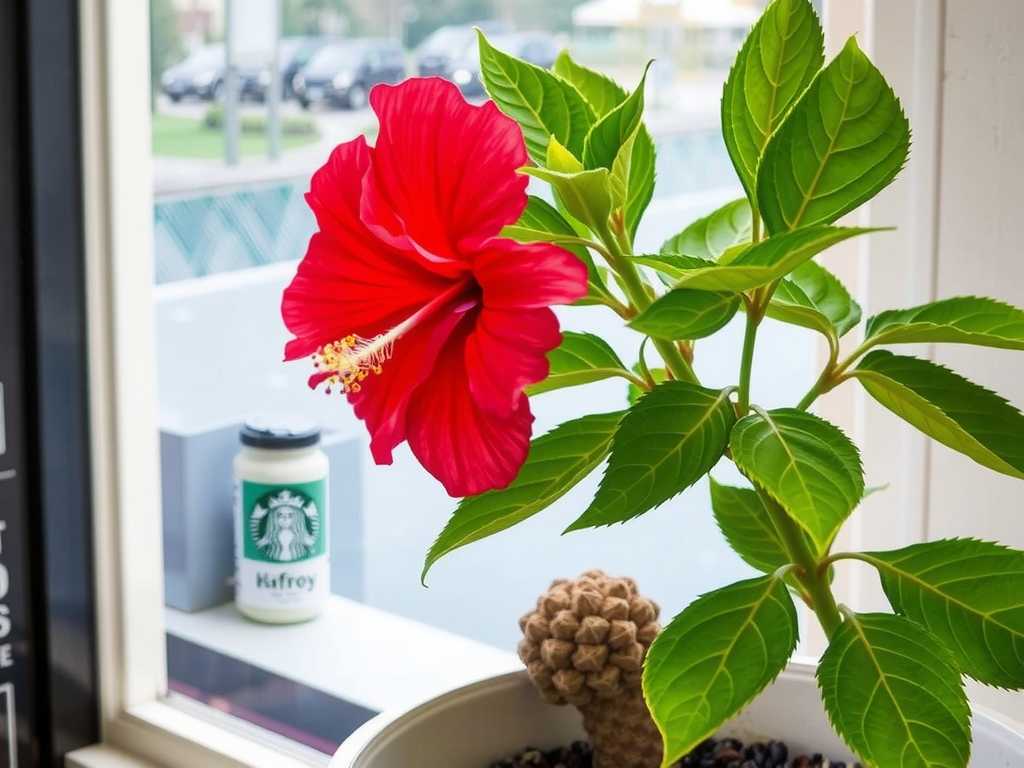
How to Fertilize Hibiscus for Root Growth: Early Season Feeds
I’ve lost count of the hibiscus plants I’ve seen—and, admittedly, once had myself—that were all showy leaves and shy blooms, with a root system too weak to support their own ambition. The frustration is real. You provide the sun, the water, the love, yet the plant seems stagnant, or worse, becomes stressed at the first sign of drought or wind. For years, I chased the solution in bloom boosters, only to realize I was addressing the symptom, not the cause. The true secret to a spectacular, resilient hibiscus lies beneath the soil, and it starts with a strategic early season feed for root growth. This isn't just garden lore; it's a fundamental shift in focus from what’s visible to what’s vital. After a season of meticulous trial, error, and a crucial two-week observation period that changed my approach, I’ve dialed in a process that builds powerhouse roots, setting the stage for explosive growth and flowering.
")
Why Early Season Root Development is Non-Negotiable

Think of early spring, as your hibiscus shakes off dormancy, as its annual planning meeting. The plant is deciding where to allocate its initial energy reserves. By providing the right nutrients at this precise time, we directly influence that decision. We’re essentially sending a memo: “Invest in infrastructure.” A robust root system does more than just anchor the plant. It’s the primary hub for water and nutrient uptake. According to principles often cited by horticultural authorities like the American Horticultural Society (AHS), a well-developed root zone enhances a plant’s overall vitality and stress tolerance. My goal with fertilizing hibiscus for stronger roots early on is to create a self-sufficient plant that can better access resources all season long.
My Early Season Fertilization Protocol: A Step-by-Step Guide
This is the exact regimen I followed, born from both research and hands-on learning.
Step 1: The Soil Test – Skipping This is Your First Mistake I learned this the hard way. One season, I assumed my potting mix was spent and piled on a balanced fertilizer. The result? Lackluster growth and slight leaf tip burn. Guessing is the enemy. Now, I always start with a simple home soil test kit. I’m looking for two key metrics: pH and the baseline levels of Nitrogen (N), Phosphorus (P), and Potassium (K). Hibiscus thrives in a slightly acidic to neutral pH (6.0-7.0). If the pH is off, nutrients get locked in the soil, unavailable to the roots, no matter how much you feed.
Step 2: Selecting the Perfect Fertilizer Formula With my soil test showing slightly low phosphorus and a decent pH, I went shopping with intent. For promoting hibiscus root development, the middle number in the N-P-K ratio is your best friend. That’s phosphorus (P). I avoid high-nitrogen blends (like a 24-8-16) at this stage, as they push soft, leafy growth at the expense of roots. My ideal early-season pick is a balanced, water-soluble fertilizer with a slight edge to phosphorus and potassium, such as a 10-20-15 or a 5-10-10. I also ensure it contains micronutrients like iron, magnesium, and calcium, which are crucial for overall plant health. On the advice of a local master gardener whose practices align with RHS (Royal Horticultural Society) guidelines, I also considered a diluted liquid seaweed extract for its natural root-stimulating hormones.
Step 3: The Application – Timing and Technique Matter I timed my first feed for when the night temperatures consistently stayed above 50°F (10°C) and I saw definite new buds swelling on the stems. Here’s my technique:
- Water First: I thoroughly water the plant with plain water a few hours before feeding. Applying fertilizer to dry soil can shock and burn the delicate feeder roots we’re trying to encourage.
- Dilute Precisely: I mix the water-soluble fertilizer at half the recommended strength on the package. The goal is gentle encouragement, not forced feeding.
- Apply to the Root Zone: I slowly pour the solution around the base of the plant, moving outward to the drip line (where the foliage ends), avoiding direct contact with the main stem. This encourages roots to grow outward in search of the food.
Step 4: The Critical Two-Week Observation Period This is where the real learning happened. I marked my calendar and became a dedicated observer.
- Days 1-3: No visible change. The soil absorbed the feed.
- Days 4-7: I noticed the existing leaves looked slightly more perky and deep green. No new top growth yet.
- Days 8-14: Here was the “aha!” moment. While there was only a tiny new leaf sprout above ground, a gentle investigation at the edge of the soil revealed the prize: white, fuzzy feeder root tips beginning to explore the moist soil. This was the definitive sign the energy was going downward. In a container plant I was repotting at the two-week mark, the difference was stark compared to an unfed control plant—more fine, white roots weaving through the root ball.
Common Pitfalls I Encountered and How I Fixed Them
- The Burn: As mentioned, full-strength fertilizer caused tip burn. Solution: Always halve the dose for the first early-season feed and ensure pre-watering.
- The Overwater Follow-Up: Excited after feeding, I over-watered, risking root rot. Solution: I let the top inch of soil dry out before the next watering. A healthy root system needs oxygen as much as it needs water and food.
- Ignoring the Foliage Clues: Yellowing leaves after feeding indicated a potential micronutrient lockout due to pH. Solution: I corrected the pH with a soil amendment (sulfur for lowering, lime for raising) as per the soil test, and the next feeding was much more effective.
Supporting Your Hibiscus Beyond the First Feed
An early season feed is the catalyst, not the entire solution. To support that new root growth:
- Mulch: A 2-3 inch layer of organic mulch (shredded bark, compost) regulates soil temperature, retains moisture, and slowly adds nutrients as it breaks down, protecting those tender new roots.
- Subsequent Feeding: After this initial root-focused feed, I switch to a balanced fertilizer (like a 20-20-20) for general growth, and then to a bloom-booster (higher potassium) as bud formation begins. The strong roots ensure these later feeds are utilized efficiently.
What about using a slow-release fertilizer for early growth? Slow-release granules are convenient and provide a steady trickle of nutrients. For early root focus, I look for a blend with a good phosphorus content. However, I often use them as a supplement after my initial liquid feed. The liquid feed gives an immediate, targeted signal to the plant, while the slow-release provides background support. They work well in tandem.
Can I use homemade compost tea for root development? Absolutely, and it’s an excellent practice. Well-made compost tea is rich in beneficial microbes that help create a thriving soil ecosystem. These microbes can aid in nutrient breakdown and root health. I use it as a soil drench every 4-6 weeks throughout the season. Think of commercial fertilizer as the direct nutrient supply and compost tea as the probiotic that improves the gut—or in this case, the root zone—health.
My leaves are green, so why focus on roots? Vibrant leaves are a sign of good health, but they don’t tell the whole story. A plant can look great temporarily by drawing on stored energy. A deep, extensive root system is your plant’s long-term investment account, its insurance policy against heat waves, dry spells, and heavy blooming. It’s the difference between a plant that survives and one that thrives resiliently, season after season.
Building a magnificent hibiscus starts with a foundation you cannot see. By prioritizing early season nutrition for hibiscus roots, you make a conscious choice to support the plant’s hidden engine. It requires a bit of patience and observation, especially in those first critical weeks, but the reward is a plant that is fundamentally stronger, more resourceful, and ultimately, more breathtakingly beautiful. Forget just feeding the plant; start by building its future from the ground up.


发表评论