Tropical Hibiscus Container Gardening: Balcony & Patio Ideas
There’s a dream many of us share: transforming our small urban balconies or paved patios into a slice of paradise, a vibrant retreat bursting with color. Yet, the reality often involves battling limited space, harsh sun, and the fear of committing to a plant that might not thrive. I’ve been there. The desire for that iconic, dinner-plate-sized bloom of the tropical hibiscus felt at odds with my container gardening reality. Could these lush, sun-loving beauties truly flourish in pots on my windy balcony? After extensive trial, error, and a dedicated two-week observation period with new plants, I’m here to tell you not only that it’s possible, but it’s also incredibly rewarding. Let me walk you through the exact steps, the pitfalls I encountered, and the solutions that turned my concrete corner into a tropical oasis.
Why Container Gardening is Perfect for Tropical Hibiscus

Contrary to what you might think, growing tropical hibiscus in containers offers remarkable control. You become the master of their environment, which is key to their success outside of truly tropical climates. In a pot, you can tailor the soil, manage drainage precisely, and easily move the plant to chase the sun or seek shelter. This mobility is the secret weapon for balcony gardening success. The American Horticultural Society (AHA) notes that container gardening allows for “microclimate management,” which is essential for temperature-sensitive plants like hibiscus. I started with this principle in mind, choosing my sunniest corner as the initial staging ground.
Getting Started: The Non-Negotiable Foundations
Your long-term success hinges on the decisions you make before you even bring the plant home.
Selecting the Right Container and Soil This was my first lesson learned the hard way. Aesthetics led me to choose a beautiful, glazed ceramic pot with a single, small drainage hole. After a heavy rain, my first hibiscus sat in soggy soil for days, leading to yellowing leaves and bud drop. Hibiscus roots despise “wet feet.” I immediately repotted into a container that was a champion of drainage: a lightweight, resin pot with multiple large holes at the bottom. The size matters, too. A pot that’s 12-14 inches in diameter is a good start for a young plant, allowing room for growth but not so large that the soil stays wet for too long.
The soil mix is equally critical. Standard garden soil is a death sentence in a container—it compacts and suffocates roots. I now swear by a high-quality, well-draining potting mix. To supercharge it, I follow a tip from veteran growers: I amend it with additional perlite or orchid bark (about a 4:1 ratio of potting mix to amendment). This creates the airy, fast-draining environment hibiscus roots crave.
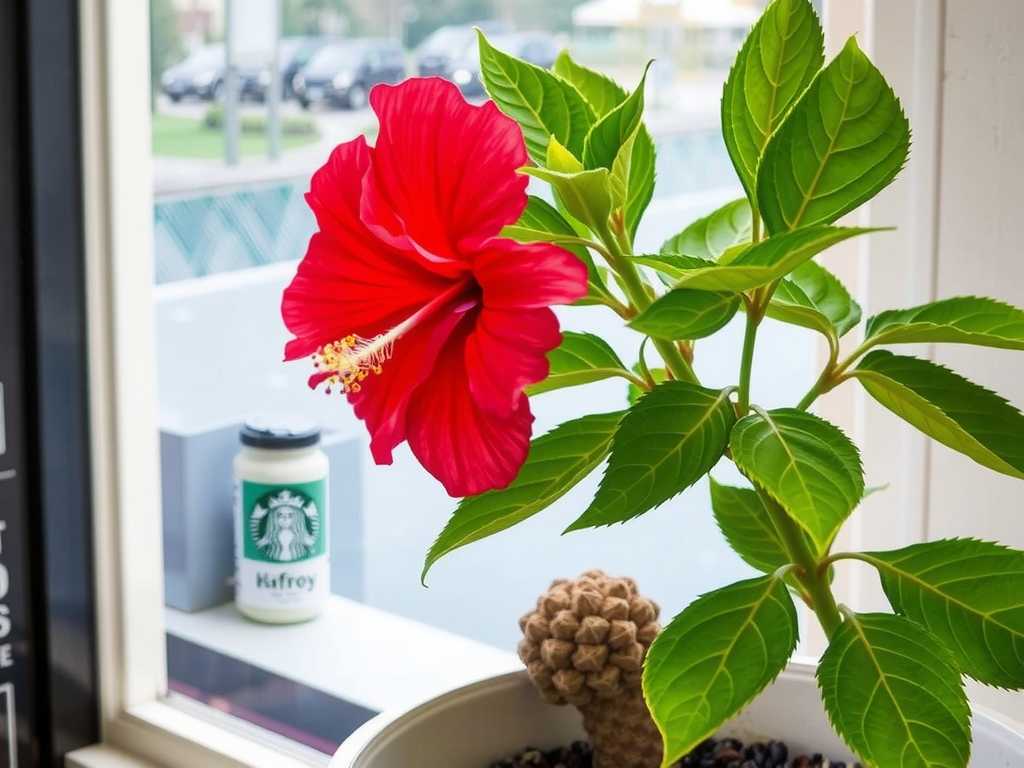
Choosing Your Hibiscus: A World of Color Visit any nursery, and you’ll be dazzled. From the classic ‘Brilliant’ red to the delicate ‘Pink Persuasion’ and stunning doubles like ‘Crown of Bohemia,’ the choices are endless. For patio decoration, consider the color scheme of your space. I opted for a vibrant ‘Hawaiian Sunset’ (orange-pink blend) and a serene, pure white ‘Diana’ to create contrast. Look for plants with deep green, glossy leaves and plenty of buds—a sign of good health and imminent blooms.
The Step-by-Step Planting Process
- Prep the Pot: Cover the drainage holes with a coffee filter or mesh to prevent soil washout. Add a 2-inch layer of gravel or broken pottery for extra drainage assurance.
- Prep the Plant: Gently loosen the root ball if it’s tightly wound. This encourages roots to venture into their new home.
- Positioning: Place the plant in the pot so the top of its root ball sits about an inch below the rim. This leaves space for watering.
- Fill and Settle: Backfill with your prepared potting mix, firming gently around the base. Water thoroughly until it runs freely from the bottom. This settles the soil and eliminates air pockets.
My Two-Week Observation: The Critical Adjustment Period
")
This period was revealing. I placed both newly potted hibiscus on my south-facing balcony, which gets over 6 hours of direct sun. Here’s what I observed and how I adjusted:
- Days 1-3: The plants looked happy. I watered only when the top inch of soil felt dry.
- Days 4-7: I noticed the edges of a few leaves on ‘Hawaiian Sunset’ beginning to brown slightly. This was my “pitfall” moment. I initially panicked about disease or under-watering. After some research and consulting resources from the Royal Horticultural Society (RHS), which stresses the balance between sun and moisture, I diagnosed wind scorch. My balcony is quite breezy. The plant was losing moisture from its leaves faster than the roots could uptake it, despite adequate soil moisture.
- Days 8-14: The Solution: I implemented two changes. First, I created a temporary windbreak using a small, decorative trellis panel next to the most exposed plant. Second, and more importantly, I began a routine of early morning foliage misting. Not a soak, just a light spray to increase humidity around the leaves. Within days, the browning stopped, and no new damage appeared. The plants acclimated beautifully. This underscored the importance of observing your specific microclimate—sun, wind, and heat—and adapting your care accordingly.
Ongoing Care for Non-Stop Blooms
Once established, the routine is simple but consistent.
Watering and Feeding: The Rhythm of Life Hibiscus in pots need regular, deep watering. In the summer heat, I often water daily, always checking the soil first. The goal is consistent moisture, not alternation between swamp and desert. Fertilizer is the fuel for flowers. I use a water-soluble, high-potassium fertilizer (like a 12-4-18 blend) labeled for hibiscus or flowering plants. I feed at half-strength every two weeks during the growing season. Over-fertilizing, especially with high nitrogen, will give you a gorgeous green bush with few flowers—another pitfall I learned from early on.
Sunlight and Pruning These plants are sun worshippers. They need a minimum of 6 hours of direct sunlight for prolific blooming. Pruning is not just about shape; it encourages branching, and more branches mean more blooms. In early spring, I give them a hard prune, cutting back leggy growth by up to one-third. Throughout summer, I simply deadhead spent flowers by pinching them off at the base of the flower stem to keep things tidy and encourage new buds.
Design Ideas to Elevate Your Space
Now for the fun part—styling! Containers give you creative freedom.
Creating Height and Drama Use tall plant stands or a staggered shelving unit to lift your hibiscus to different levels. This creates a lush, layered look and ensures each plant gets its moment in the sun. A large, statement hibiscus in a bold pot can serve as a stunning focal point for your small patio space.
Thriller, Filler, Spiller Combos While a solo hibiscus is magnificent, pairing it with companions can create a full, professional-looking container. Treat the hibiscus as your “thriller.” Around its base, plant “fillers” like silver dusty miller or trailing blue scaevola, and add “spillers” like sweet potato vine or ivy to cascade over the edge. This combination adds texture and color that complements the star of the show.
Overwintering: Bringing the Tropics Indoors Unless you live in a frost-free zone, you’ll need to bring your hibiscus indoors before the first fall chill. I transition mine gradually to lower light over a week to reduce shock. An indoor spot with the brightest possible light (a south-facing window is ideal) is crucial. Water less frequently indoors, only when the soil is quite dry, and hold off on fertilizing until you move it back outside in spring. Be vigilant for pests like aphids or spider mites during this time.
Addressing Your Top Concerns
Why are the buds falling off before they open? This is called bud drop, and it’s usually caused by a sudden change in environment (like moving the plant), inconsistent watering (too dry or too wet), or lack of nutrients. During my two-week trial, consistent watering and a stable location prevented this. Check your watering habits and feeding schedule first.
Can I grow tropical hibiscus in partial shade? They will survive, but they will not thrive. Blooming will be significantly reduced, and growth may become leggy as the plant stretches for light. For the spectacular floral display you desire, full sun is non-negotiable. If your space is shaded, consider hardy hibiscus varieties, though their flowers and foliage are different.
How often should I repot my container hibiscus? You don’t need to do it annually. Repot every 2-3 years, or when you see roots circling the bottom of the pot or growing out of the drainage holes. When you do repot, only move up one pot size (about 2 inches larger in diameter) to prevent excess wet soil around the roots.
Embracing tropical hibiscus container gardening has transformed my outdoor living area. It required attention to detail—the right pot, the perfect soil mix, and a keen eye during those first critical weeks—but the payoff is a summer-long festival of breathtaking color. By understanding their need for sun, consistent moisture, and protection from harsh winds, you can successfully cultivate these exotic beauties. Start with a healthy plant, give it a strong foundation, and don’t be afraid to adjust your care based on what you observe. Your own balcony or patio paradise, centered around the glorious bloom of the hibiscus, is well within reach.


发表评论