How to Grow Hibiscus from Cuttings: No Rooting Hormone Needed
I used to think propagating hibiscus was a magic trick reserved for experts with shelves full of chemicals. The idea of buying rooting hormone powder always felt like an extra, complicated step. What if I told you that you can successfully grow beautiful, blooming hibiscus from cuttings using items you likely already have in your kitchen? This guide is the result of my own two-week experiment, where I documented every step, every setback, and the simple solutions that led to thriving new plants—all without a single drop of rooting hormone.
Why Skip the Rooting Hormone?
Rooting hormones are fantastic tools, but they are not a strict necessity for many common plants like hibiscus. According to principles often cited by horticultural societies like the American Horticultural Society (AHS), many plants possess a natural capacity to root when provided with the correct environmental conditions. My goal was to test this by creating those ideal conditions: consistent moisture, warmth, and humidity. This method is not only cost-effective but also incredibly rewarding, connecting you more intimately to the growth process.

Gathering Your Simple Supplies
You won't need a trip to the garden center. Here’s what I gathered:
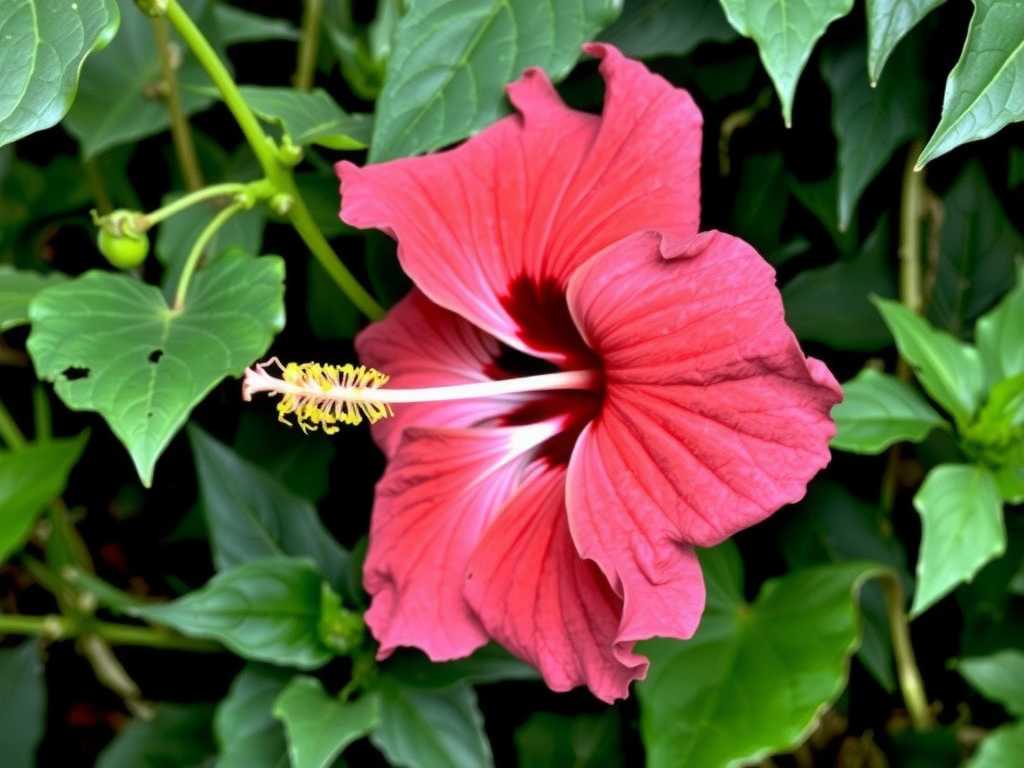
- Healthy Parent Plant: I chose a vibrant, pest-free tropical hibiscus (Hibiscus rosa-sinensis) with plenty of new growth.
- Sharp Pruners: Clean and sterilized with rubbing alcohol. A clean cut is crucial to prevent disease.
- Small Pots or Containers: I used 4-inch plastic pots with drainage holes.
- Rooting Medium: A 50/50 mix of perlite and peat-free potting compost. This ensures excellent drainage and aeration, which is critical to prevent rot.
- Clear Plastic Bags or Domes: To create a mini-greenhouse.
- A Warm, Bright Spot: Indirect light is key; direct sun will cook your cuttings.
- Optional Boost: I used a weak chamomile tea solution for its mild antifungal properties, a trick recommended by seasoned propagators.
The Step-by-Step Propagation Process
Selecting and Taking the Perfect Cutting
This is the most important step. A poor cutting will struggle regardless of your care. On a cool morning, I looked for a stem that was neither too woody nor too soft—a semi-hardwood stem. I found a perfect one from the current season's growth, about 6 inches long, with several leaf nodes and no flower buds. Flowers and buds drain energy away from root development.
With my sterilized pruners, I made a confident, angled cut just below a leaf node. The angle increases the surface area for potential root growth. Immediately, I removed the lower leaves, leaving only two or three at the top. Large leaves can be trimmed in half to reduce moisture loss through transpiration.
Preparing and Planting Your Cuttings
Here’s where I made my first mistake. In my initial haste, I simply poked the cuttings into the pre-moistened potting mix. For the second batch, I took an extra 30 seconds to gently wound the bottom inch of the stem by scraping off a thin layer of bark with my knife. This slight injury stimulates the plant's natural healing response, which can encourage root formation—a natural alternative to hormone powder.
I dipped the wounded end into my cooled chamomile tea for a few seconds, then inserted it about 2 inches deep into a pot filled with the damp perlite-compost mix. I gently firmed the medium around the stem to ensure good contact and eliminate air pockets. I placed three cuttings around the edge of one pot.
Creating the Ideal Environment for Root Growth
Consistency is everything. After planting, I misted the cuttings and the soil surface lightly. Then, I placed the entire pot inside a clear plastic bag, using sticks to prop the plastic up and prevent it from touching the leaves. This creates the constant, high-humidity environment that cuttings desperately need to prevent wilting before they have roots to take up water.
I labeled the pot with the date and placed it in a warm spot on a north-facing windowsill where it would receive plenty of bright, indirect light. The ideal temperature, as noted in many Royal Horticultural Society (RHS) guides, is between 70-75°F (21-24°C). Bottom warmth, if you can provide it, is a great boost.
My 2-Week Observation Diary and Troubleshooting
This is where the real learning happened. I checked on my cuttings daily, noting changes and adjusting care.
- Days 1-3: The cuttings looked perky. Condensation formed nicely on the plastic bag. No issues.
- Days 4-7: The first challenge appeared. One cutting in my first, non-wounded batch started to yellow and drop its remaining leaf. This was a sign of stress, likely from the initial shock. I removed the failing cutting to prevent any potential mold from spreading to the others. For the remaining cuttings, I began a routine of opening the bag for 15 minutes each day to allow fresh air exchange and prevent fungal growth.
- Days 8-10: A thrilling moment! Upon a very gentle tug, one of the wounded cuttings showed slight resistance—a hint that early root structures (callus) might be forming. I resisted the urge to check more frequently, as disturbing them is the biggest mistake a propagator can make.
- Days 11-14: The visible progress was clear. New, tiny green buds began to appear at the leaf nodes of the healthiest cuttings. This is a classic and reliable sign that roots are developing below the soil. The cuttings that had been wounded and received the chamomite tea treatment were visibly ahead, showing more bud development than the others.
Aftercare: Transitioning to a Strong Plant
Once you see new leaf growth, roots are established. This doesn't mean the process is over. The transition from a high-humidity propagation environment to normal room conditions must be gradual to avoid shocking the tender new plant.
")
Over the next week, I started to harden off my hibiscus cuttings. I increased the time the plastic bag was left open each day, starting with an hour and working up to leaving it off entirely by day seven. I kept the soil consistently moist but never soggy. After four weeks, I gave another gentle tug; this time, the resistance was firm. It was time to consider potting each successful cutting into its own container with standard potting soil.
How long do hibiscus cuttings take to root without hormone? In my controlled experiment, the first signs of successful rooting (new leaf buds) appeared between 11 to 14 days. A solid root system capable of supporting the plant independently takes approximately 4 to 6 weeks. Patience is your greatest tool.
What is the best time of year to propagate hibiscus? The optimal time is late spring through early summer when the plant is in its active growth phase. The warmer temperatures and longer daylight hours naturally support the rooting process, giving your cuttings the best possible start.
Why are my hibiscus cuttings wilting or turning black? Wilting often indicates low humidity—ensure your plastic bag or dome is sealed and creating condensation. Black, mushy stems are a sign of rot, usually caused by overwatering, poor drainage, or a contaminated cutting tool. Always use a well-draining mix, water sparingly, and sterilize your pruners before each cut. If rot appears, remove the affected cutting immediately.
Growing hibiscus from cuttings without rooting hormone is a testament to the plant's own resilience and your ability to provide the right conditions. It demystifies propagation and turns it into an accessible, enjoyable practice. By selecting a healthy cutting, wounding the stem to stimulate growth, and maintaining unwavering humidity and warmth, you can clone your favorite hibiscus with confidence. The small setback I faced with one cutting only reinforced the importance of each step. Now, watching those new green leaves unfurl, the satisfaction isn't just in a new plant—it's in knowing you nurtured it to life with simplicity and care.


发表评论