bluename
How to Propagate Hibiscus in a Windowsill: Indoor Setup That Actually Works
I remember the day I stared at my prized hibiscus plant, its branches growing leggy and uneven, and thought, "I need more of this beauty, but I have no outdoor space." That was when I decided to tackle how to propagate hibiscus in a windowsill. If you live in an apartment, a small house without a garden, or simply want to expand your indoor plant collection without spending a fortune, this guide is for you. I have walked through every step, made mistakes, and refined my method over weeks of careful observation. Let me share what I learned.
Why Propagating Hibiscus Indoors Is Worth the Effort
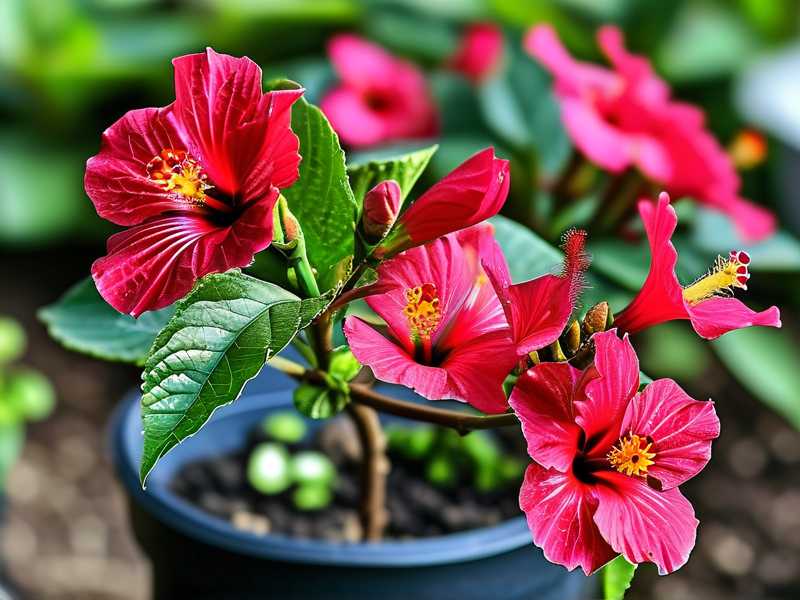
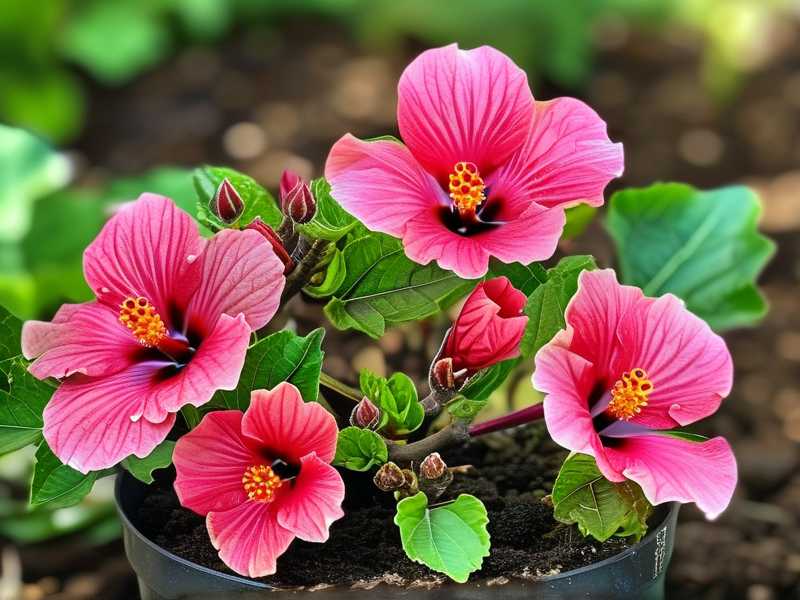
Hibiscus plants are stunning, with their oversized, tropical blooms in shades of red, pink, yellow, and white. They can brighten any room, but buying mature plants gets expensive. On the other hand, learning how to propagate hibiscus in a windowsill allows you to clone your favorite varieties for free. You also control the environment, eliminating pests and weather issues that plague outdoor propagation. The Royal Horticultural Society emphasizes that consistent indoor conditions significantly increase success rates for softwood cuttings. I agree wholeheartedly after my own trials.
The biggest challenge? Many people think propagation requires a greenhouse or special lights. I thought so too. But I discovered that a sunny windowsill, paired with the right technique, works beautifully. Let me walk you through my exact setup.
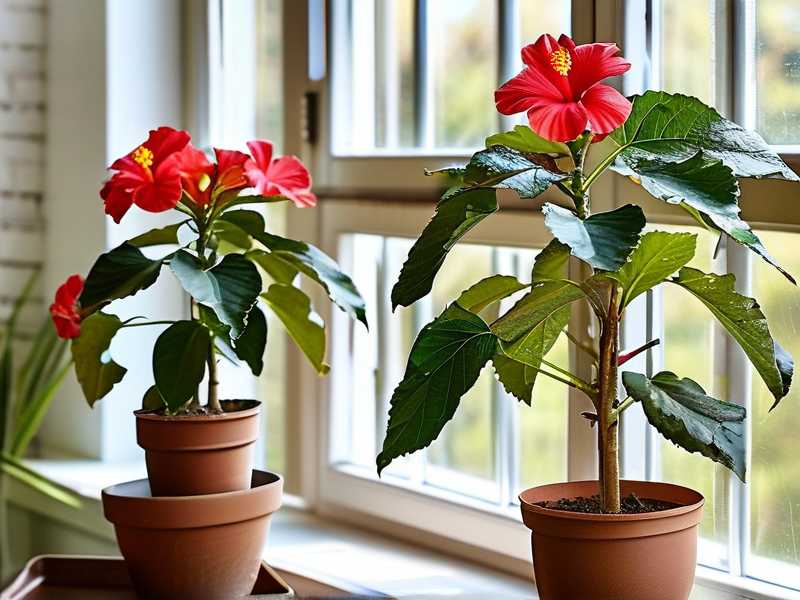
My Step-by-Step Process for Windowsill Hibiscus Propagation
Step 1: Choosing the Right Cuttings
I started by selecting healthy parent plants. My hibiscus was a standard tropical variety, about two feet tall, growing in a south-facing window. I looked for semi-hardwood stems: branches that were firm but not completely woody. Softwood cuttings root faster, but they also wilt easily. Semi-hardwood strikes the perfect balance for indoor conditions.
Using clean, sharp pruning shears, I cut 4 to 6 inch sections from the tips. Each cutting had at least two nodes, the small bumps where leaves emerge. I removed all but the top two leaves. Lower leaves buried in the rooting medium rot, inviting fungal infections. This step is non-negotiable for success. I made four cuttings to hedge my bets.
Step 2: Preparing the Rooting Environment
I filled a 4 inch plastic pot with a mix of perlite and peat moss, roughly 50/50. This combination drains well while retaining enough moisture for root development. Standard potting soil compacts too much and leads to stem rot. I moistened the mix thoroughly before inserting the cuttings.
Then I dipped the bottom inch of each cutting in rooting hormone powder containing indole-3-butyric acid (IBA). This synthetic auxin stimulates root cell division. While not strictly necessary, it speeds up the process and improves uniformity. I learned this lesson after my first batch took three weeks to show tiny root nubs instead of two. For the windowsill setup, every advantage helps.
Step 3: Creating a Humidity Dome
Hibiscus cuttings need high humidity because they lack roots to absorb water. I placed my pot inside a clear plastic bag, propping it open with a wooden skewer so it did not touch the leaves. This created a mini greenhouse. I sealed the bag loosely and placed it on my east facing windowsill where it received bright, indirect light.
Direct sunlight scorches the leaves inside a closed bag. I moved the pot slightly back from the glass to avoid this. The temperature stayed between 70 and 75 degrees Fahrenheit during the day, dropping no lower than 65 at night. These conditions mimic a tropical understory.
The First 7 Days: Observation and Adjustment
Within three days, I noticed the leaves remained firm and green. No wilting. That was a good sign. By day five, I opened the bag for 15 minutes to refresh the air. Stagnant air promotes mold. I also checked the rooting medium. It was still damp but not waterlogged. I misted the leaves once with distilled water to keep them hydrated.
On day seven, I gently tugged one cutting. It resisted slightly, suggesting early root formation. However, I resisted the urge to dig. Disturbing the roots too soon kills them. Patience is the hardest part of learning how to propagate hibiscus in a windowsill. I repeated the air exchange every other day.
The Mistakes I Made and How I Fixed Them
Mistake 1: Overwatering
In my first attempt, I watered the cuttings too frequently. The peat moss stayed soggy, and within a week, the stems turned brown at the base. I lost all three cuttings to root rot. I learned that the rooting medium should be moist, not wet. If water pools at the bottom of the bag, remove it immediately. Now I water only when the top layer feels dry to the touch, usually every five to seven days.
Mistake 2: Insufficient Light
Initially, I placed the pot on a north facing windowsill thinking indirect light was best. The cuttings grew pale and stretched toward the window. This etiolation weakens the stems. I moved them to an east facing sill where they received morning sun. The leaves regained their deep green color within three days. Bright, indirect light for six to eight hours daily is ideal. Avoid harsh afternoon sun from a south window; it overheats the bag.
Mistake 3: Removing the Dome Too Early
After ten days, I was eager to see growth. I removed the plastic bag completely. By the next day, the leaves had drooped severely. The cuttings were not ready for ambient humidity, which was around 40% in my apartment. I immediately covered them again and slowly increased ventilation over four days. Gradually acclimate cuttings by opening the bag for longer periods each day over a week.
The Second Week: Roots Begin to Show
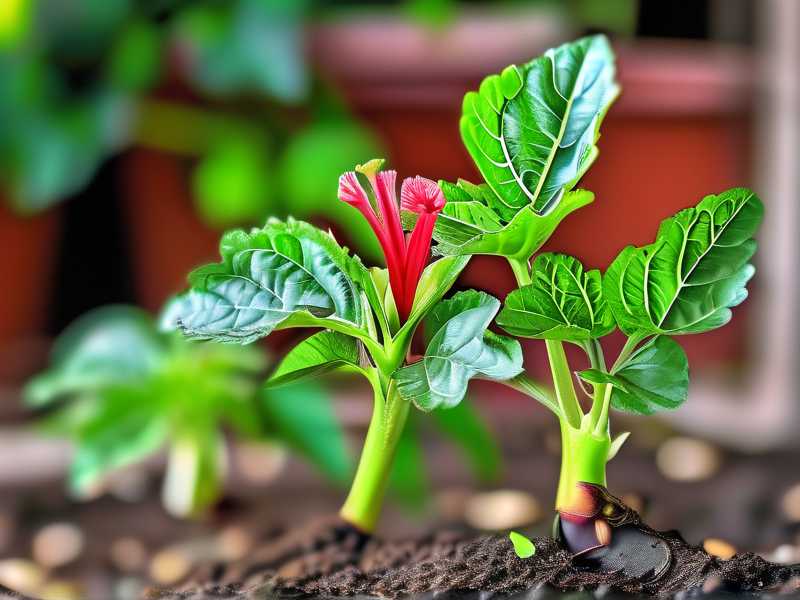
By day ten, I saw white root tips emerging from the drainage holes of the pot. This meant the roots had reached the bottom. I carefully lifted one cutting to confirm. Yes, a network of healthy, pale roots had formed. I felt a surge of satisfaction.
At this point, I began the hardening off process. I left the bag open for two hours on day 11, four hours on day 12, and removed it entirely on day 14. The leaves remained perky. The cuttings were ready for individual pots.
Transplanting to Permanent Containers
I filled 3 inch pots with a well draining potting mix: one part peat moss, one part perlite, and one part coarse sand. Hibiscus prefers slightly acidic soil with a pH around 6.0 to 6.5. I made a small hole in the center, placed each cutting, and gently firmed the soil around the stem. Then I watered thoroughly until water drained from the bottom.
For the next week, I kept the new plants in the same windowsill location. I did not fertilize. Young roots are sensitive to salt buildup from fertilizers. Wait at least six weeks before feeding with a balanced, water soluble fertilizer diluted to half strength.
Maintaining Your New Hibiscus Plants Indoors
Light Requirements
After propagation, mature hibiscus plants need at least six hours of bright light daily. My east facing window works well, but south or west windows are acceptable if you diffuse harsh rays with a sheer curtain. Rotate the pot weekly to ensure even growth. Leggy stems indicate insufficient light. If your windowsill does not provide enough natural light, consider a full spectrum LED grow light placed six inches above the plant.
Watering and Humidity
Hibiscus likes consistent moisture but hates wet feet. I water when the top inch of soil feels dry. In winter, when indoor heating dries the air, I mist the leaves daily or place a humidity tray filled with pebbles and water beneath the pot. The American Hibiscus Society recommends maintaining 50% relative humidity for optimal blooming indoors.
Temperature Considerations
Keep your hibiscus away from drafts, air conditioning vents, and heating registers. Sudden temperature swings cause bud drop. The ideal range is 65 to 75 degrees Fahrenheit during the day, with a slight drop at night. My windowsill stays within this range naturally, but I check with a small thermometer.
Common Challenges in Windowsill Propagation
Yellowing Leaves
If your cuttings develop yellow leaves, check for overwatering or insufficient light. I noticed this on one cutting that sat too far from the window. Moving it closer resolved the issue within a week. Also, ensure the rooting medium drains freely.
Fungal Gnats
These tiny flies love moist soil. To prevent infestations, let the top inch of soil dry between waterings and use sticky traps. I also add a thin layer of sand on the soil surface to discourage egg laying. Fungal gnats seldom harm established cuttings, but they are annoying.
Slow Root Development
If roots take longer than three weeks, check the temperature. Cool windowsills in winter slow metabolic processes. Use a heat mat set to 75 degrees Fahrenheit under the pot. I tried this with a second batch, and roots appeared in just ten days.
Key Takeaways from My Experience
The entire process, from cutting to potted plant, took me 14 days. That timeline is realistic for healthy Semi-hardwood cuttings under optimal conditions. The key variables are light, humidity, and temperature. Control those, and you succeed.
I now have four young hibiscus plants growing on my windowsill, all started from one parent. They are compact, bushy, and ready to bloom in a few months. Each time I see them, I am reminded that propagation is not just about saving money. It deepens your connection to the plant and teaches you its language.
The Royal Horticultural Society notes that home propagation also reduces demand on commercial nurseries, making it an environmentally friendly choice. I like knowing my small window garden contributes to something larger.
Frequently Asked Questions
Can I propagate hibiscus in water on a windowsill?
Yes, you can root cuttings in water, but I do not recommend it. Water grown roots are weaker and struggle when transferred to soil. The transition often causes shock and dieback. Soil propagation in a humidity dome produces hardier roots that adapt immediately to potting mix. If you try water, change it every three days and transplant once roots are one inch long.
How do I know if my cutting has rooted?
Gently tug the cutting after ten days. If it resists lifting, roots have formed. You may also see white root tips through the drainage holes. Do not dig up the cutting to check; this damages delicate new roots. Trust the tug test.
What if my windowsill is too cold in winter?
Move the humidity dome to a warmer spot, like a shelf near a radiator but not directly on it. Alternatively, use a heat mat designed for seedlings. Place it under the pot and set the thermostat to 75 degrees Fahrenheit. Cold slows root growth dramatically.
That is my complete method for how to propagate hibiscus in a windowsill. I have refined it through trial and error, and I am confident it works. Start with healthy cuttings, maintain the right environment, and do not rush the process. Your windowsill can become a mini nursery, producing beautiful hibiscus plants for years to come.