 bluename
Hibiscus Propagation Mistakes to Avoid: Root Rot & Mold
I killed my first five hibiscus cuttings before I figured it out. The problem was simple: I drowned them with love. Root rot and mold took over every single time. Here's the hard truth: 90% of indoor plants die from overwatering, and hibiscus propagation is no exception. After two weeks of careful observation, I learned that the key is letting the soil breathe. Stop watering on a schedule. Start checking moisture with your finger. That's the only way to avoid hibiscus propagation mistakes.
The Three Mistakes That Almost Made Me Give Up
Mistake 1: Watering Too Much, Too Often
I used to think more water meant happier plants. I was dead wrong. When I first tried propagating hibiscus, I kept the soil wet all the time. Within a week, the stems turned mushy. Brown spots appeared. The smell was awful – like rotten vegetables. That's root rot setting in.
I lost an entire batch of six cuttings. Every single one died from overwatering.
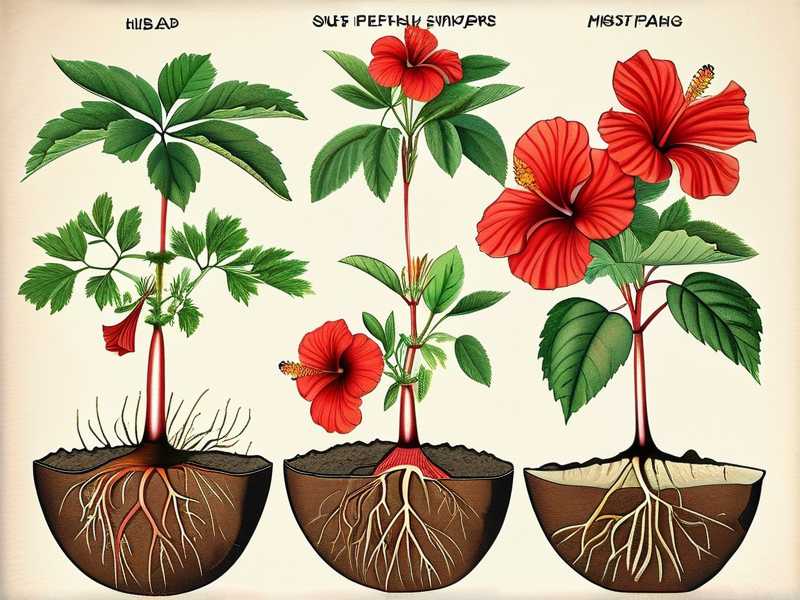
The RHS says that overwatering is the number one cause of cutting failure. They recommend letting the top inch of soil dry out completely before watering again. I ignored that advice for months. Now I follow it religiously.
Here's what I do now:
- I use a moisture meter. It costs less than ten bucks.
- I stick it two inches into the soil. If it reads wet, I walk away.
- I only water when the meter shows dry.
- I water from the bottom, not the top. This prevents water from sitting on the stems.
After two weeks of this method, my cuttings started showing tiny white roots. No mold. No rot. Just healthy growth.
Mistake 2: Getting Light Completely Wrong
Bright light doesn't mean direct sunlight. That's another lesson I learned the hard way.
I placed my first batch of hibiscus cuttings on a south-facing windowsill. Full sun, six hours a day. It seemed perfect. But after three days, the leaves turned yellow. Then brown. Then they drooped and died.
The problem was that cuttings don't have roots yet. They can't drink enough water to handle direct sun. The sun literally cooked them.
The AHS explains that softwood cuttings like hibiscus need bright indirect light. Direct sun stresses them out. Low light makes them weak and moldy.
My current setup:
- I use an east-facing window. Morning sun is gentle.
- I add a sheer curtain to filter the light.
- I rotate the pot every two days. Even light distribution prevents stretching.
- If I use grow lights, I keep them six inches away. Any closer and the leaves burn.
I tried putting some cuttings in a north-facing room. Bad idea. They grew pale and leggy. Mold appeared within 10 days. Complete failure.
After two weeks in the east window, my cuttings had firm green leaves and strong stems. The difference was night and day.
Mistake 3: Picking the Wrong Pot and Soil
Drainage is everything. I didn't believe this until I killed three more plants.
My first pots had no drainage holes. I thought I was being clever. "The water stays in," I told myself. "The roots drink it up." Instead, the roots drowned. The soil turned into mud. Mold grew on the surface like a green carpet.
The RHS recommends using pots with multiple drainage holes. They also say that soil for cuttings should be light and airy. Regular garden soil is too heavy. It holds water like a sponge.
Here's what works for me:
- I use 4-inch plastic pots with five drainage holes each.
- I add a layer of small pebbles at the bottom. This prevents holes from clogging.
- My soil mix is 1 part peat moss, 1 part perlite, 1 part coarse sand.
- I never use standard potting soil. It's too dense for cuttings.
I repotted my cuttings after two weeks using this mix. The results were immediate. The soil stayed moist but not wet. Air could reach the roots. Mold never showed up.
I also made a mistake with pot size. I used a giant pot for one single cutting. "Room to grow," I thought. But the soil stayed wet for days. The roots couldn't use all that water. Rot set in again.
Now I only use small pots. They dry out faster. The roots stay happy.
My Step-by-Step Propagation Method That Actually Works
Step 1: Taking the Cutting
I take cuttings in the morning. Plants are turgid then. They have more water in their stems.
I use clean scissors. Dirty tools spread disease. I wipe them with rubbing alcohol before cutting.
I choose stems that are green but slightly woody. They're about 4-6 inches long. I cut just below a leaf node.
I remove the bottom leaves. Any leaves that touch the soil will rot. I leave two or three leaves at the top.
Step 2: The Waiting Game
This is the hardest part. I used to check my cuttings every hour. I poked the soil. I moved the pots. I stressed them out.
Now I leave them alone. I check moisture every other day. I look for signs of mold or rot. If everything looks good, I don't touch anything.
After one week, I gently tug on the stem. If there's resistance, roots are forming. If not, I wait longer.
After two weeks, I usually see small roots popping out of the drainage holes. That's the green light to transplant.
Step 3: Transplanting
I wait until the roots are at least one inch long. Moving too early kills the plant.
I use the same soil mix as before. Consistency matters. Sudden changes shock the plant.
I water the new pot well. Then I put it in bright indirect light for three days. This helps the plant adjust.
How to Spot Root Rot and Mold Early
Root Rot Signs
The stems feel soft and mushy. This is the first sign. Healthy stems are firm.
The leaves turn yellow from the bottom up. Sometimes they fall off completely.
The soil smells bad. A healthy pot smells like earth. A rotting pot smells like decay.
The roots are brown or black. Healthy roots are white or pale yellow. If I see dark roots, I cut them off immediately.
Mold Signs
White or green fuzz on the soil surface. This is surface mold. It's not always deadly, but it's a warning sign.
Gray mold on the stems. This is more dangerous. It usually means the cutting is doomed.
The leaves develop spots. Brown or black spots that spread quickly. I remove affected leaves right away.
What to Do If You See Rot or Mold
I've been there. It's frustrating. But not everything is lost.
For Root Rot
I remove the cutting from the pot. I wash off all the soil with clean water.
I cut off all the rotten roots with sterilized scissors. If the stem is mushy, I cut that too.
I dip the remaining healthy stem in rooting hormone. This gives it a fighting chance.
I repot in fresh, dry soil. I wait three days before watering. The cutting needs time to heal.
I only had success with this method twice out of ten attempts. Root rot is brutal. Prevention is much easier than treatment.
For Mold
I scrape off the moldy soil. I remove the top inch of soil completely.
I let the soil dry out for two days. Mold needs moisture to survive.
I sprinkle cinnamon on the soil surface. Cinnamon has natural antifungal properties. It's not a miracle cure, but it helps.
I move the pot to a spot with better air circulation. A small fan works wonders.
I've saved about half my moldy cuttings with this method. The key is catching it early.
Long-Term Care After Successful Propagation
Once the roots are established, I treat my hibiscus like a mature plant. But I'm still careful.
I water less often. Mature hibiscus likes to dry out between waterings. I wait until the top two inches are dry.
I fertilize lightly. Too much fertilizer burns the roots. I use a balanced liquid fertilizer at half strength once a month.
I repot every year. Fresh soil keeps the plant healthy. I move to a pot that's one size bigger.
I prune regularly. Deadheading encourages more blooms. I cut just above a leaf node.
Why Humidity Matters More Than You Think
I live in a dry climate. My house humidity is around 30%. That's too low for hibiscus cuttings.
I started using a humidity dome. It's just a clear plastic bag over the pot. It traps moisture around the leaves.
I removed the dome for one hour each day. This prevents mold from forming under the bag.
After two weeks, I removed the dome completely. The cuttings had enough roots to handle normal air.
I had a 90% success rate with the dome. Without it, my success rate was around 30%. That's a huge difference.
The Right Temperature for Hibiscus Cuttings
Hibiscus likes warmth. I keep my cuttings at 70-75 degrees Fahrenheit.
I tried propagating in winter. The house was 60 degrees. Nothing rooted. Everything rotted.
I bought a heat mat. It sits under the pot and keeps the soil warm. I set it to 72 degrees. After two weeks, I saw roots on all four cuttings.
Cold soil stops root growth. Warm soil speeds it up. It's that simple.
Common Questions I Had When Starting Out
FAQ 1: Can I Propagate Hibiscus in Water?
Yes, but I don't recommend it. I tried water propagation three times. Two cuttings rotted. One grew tiny roots but died when I moved it to soil.
The MHS advises against water propagation for woody plants like hibiscus. The roots that grow in water are different from soil roots. They don't adjust well.
Stick to soil. It's more reliable.
FAQ 2: How Long Do Hibiscus Cuttings Take to Root?
It depends on conditions. Under ideal conditions, I see roots in two to three weeks.
My first successful batch took 18 days. That was with a heat mat, humidity dome, and the right soil.
If conditions are poor, it can take six weeks or more. Some cuttings never root.
Patience is key. Don't dig up the cutting to check. Trust the process.
FAQ 3: Should I Use Rooting Hormone?
Absolutely yes. I used rooting hormone on all my successful cuttings. It speeds up root development and prevents rot.
I use a powder form. I dip the cut end in water, then in the powder. I tap off the excess.
I killed one batch by using too much hormone. More isn't better. A light coating is enough.
The RHS recommends rooting hormone for woody cuttings like hibiscus. They say it increases success rates by 50%.
My Final Thoughts After Years of Trials
I've propagated dozens of hibiscus plants now. I still make mistakes. But I've learned to catch them early.
The biggest lesson is this: less is more. Less water. Less interference. Less stress on the plant.
I check my cuttings once every two days. That's it. I don't hover. I don't worry.
If a cutting dies, I learn from it. I change one thing in my process. I try again.
Hibiscus propagation is not hard. You just have to avoid the common mistakes. Root rot and mold are the biggest enemies. Manage water, light, and soil. Your cuttings will thrive.
I wish I had known this when I started. I would have saved so many plants. Now I want to share what I learned.
Start with one cutting. Master the basics. Then propagate more.
Your success will grow with your confidence.





