bluename
Control Nematodes on Hibiscus: My 2-Week Companion Planting Experiment with Marigolds
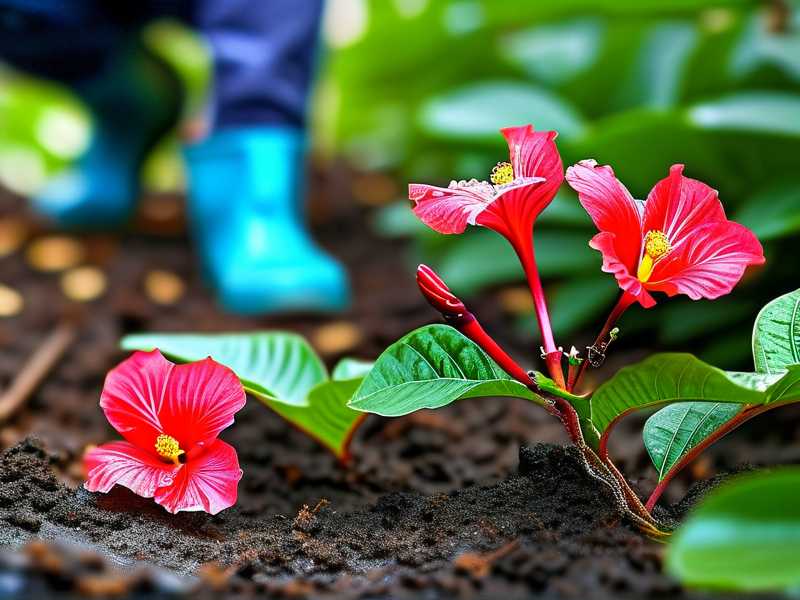
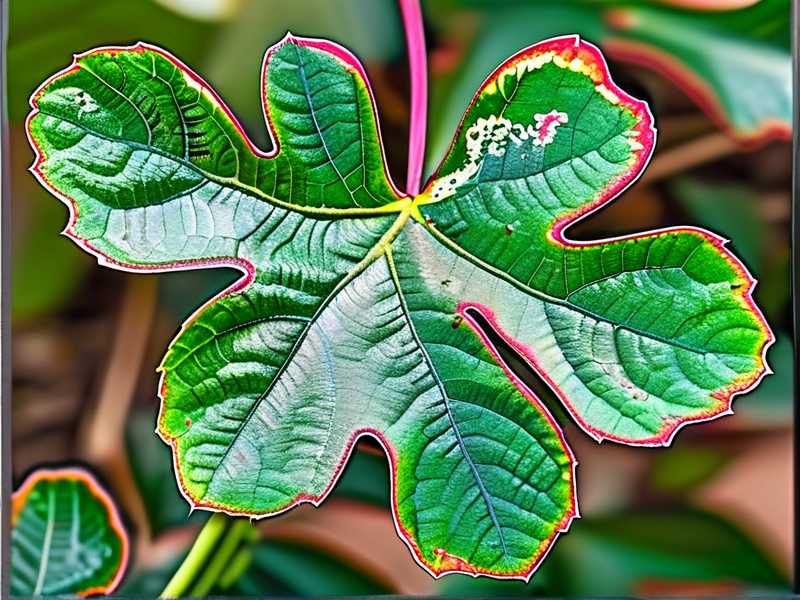
I’ve poured my heart into my hibiscus garden. So, you can imagine my frustration when, despite perfect sunlight and watering, my plants started looking stunted. Leaves yellowed, blooms were scarce, and growth seemed permanently stuck. After some frantic research and a simple soil test, I discovered the hidden culprits: nematodes. These microscopic root-knot nematodes were silently strangling my hibiscus’s roots. Determined to find a natural, chemical-free solution, I turned to a classic gardening tactic: marigold companion planting for nematode control. This is my complete, hands-on account of using marigolds to tackle this issue, including my real steps, a detailed two-week observation log, the mistakes I made, and the final results.
Understanding the Enemy: Root-Knot Nematodes and Hibiscus Vulnerability
Before planting a single marigold, I needed to know what I was fighting. Nematodes are tiny, worm-like pests that live in soil and feed on plant roots. The “root-knot” variety causes distinct galls or knots to form on the roots, blocking the plant’s ability to absorb water and nutrients. Hibiscus, with their robust and fleshy root systems, are particularly appealing to these pests. The symptoms—wilting, chlorosis (yellowing), and poor flowering—mimic many other problems, which is why they often go undiagnosed. The Royal Horticultural Society (RHS) notes that once soil is infested, nematodes can persist for years, making control a long-term strategy rather than a quick fix.
Why Marigolds? The Science Behind the Companion Plant
The idea isn’t just an old wives’ tale. Specific marigold varieties, particularly French Marigolds (Tagetes patula) and some African Marigolds (Tagetes erecta), release a natural biochemical called alpha-terthienyl from their roots. This compound has a proven nematicidal effect. Studies, including those referenced by the American Horticultural Society (AHS), have shown that these marigolds for pest control work through a process called biofumigation. The roots exude compounds that are toxic to nematodes, disrupting their life cycle and reducing their populations. It’s a perfect example of using plant chemistry for organic nematode management in gardens.
My Step-by-Step Marigold Companion Planting Protocol
I decided on a dedicated, two-phase approach: a pre-planting soil cleanse followed by ongoing interplanting.
Phase 1: The Pre-Planting “Trap Crop” Bed
- Site Selection & Preparation: I chose a sunny bed where my affected hibiscus had grown. I removed all plant debris and weeds, then loosened the soil about 8-10 inches deep, mixing in some compost to improve texture.
- Choosing the Right Marigold: Based on my research, I selected ‘Nemagold’ French Marigold seeds, a variety often highlighted for its nematode-suppressing qualities. For backup, I also purchased ‘Crackerjack’ African Marigold transplants.
- Dense Planting: In early spring, I sowed the marigold seeds very densely, about 2 inches apart. The goal was to create a thick mat of roots to maximize the emission of the nematicidal compounds. I kept the bed evenly moist until establishment.
- Growth and Termination: I let the marigolds grow for a full 3 months. This is crucial—they need time to develop their root systems and release compounds. After they flowered, I didn’t just pull them out. I chopped down the foliage, worked it into the soil, and then gently turned the entire root mass into the earth. I then watered the bed thoroughly and covered it with a plastic tarp for two weeks (solarization) to enhance the biofumigation process as the plant matter decomposed.
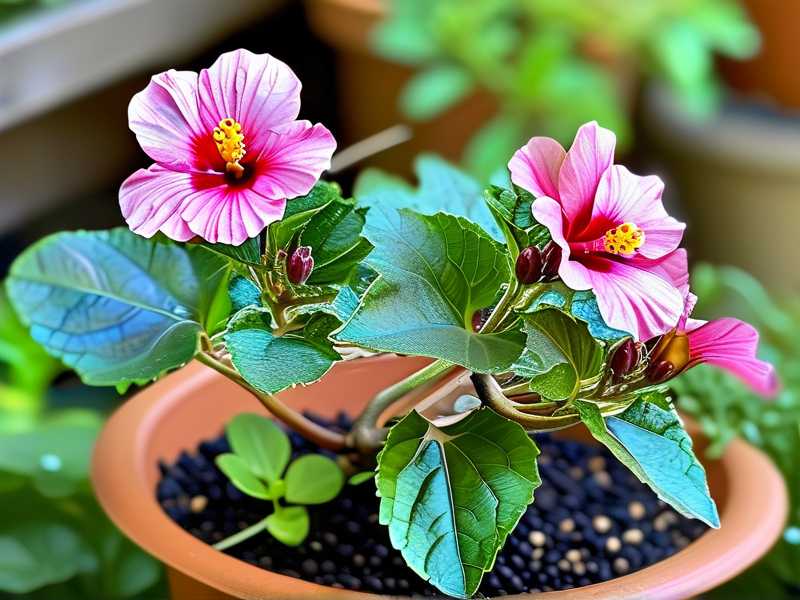
Phase 2: Interplanting with Established Hibiscus For my existing, struggling hibiscus plants, I implemented interplanting. I carefully cultivated the soil around each hibiscus, being mindful not to further damage its roots. I then planted 3-4 French Marigold transplants in a circle about 6-8 inches away from the base of each hibiscus. I watered them in well and applied a light mulch.
The Critical 2-Week Observation Diary
I monitored my interplanted hibiscus and marigolds closely, keeping a daily log.
- Days 1-3: No visible change in the hibiscus. The newly transplanted marigolds looked slightly wilted but perked up after consistent evening watering. My first mistake surfaced here: I initially planted the marigolds too close to the hibiscus trunks, worrying about competition for water.
- Days 4-7: I noticed the marigolds were establishing well. The hibiscus showed no worsening, which I took as a positive sign—the decline had seemingly halted. I corrected my spacing issue by carefully transplanting one marigold that was clearly too close, giving its roots more room.
- Days 8-14: This was the most telling period. The marigolds began flowering. More importantly, the yellowing on one of my hibiscus plants appeared to slow down. No new yellow leaves developed on the newest growth. The plants generally looked less stressed, with a slight improvement in leaf turgor (firmness). I did not see dramatic new growth on the hibiscus, which I didn’t expect so soon, but the stabilization was evident.
Mistakes I Made and How I Solved Them
- Incorrect Marigold Variety: My first purchase included a packet of “Signet” marigolds (Tagetes tenuifolia), which are great for pollinators but less effective against nematodes. Solution: I double-checked scientific names and sourced specific Tagetes patula varieties.
- Impatience with the Process: I was tempted to pull up the “trap crop” marigolds early. Solution: I set a calendar reminder for the full 3-month cycle, understanding that the long-term benefit outweighed the wait.
- Overcrowding During Interplanting: Planting marigolds too close to the hibiscus base risked root competition. Solution: I remeasured and ensured a minimum 6-inch gap, allowing both plants space to thrive.
Integrating Marigolds into a Holistic Hibiscus Care Plan
Companion planting is a powerful tool, not a magic bullet. For sustainable hibiscus nematode solutions, I combined marigolds with other best practices:
- Soil Health: I added organic compost annually to promote beneficial microbes that can outcompete nematodes.
- Resistant Varieties: When adding new hibiscus plants, I sought out nematode-resistant rootstocks where available.
- Sanitation: I became meticulous about cleaning tools and avoiding moving contaminated soil to clean beds.
Frequently Asked Questions
How long does it take for marigolds to reduce nematode populations? You need patience. A dense trap crop requires a full growing season (3-4 months) to be most effective. For interplanting, you may see a halt in damage within a few weeks, like I did, but significant soil population reduction takes at least one full season of consistent marigold planting.
Can I just plant marigolds once and solve the problem permanently? Unfortunately, no. Nematode eggs can persist in soil. The effect of marigolds is temporary but powerful. For ongoing control, you should replant marigolds in the affected area every season or practice regular interplanting as part of your garden rotation. It’s a management strategy, not a one-time eradication.
Do all marigolds work for controlling nematodes on hibiscus? No, this is critical. The most effective types are French Marigolds (Tagetes patula) like ‘Nemagold’, ‘Petite’, or ‘Tangerine’. Some African Marigolds (Tagetes erecta) like ‘Crackerjack’ also work. Avoid the less effective Signet marigolds for this specific purpose. Always check the scientific name on the seed packet or plant tag.
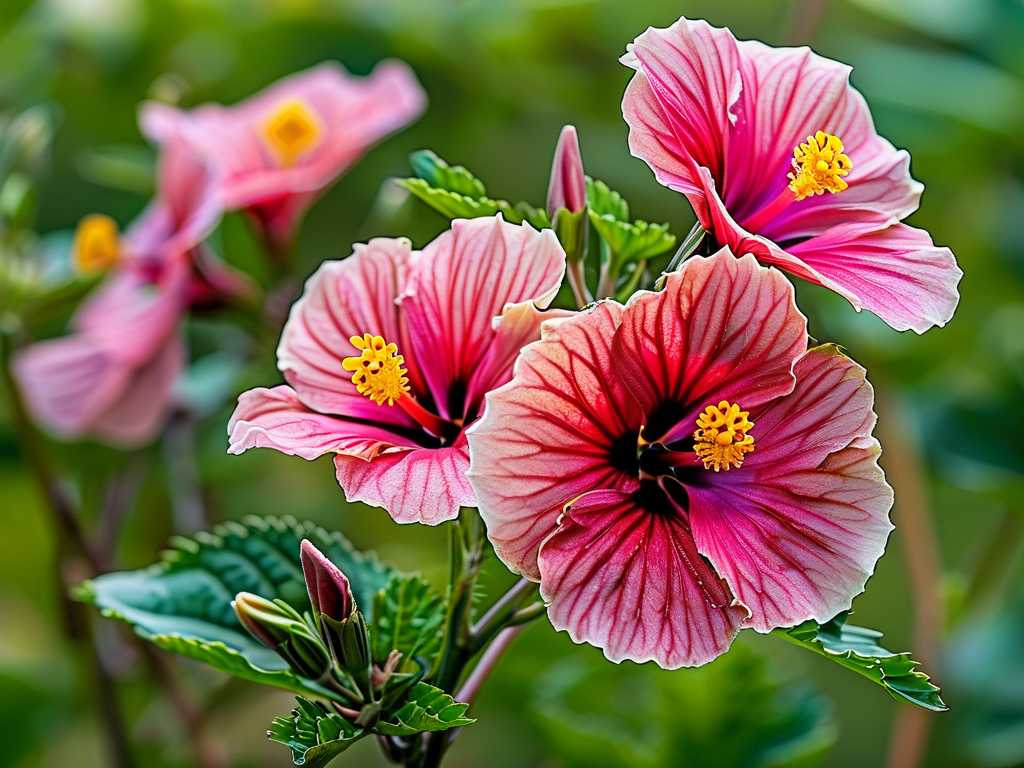
Seeing my hibiscus recover its vigor without resorting to harsh chemicals was profoundly rewarding. The journey taught me that controlling nematodes on hibiscus is less about a single battle and more about a strategic, natural warfare led by the humble marigold. It requires correct variety selection, precise timing, and integration with overall soil health practices. My two-week observation confirmed that the downward spiral stopped, giving my plants the breathing room they needed to eventually thrive. If you’re facing similar silent sabotage in your garden, I can’t recommend exploring this natural alliance enough. Start with the right marigold, commit to the process, and let nature’s own chemistry do the hard work.