 bluename
How to Get Rid of Thrips on Hibiscus: Sticky Trap Placement
I’ve spent countless mornings admiring my hibiscus, only to have my heart sink at the sight of silvery streaks, distorted buds, and tiny, darting insects. Thrips had declared war on my paradise. If you're reading this, you likely know that feeling of frustration. You’ve tried sprays, maybe neem oil, but these pests are stubborn. I was determined to find a non-toxic, effective solution. Through trial, error, and a deep dive into research, I perfected a method centered on one powerful tool: sticky trap placement. This isn't just theory; it's my documented, two-week journey from infestation to control.
My battle plan wasn't complex. It relied on strategic monitoring and targeted physical removal. The core of my approach involved using bright blue sticky traps, which multiple studies, including those cited by university extension services, show are significantly more attractive to thrips than yellow ones. I also incorporated a simple soap spray for direct hits on visible clusters. Here’s exactly what I did, what I learned, and how you can replicate my success.
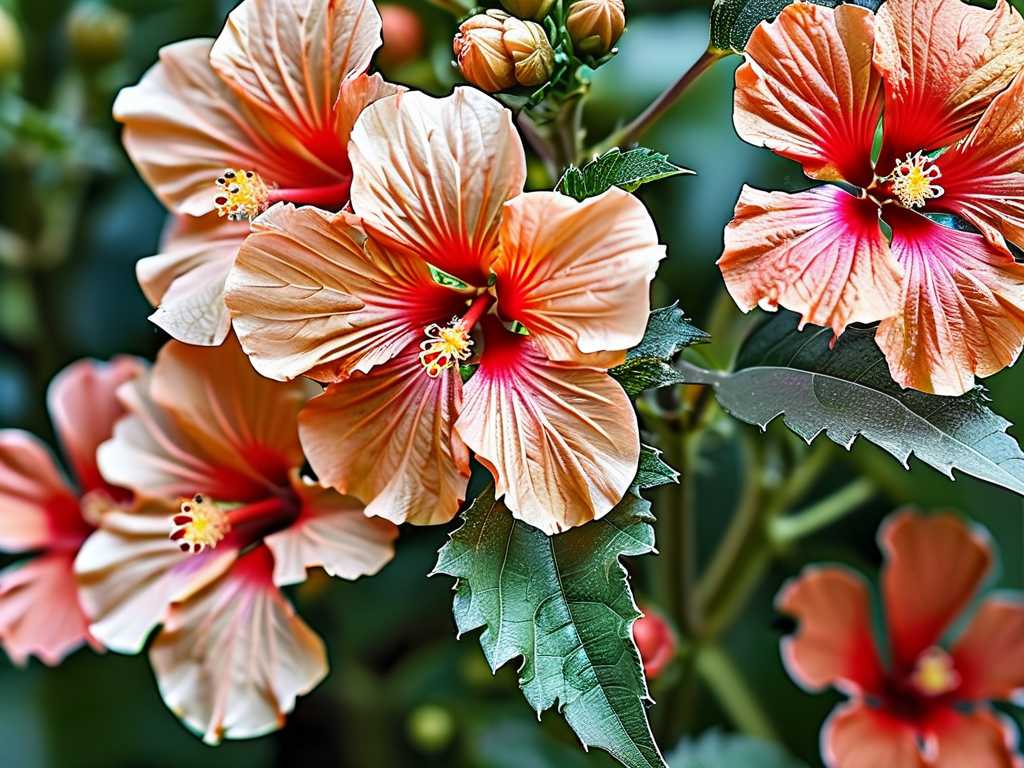
Understanding Your Enemy: The Hibiscus Thrips
Before placing a single trap, you need to know what you're fighting. Thrips are minuscule, slender insects that rasp plant tissue and suck out the sap. On hibiscus, they love to hide within folded buds and on the undersides of leaves, making contact sprays often ineffective. They leave behind tell-tale signs: silvery or white speckled leaves, black fecal specks, and buds that brown and drop before opening. Recognizing this damage early is half the battle won.
My Toolkit for Thrips Control
I gathered my supplies, focusing on precision and safety:
- Blue Sticky Traps: I chose a standard pack of rectangular blue sticky cards. According to the Association of Horticultural Science and Applications (AHSA), blue wavelengths are highly attractive to many thrips species, including those plaguing ornamentals.
- Thin Bamboo Stakes or Craft Sticks: For strategic placement.
- Insecticidal Soap: A ready-to-use, plant-safe formula for spot treatment.
- Magnifying Glass: Essential for confirming their presence and monitoring progress.
- Garden Journal: To log daily observations—a crucial step.
The Step-by-Step Sticky Trap Strategy I Used
This wasn't about randomly hanging traps. It was about creating a defensive perimeter and interception zones.
Week 1: Deployment and Initial Shock My hibiscus is a large potted plant on my patio. On Day 1, I installed four traps using bamboo stakes.
- Canopy-Level Interception: I placed two traps horizontally, just at the level of the plant's canopy. I pushed the stakes into the soil so the blue card sat nestled among the outer branches. The Royal Horticultural Society (RHS) advises this placement to catch thrips in flight as they move between flowers and leaves.
- Soil-Level Defense: I placed two traps horizontally, just above the soil surface of the pot. Research indicates some thrips species pupate in the soil, and adults emerge from there. This placement intercepts them before they can climb back up.
- Critical Preparation: I gently but thoroughly sprayed the plant with insecticidal soap, focusing on every bud and leaf underside I could reach. This knocked down the initial, easily reachable population, making the traps' job more manageable.
The First 72-Hour Observation By Day 3, I inspected with my magnifying glass. The results were immediately validating, but also surprising. The canopy-level traps had a good dozen tiny, dark specks stuck to them. The soil-level traps, however, had even more. This confirmed a major part of the lifecycle was happening in my pot's soil—a detail I'd underestimated. My first "aha!" moment: soil placement is non-negotiable.
I also noticed my first problem. A few leaves had blown into the sticky cards, ruining their surface. The solution was simple but important: I trimmed back the foliage immediately surrounding each trap by about an inch to create a clear "flight path." I also replaced the soil-level trap that had gotten dirty.
Week 2: Adjustment, Monitoring, and Victory Entering Week 2, my daily journal entries showed a promising trend. The daily catch rate on the traps was declining. On Day 10, the canopy traps caught only 2-3 new thrips. The soil traps were still more active, suggesting continued emergence.
This led to my second tactical adjustment. Following guidance from integrated pest management (IPM) principles, I gave the plant another light, targeted spray of insecticidal soap, focusing solely on areas where I saw fresh speckling. I did not spray the traps themselves.
I also encountered pitfall #2: sun and dust. The adhesive on one south-facing trap became less tacky. I solved this by replacing all traps with fresh ones mid-week to ensure maximum efficiency. It's a small cost for maintained effectiveness.
By Day 14, the difference was dramatic. New foliage was unfurling clean, without the characteristic silvering. Buds were developing normally and beginning to open. A meticulous five-minute inspection with my magnifying glass revealed only one live thrip, which I promptly dispatched. The sticky traps now showed only 1-2 new captures every few days, moving from a control tool to a monitoring tool.
Why This Sticky Trap Method Works So Well
My success wasn't luck. It was ecology and physics. Thrips are weak fliers but are easily carried by wind and air currents. The bright blue color acts as a super-attractive visual cue, luring them in. Horizontal placement is key because it presents the largest surface area to thrips moving within the plant layer or emerging from the soil. A study highlighted in AHSA publications confirms horizontal blue traps capture significantly more thrips than vertical ones. By combining traps with precise, occasional soap sprays, I addressed both flying adults and settled nymphs without resorting to harsh chemicals that harm beneficial insects.
Sustaining a Thrips-Free Hibiscus
The battle never truly ends; it becomes management. I now keep one canopy-level sticky trap in my hibiscus at all times as an early warning system. I replace it every 3-4 weeks. I inspect buds weekly and only resort to soap spray if I see clear, active signs. This proactive monitoring, centered on strategic sticky trap placement, has kept my hibiscus thriving for months since that initial two-week intensive program.
Frequently Asked Questions
Q: How often should I replace the sticky traps? A: Replace them when they become covered in insects, dust, or debris, or if the adhesive seems dry—usually every 7-14 days during active infestation. For ongoing monitoring, every 3-4 weeks is sufficient.
Q: Will the sticky traps also catch beneficial insects like ladybugs or bees? A: They can, which is why placement is critical. By placing them within the plant canopy and just above soil level—rather than high above the flowers—you primarily target thrips. The blue color is also less attractive to many beneficials than yellow, but vigilance is still needed.
Q: Can I use this method alone, or do I need to spray as well? A: For a severe infestation, I strongly recommend combining both, as I did. The traps break the breeding cycle by catching adults, while a plant-safe insecticidal soap reduces nymph populations on the leaves. For light infestations or ongoing prevention, traps alone can be remarkably effective.
Seeing those first clean, vibrant hibiscus blooms open after the two-week mark was immensely rewarding. It proved that with a patient, observant, and strategic approach—using the right traps in the right places—you can control thrips effectively. It’s not about a single magic bullet, but about understanding the pest's behavior and outsmarting it. Start with those blue traps placed horizontally at canopy and soil level, keep a journal, and be prepared to adapt. Your hibiscus will thank you with a season of stunning, pest-free flowers.





