 bluename
Hibiscus Gray Mold Treatment: Remove Infected Blooms Fast
There's nothing more disheartening for a hibiscus lover than watching those vibrant, dinner-plate-sized blooms turn into a soggy, gray-brown mess. I know the feeling all too well. You've nurtured your plant, waited eagerly for buds to form, only to find them covered in a fuzzy gray mold before they can even fully open. This is Botrytis cinerea, commonly known as gray mold, and it's a wet-weather nightmare. If you don't act fast, it doesn't just ruin the flowers—it can spread to stems and leaves, severely weakening your prized plant. After losing an entire season's display to this fungal menace, I dedicated myself to finding a treatment protocol that actually works. What follows is my hands-on, two-week battle plan to save your hibiscus blooms, born from trial, error, and ultimate success.
My initial mistake was being too gentle. I'd pick off the obviously moldy petals, but I was timid. The key to hibiscus gray mold treatment is speed and thoroughness in removing infected material. This isn't a time for sentimentality.
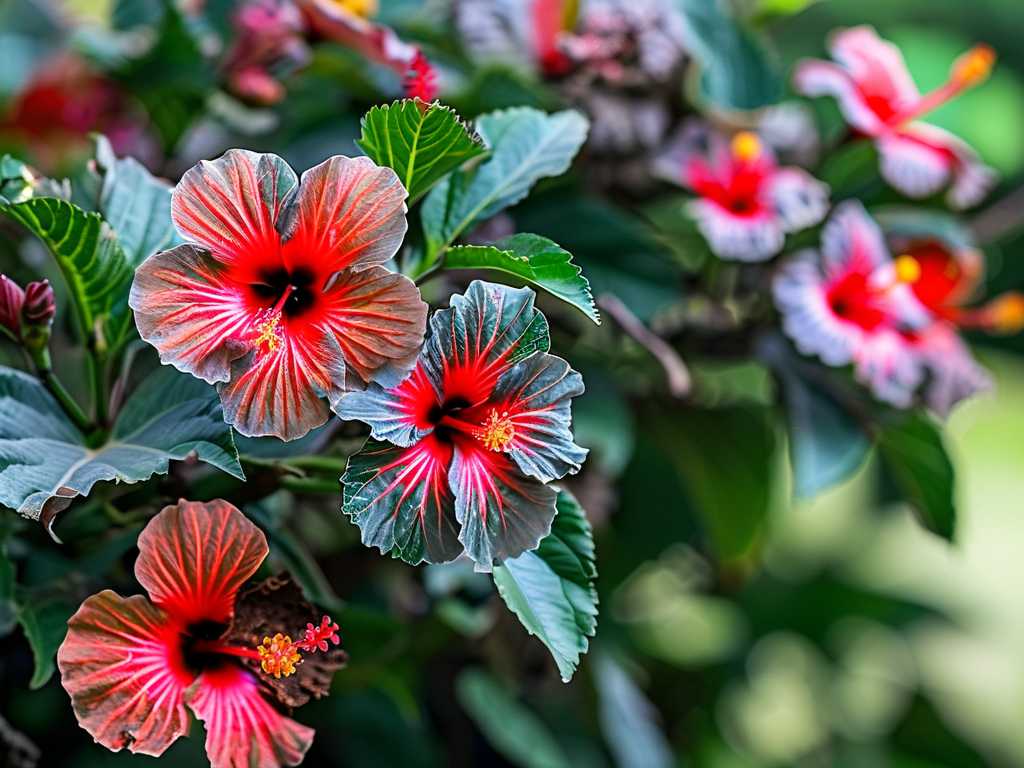
Step 1: The Immediate and Radical Removal
As soon as I spotted the first signs—water-soaked spots on petals or that telltale dusty gray spores—I geared up. I put on disposable gloves to prevent spreading spores and grabbed a pair of pruning shears and a sealed plastic bag.
- The Cut: I didn't just remove the flower. I traced the flower stem back to where it meets a main branch or a leaf node and made a clean cut there. Botrytis can travel down the flower stem, so removing it entirely is crucial. For blooms that were just starting to show a spot, I still removed the entire flower. It was a sacrifice, but a necessary one.
- Containment: Every single infected bloom, bud, or leaf went directly into the plastic bag without letting it touch other parts of the plant or the ground. I sealed the bag immediately and disposed of it in the trash, not the compost pile. Composting can harbor and spread the spores.
Step 2: Creating an Unfriendly Environment
Gray mold thrives in moisture and poor air circulation. My hibiscus was in a slightly crowded corner of the garden. Here's what I changed:
- Strategic Pruning: After the infected blooms were gone, I looked at the plant's structure. I selectively pruned a few non-flowering inner branches to open up the center of the plant. This allowed sunlight and air to penetrate deeper, creating a less humid microclimate.
- Watering Discipline: I switched from overhead watering, which wets the flowers and leaves, to drip irrigation at the base of the plant. If I had to water by hand, I did it early in the morning so the sun could quickly dry any accidental splashes on the foliage.
- Cleanliness: I meticulously cleared all fallen petals, leaves, and debris from the soil surface around the plant. This decaying organic matter is a prime breeding ground for Botrytis.
Step 3: Applying a Treatment – My Choice and Caution
For severe cases, cultural controls (removal and environment) might need reinforcement. I opted for an organic fungicide containing potassium bicarbonate. According to the American Horticultural Society (AHS), bicarbonate-based fungicides can effectively suppress powdery mildew and other fungi by altering surface pH, and they are considered a lower-risk option for garden ecosystems.
I mixed it precisely as per the bottle's instructions. My application method was critical:
- I sprayed in the cool, calm evening hours to prevent leaf burn.
- I focused coverage on the buds, stems, and the soil surface, ensuring thorough but not drenching coverage.
- Important Note: I tested the spray on a single leaf first and waited 48 hours to check for phytotoxicity. Always follow this precaution and the product's label exactly. The Royal Horticultural Society (RHS) advises that while fungicides can help protect new growth, the cornerstone of managing botrytis on flowering plants remains sanitation and environmental control.
The Two-Week Observation: A Rollercoaster
- Days 1-3: After the initial drastic cleanup, the plant looked bare but clean. I remained vigilant, inspecting twice daily.
- Days 4-7: This was the critical period. I found two small buds on a lower, shaded branch starting to develop a gray fuzz. It was discouraging, but it proved my environmental changes weren't yet fully effective in that spot. I removed them immediately with the bag-and-seal method. This was the "pitfall" I hit—missing hidden, less-visible buds during the first pass.
- Days 8-14: The tide turned. With the continued dry weather (I even used a small fan on low for a few hours a day to improve airflow around the potted plant), no new infections appeared. The remaining healthy buds began to swell and, beautifully, open fully without a trace of mold. The plant's energy, now not wasted on fighting disease, seemed to go into producing more new buds. By the end of the second week, I had a hibiscus with fewer but perfectly clean, thriving flowers, and the cycle of infection was broken.
Why This Integrated Approach Works
Simply spraying a fungicide is a temporary fix if the underlying conditions are perfect for mold. My approach combines the core principles of integrated pest management:
- Physical Eradication: Removing the pathogen's food source and hiding places.
- Environmental Manipulation: Making the habitat unsuitable for spore germination and growth.
- Judicious Intervention: Using a supportive treatment only when necessary and as a protectant, not a cure-all.
This method aligns with expert guidance. The RHS consistently emphasizes that with Botrytis, "promptly removing infected plant parts" is the single most important action. The AHS also highlights improving air circulation as a fundamental practice for preventing a wide range of fungal diseases in the garden.
Addressing Your Concerns
Will removing so many blooms hurt my plant? Not in the long run. In fact, it helps it. The plant stops expending energy on doomed, infected flowers and redirects it to root and new growth. Think of it as a necessary pruning. My hibiscus bounced back with more vigor after the crisis was managed.
Can I use a homemade spray like vinegar or baking soda? I strongly advise against it. While baking soda (sodium bicarbonate) is often mentioned, the concentration is tricky. Too weak, it's useless; too strong, it can severely damage the plant's sensitive foliage through salt buildup or pH shock. The commercial potassium bicarbonate products are formulated to be safer and more effective. My own early experiment with a baking soda mix resulted in leaf scorch, setting my plant back further.
How do I prevent gray mold from coming back next season? Prevention starts in fall. Continue impeccable sanitation by clearing all dead material. During the growing season, maintain that open plant structure through light pruning, water at the base, and ensure your hibiscus gets plenty of morning sun to dry the dew. Consider spacing plants more generously. It's about creating an environment where your hibiscus can thrive, and Botrytis cannot.
Seeing those first clean, velvety red blooms unfurl after two weeks of diligent care was immensely satisfying. Effective hibiscus gray mold control is not about a single magic potion; it's a responsive system of observation, immediate action, and changing the rules of the game in your garden. It requires you to be ruthless with infected blooms but gentle in fostering a healthy environment. Start with the snip, seal the bag, change your watering habits, and give your plant room to breathe. Your reward will be a season of stunning, mold-free flowers that are as resilient as they are beautiful.





