 bluename
Hibiscus Scale Insect Control: My Journey with Horticultural Oil Application
I’ll be honest—the day I first noticed those tiny, waxy, brownish bumps clinging stubbornly to the stems and undersides of my prized hibiscus leaves, my heart sank. It wasn't the vibrant blooms I cherished, but a silent invasion: scale insects. They were sapping the life from the plant, leaving behind sticky honeydew and sooty mold. I knew I had to act, but the array of chemical pesticides felt like overkill for my garden sanctuary. That’s when I turned to a classic, gentler solution: horticultural oil. This is my detailed, first-hand account of using horticultural oil for hibiscus scale insect control, covering my precise application steps, the crucial two-week observation period, and the practical lessons learned from mistakes along the way.
My goal was clear: eradicate the scale without harming the plant, beneficial insects, or the environment. Horticultural oil, a refined petroleum or plant-based product, works by smothering the insects and their eggs, disrupting their respiration. It’s a contact control, requiring thorough coverage and timing. Experts from the RHS (Royal Horticultural Society) and the AHSA (American Horticultural Society Association) often recommend it as a first line of defense against soft-bodied pests like scale due to its low toxicity and minimal residual impact when used correctly.
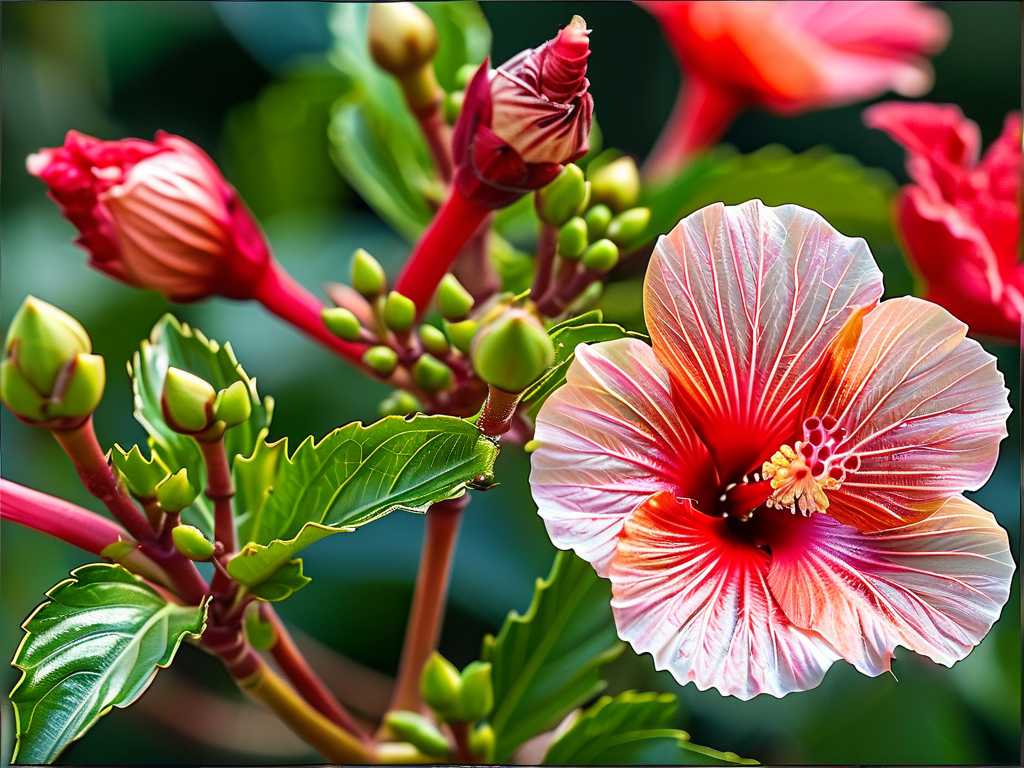
Understanding the Enemy: Hibiscus Scale Insects
Before mixing any solution, I needed to know what I was fighting. Scale insects on hibiscus are often soft scales or cottony cushion scales. They attach themselves to the plant, forming a protective shield, and feed on sap. The initial signs are subtle—a loss of plant vigor, yellowing leaves, and that unmistakable sticky residue. Ignoring them leads to stunted growth and a magnet for ants and fungal diseases. This identification was crucial because horticultural oil is most effective against the immature “crawler” stage and adults before they become too heavily armored.
My Step-by-Step Horticultural Oil Application Process
I chose a ready-to-use, all-season horticultural oil, ensuring it was suitable for use on hibiscus, which can sometimes be sensitive. Always, always check the label first.
Preparation is Everything I started on a calm, overcast morning when the forecast promised no rain for at least 24 hours and temperatures were steady between 40°F and 85°F (4°C - 29°C). Applying oil in direct, hot sun or freezing temperatures can damage plant tissues—a key point stressed in AHSA guidelines. I moved my potted hibiscus to an open area on my patio. My toolkit included my spray bottle, a soft toothbrush, pruning shears (sterilized with rubbing alcohol), and a bucket of mild soapy water.
The Pruning and Pre-Cleaning Phase First, I put on gardening gloves. I carefully pruned away the most heavily infested stems and leaves, disposing of them in a sealed bag, not the compost. Then, for light infestations on thicker stems, I gently used the damp toothbrush to dislodge some of the visible scale. This mechanical removal, as per RHS advice, increases the oil’s effectiveness by reducing the pest load and breaking through some of the waxy coatings. I rinsed the plant lightly with water to remove dust and loose debris, allowing it to dry for an hour.
Mixing and Application: The Soaking Ritual I shook the bottle well. The instruction called for a specific dilution, but since mine was ready-to-use, I proceeded directly. The golden rule here is complete coverage. I sprayed every part of the plant—the top and bottom of every single leaf, every stem, every node, and even the soil surface lightly. I made sure the oil was dripping off the foliage, forming a fine, consistent film over all surfaces where scale might hide. I paid extra attention to the leaf axils and undersides, their favorite hiding spots. The process was meticulous and took time.
The Critical First 24 Hours After application, I left the plant in its shaded, sheltered spot to dry completely. I resisted the urge to water from above or expose it to sun stress. I monitored for any immediate adverse reaction, like leaf burn or excessive drooping, which can happen if the plant was already stressed or if conditions weren’t ideal.
The Two-Week Observation: A Diary of Recovery
This wasn’t a one-and-done fix. Scale insects have life cycles, and eggs can survive initial treatment. My plan was a follow-up application in 10-14 days, but the interim period was vital for assessment.
Days 1-3: Immediate change. The sticky honeydew was noticeably less. The plant looked a bit “oily,” which is normal. No signs of phytotoxicity (leaf burn). A few ants that were farming the scale seemed disoriented—a good sign.
Days 4-7: The first major observation. The scale insects themselves were changing color. Many turned from brown to a dark, almost black shade. When I probed a few with a toothpick, they were brittle and dry, not juicy—a clear indication they were dead and desiccated. New honeydew production had ceased entirely. The plant showed no new yellowing.
Days 8-10: Here’s where I encountered my first “pitfall and solution.” I noticed a few tiny, pale yellow specks on some new growth—scale crawlers. I had missed them in the first application, or they had hatched from surviving eggs. This is why a second treatment is non-negotiable. I didn’t panic. I simply noted it and prepared for the follow-up.
Days 11-14: I performed the second application exactly like the first, under similar weather conditions. This time, I was even more thorough, targeting the new growth. Over the next few days, these new crawlers also succumbed. By the end of the second week, the plant’s overall demeanor had shifted. New leaves were unfurling without distortion or stickiness. The existing leaves felt cleaner, and the dreaded sooty mold began to fade, able to be wiped away gently.
Lessons Learned: The Pitfalls and My Solutions
My journey wasn’t perfectly smooth. Here are the key challenges I faced and how I solved them:
Pitfall 1: Incomplete Coverage. During my first spray, I missed the inner canopy and some tightly curled leaf buds. Solution: I learned to move the plant and myself around, spraying from multiple angles, and using my hand to gently separate stems for better access.
Pitfall 2: Weather Misjudgment. Once, I applied it in the late afternoon, not realizing nighttime humidity would be very high, slowing drying time. Solution: I now strictly apply only in the morning on days with low humidity and ideal temperature windows, as recommended by product labels and horticultural oil best practices.
Pitfall 3: Impatience with Results. After a few days, some brown scale shells were still attached, making it seem like the treatment failed. Solution: I learned that the dead scales often remain stuck on. The real indicators of success are the absence of new honeydew, the desiccated texture of the scales, and the plant pushing out healthy new growth—not the immediate disappearance of the shells.
Pitfall 4: Neglecting Plant Health. A stressed plant is more vulnerable. Solution: Alongside treatment, I improved my hibiscus care regimen—consistent watering (avoiding wet leaves), a balanced fertilizer to aid recovery, and ensuring ample sunlight. A healthy plant can better withstand and recover from pest pressure.
Ensuring Long-Term Success and Plant Health
Horticultural oil is a fantastic tool, but it’s part of a system. I now make it a habit to inspect my hibiscus and other plants weekly, catching problems early. I encourage natural predators like ladybugs and lacewings. The oil, while smothering pests, has minimal long-term impact on these beneficials if applied correctly. My experience aligns with the integrated pest management (IPM) philosophy endorsed by both the RHS and AHSA: start with the least toxic, most targeted method, observe meticulously, and support overall plant vitality.
What time of year is best for using horticultural oil on hibiscus? Dormant season applications (late winter) target overwintering eggs on deciduous plants, but for hibiscus, which can be evergreen or tender, the best time is during active growth when you see the pests, avoiding extreme heat or cold. The “dormant oil” label can be misleading for non-deciduous plants; always use the correct “all-season” or “summer” oil formulation for treating scale on foliage.
Can I use horticultural oil on a hibiscus that is flowering? Yes, you can, but with caution. Avoid directly soaking the open blooms, as the oil can cause spotting or premature drop. It’s better to focus the spray on the stems, branches, and leaf undersides where the scale resides. If the infestation is severe, the benefit of saving the plant outweighs potential flower loss.
How often can I safely apply horticultural oil? Do not apply more frequently than every 7-14 days during an active infestation, and typically no more than 3-4 times in a season. Over-application can stress the plant by clogging its pores (stomata). The two-week observation and re-treatment plan I followed is a standard, safe protocol. Always allow the plant to recover between treatments.
Seeing my hibiscus bounce back, its leaves lush and clean, producing vibrant flowers again, was immensely rewarding. The process taught me patience, observation, and the effectiveness of working with nature’s rhythms. Horticultural oil application for scale proved to be a powerful, responsible choice for controlling hibiscus scale insects. It requires diligence and attention to detail—the right product, the right conditions, thorough coverage, and committed follow-up. For any plant lover facing this sticky dilemma, this method offers a proven path to reclaiming your garden’s health without resorting to harsher chemicals. Your hibiscus will thank you for the care.





