 bluename
Hibiscus Bacterial Blight Treatment: My Journey with Copper Fungicide Spray
There’s nothing quite as disheartening for a gardener like me than watching a beloved hibiscus, once covered in vibrant blooms, succumb to a mysterious and aggressive decline. The leaves develop those telltale angular, water-soaked spots, which then turn brown and brittle. New shoots blacken and wilt as if scorched. I’d tried improving air circulation, being meticulous about watering, and removing infected parts, but the blight seemed to spread faster than I could prune. I felt I was losing the battle. That’s when I turned to a treatment often cited as a frontline defense: copper fungicide spray. This is my detailed, two-week account of using copper spray to treat hibiscus bacterial blight—the steps I took, the results I observed, the mistakes I made, and the lessons I learned.
Understanding the Enemy: What is Hibiscus Bacterial Blight?
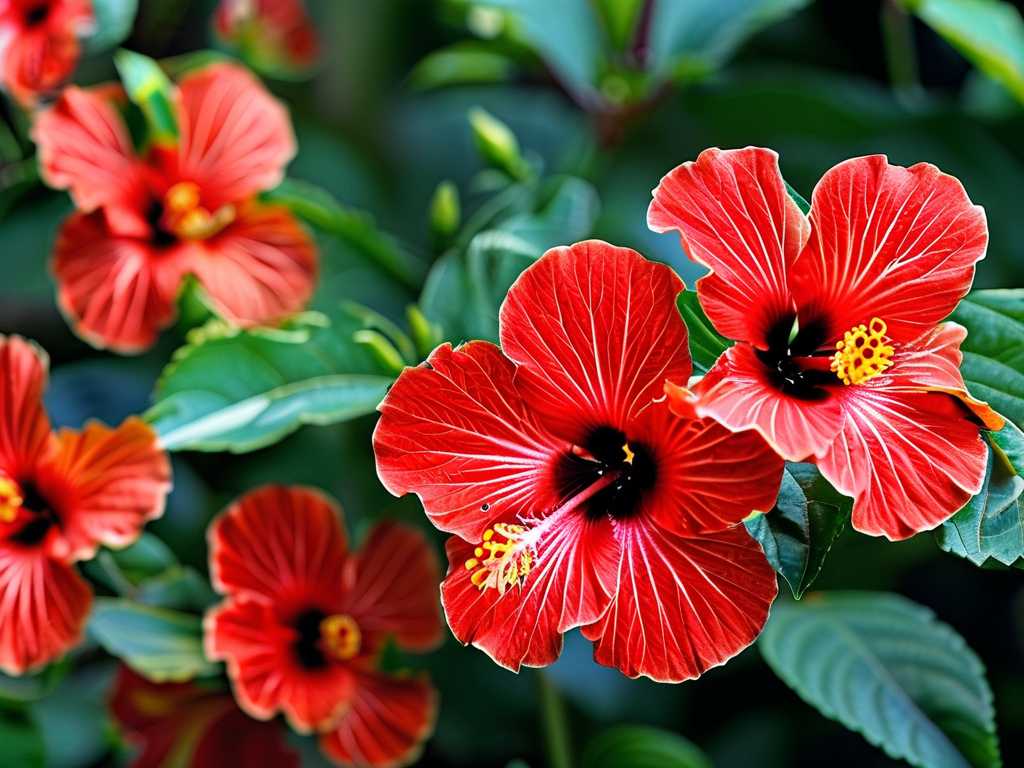
Before reaching for any treatment, I knew I had to confirm the diagnosis. Hibiscus bacterial blight, often caused by pathogens like Pseudomonas syringae pv. hibisci, is a specific and destructive disease. It’s not a fungal issue like powdery mildew, though it can look similar to the untrained eye. The key identifiers are those angular leaf spots bounded by leaf veins and the blackening of new stems. The American Hibiscus Society (AHS) resources were invaluable here, emphasizing that correct identification is crucial because not all treatments work for bacterial diseases. This is where copper-based sprays enter the picture. They possess bactericidal properties, meaning they can kill bacterial cells on the plant’s surface and create a protective barrier to prevent new infections.
My Arsenal: Choosing the Right Copper Fungicide
Not all copper products are created equal. At my local garden center, I found several options: copper sulfate, copper hydroxide, and copper octanoate. I needed something effective yet mindful of my garden’s ecosystem. I chose a ready-to-use liquid copper fungicide spray with copper octanoate. My decision was based on a few factors aligned with expert guidance. The Royal Horticultural Society (RHS) notes that copper octanoate (copper soap) is often considered a slightly gentler option for integrated pest management programs while still being effective. It also tended to have better adherence to leaf surfaces, which is vital for rainfast protection. The label explicitly listed effectiveness against bacterial diseases on ornamental plants, which gave me confidence.
The Treatment Protocol: My Step-by-Step Application Process
I decided to treat three of my most severely affected hibiscus plants, keeping one as an untreated control to truly gauge the spray’s effect. Here is the exact process I followed.
Preparation is Half the Battle First, I put on protective gear: gloves, safety glasses, and a mask. Copper is a metal and shouldn’t be inhaled. I then thoroughly cleaned my pruning shears with a bleach solution (1 part bleach to 9 parts water) to avoid spreading the bacteria with every cut. Following AHS advice on sanitation, I removed all visibly blighted leaves and stems, placing them directly into a trash bag—not the compost pile. This painful but necessary step reduced the immediate bacterial load on the plants.
Mixing and Application Day (Day 1) It was a calm, overcast morning with no rain in the forecast for 24 hours. I shook the bottle well and sprayed thoroughly, covering every inch of the plant—the tops and bottoms of all remaining leaves, stems, and even the soil surface around the base. I applied until the solution began to drip off (a point called “run-off”), ensuring complete coverage. The smell was faintly metallic and earthy. I marked this day on my calendar as the start of my two-week observation period.
The Critical Follow-Up (Day 3 & 7) The product label recommended reapplication every 7-10 days. I set a reminder for Day 7. However, after a very light dew on Day 3, I noticed the protective film didn’t look as even. I didn’t reapply early but made a mental note. On Day 7, I repeated the entire process: a quick inspection, removal of any new symptomatic tissue (there was very little), and another thorough spray, again in optimal weather conditions.
The Two-Week Observation: Documenting the Effects
This was the most revealing part of the process. I took daily photos and notes.
Week 1: Stabilization and Cautious Hope By Day 3-4, the rapid spread of the disease appeared to halt completely on the treated plants. No new angular spots formed on the healthy green leaves. The existing damaged spots dried out and became crisp; they didn’t enlarge or turn into gaping holes. The untreated control plant, however, showed several new lesions. This was my first sign that the copper barrier was working. The plants looked a bit stressed from the pruning and spray, but not worse from the blight.
Week 2: Recovery and New Growth The most encouraging signs emerged in the second week. Around Day 10, I noticed tiny, healthy green buds forming at the leaf nodes of the treated hibiscus. This was a clear signal the plants were putting energy into recovery instead of fighting infection. By Day 14, these buds had developed into small, clean, spot-free leaves. The older, treated foliage retained its green color around the old, dried lesions. The contrast with the control plant was stark—it continued to decline, with leaves yellowing and dropping.
The Pitfalls I Encountered and How I Solved Them
My journey wasn’t perfectly smooth. I hit two significant snags that taught me valuable lessons.
The Phytotoxicity Scare (The “Burn”) After my second application on Day 7, we had an unexpected day of intense, hot sun. Two days later, I saw yellowing on the edges of some leaves on one plant—a classic sign of phytotoxicity, where the treatment itself causes damage. I had failed to consider that the copper film could intensify heat stress on tender new tissue. I panicked but researched immediately. The RHS guidance confirmed that copper can cause leaf scorch in hot, sunny weather. My solution was simple but crucial: for all future applications, I switched to spraying in the cooler, late afternoon hours, allowing the spray to dry fully before nightfall but avoiding the harsh midday sun. This completely prevented further burn.
The Coverage Conundrum During my Week 2 inspection, I found a single new water-soaked spot on the underside of a low-hanging leaf. I had missed it during both sprays. It was a humbling reminder that bacterial blight treatment with contact protectants like copper is unforgiving of poor coverage. Every nook and cranny must be coated. I solved this by using a sprayer with an adjustable nozzle for better reach and consciously spraying from multiple angles, getting under the foliage, for every subsequent treatment.
Integrating Copper Spray into a Holistic Management Plan
My experience cemented that copper spray is a powerful tool, not a magic bullet. It works best within a broader strategy. The AHS consistently advocates for cultural controls as the foundation. Now, I combine my bi-weekly copper sprays (during active outbreaks) with strict practices: watering at the base to keep foliage dry, spacing plants for better airflow, and sterilizing tools between every use. I also feed the plants with a balanced, slow-release fertilizer to boost their natural resilience, as a strong plant is better equipped to resist disease.
Answering Your Key Questions
Can copper fungicide cure existing bacterial blight infections inside the plant? No, and this is the most critical point to understand. Copper is primarily a protectant and surface eradicant. It kills bacteria on the plant’s surface and forms a barrier to prevent new infection. It cannot “cure” tissue that is already systemically infected. That’s why removing all visibly diseased parts before spraying is non-negotiable. You are protecting the new, healthy growth.
How often should I spray my hibiscus for bacterial blight? During an active outbreak, a 7 to 10-day interval is standard, as per most product labels. I found the 7-day schedule more effective for severe cases. Always adhere to the label’s instructions for the specific product you buy. For preventative use in high-humidity seasons, applications every 2-3 weeks may be sufficient. Weather is a key factor; heavy rain will wash off the protective layer, necessitating a reapplication.
Is copper fungicide safe for my other plants and the environment? Copper is a broad-spectrum pesticide. It can harm beneficial insects and microbes if applied indiscriminately. It is also toxic to fish and aquatic life. My approach is to use it judiciously—only on confirmed infected plants, avoiding drift, and never spraying near water features. I also explore biocontrol options and resistant hibiscus varieties for long-term management, as recommended by integrated pest management principles.
My two-week experiment with copper fungicide spray for hibiscus bacterial blight was a definitive success. It stopped the epidemic in my garden and gave my plants the breathing room they needed to initiate recovery. The key takeaways are to diagnose correctly, prune aggressively first, spray thoroughly and consistently with the right product, and always, always integrate the treatment into a wider plan of good garden hygiene. It requires patience and observation, but seeing those first new, healthy leaves unfurl makes the effort profoundly worthwhile.





