 bluename
How to Get Rid of Leafhoppers on Hibiscus: Row Cover Tips
I’ll be honest—nothing deflates the joy of a thriving hibiscus garden faster than spotting those tiny, wedge-shaped leafhoppers darting away at the slightest disturbance. For weeks, my prized blooms were under siege. The leaves developed a stippled, pale look, and some buds dropped before they could even open. I knew I had to find a solution that was effective, sustainable, and safe for the pollinators I love to attract. After researching and testing various methods, I found that using row covers emerged as a remarkably effective physical barrier. This guide is the culmination of my hands-on experience, detailing exactly how I used row covers to protect my hibiscus, the two-week journey of observation, the mistakes I made, and how I fixed them.
Understanding Your Enemy: The Hibiscus Leafhopper
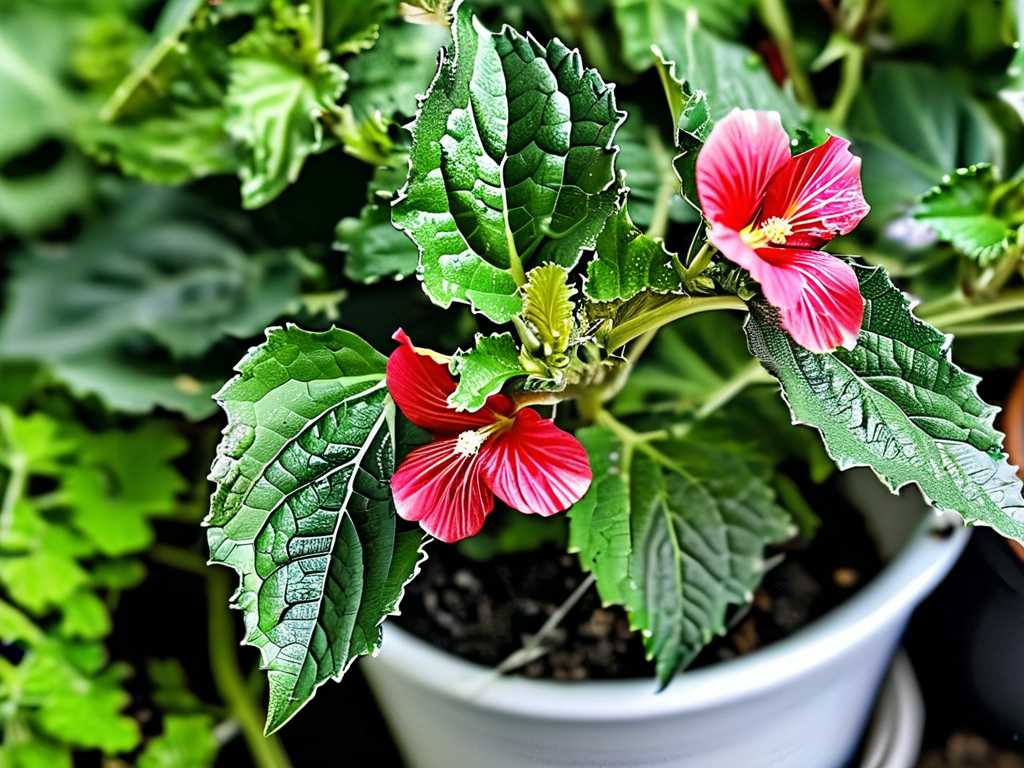
Before building a defense, you need to know what you’re up against. Leafhoppers are sap-sucking insects that puncture plant cells, leading to that characteristic speckled damage called “hopperburn.” More than just cosmetic, this weakens the plant and can introduce diseases. According to resources from the American Horticultural Society (AHS), consistent monitoring and early intervention are key to managing these pests without resorting to harsh chemicals. My goal was clear: create an impenetrable shield during the most vulnerable periods.
Why Row Covers Became My Go-To Solution
I considered insecticidal soaps and neem oil, but their effectiveness is temporary and requires repeated applications, which can be hard on beneficial insects. A physical barrier like a row cover for garden pest control made more sense. It’s a lightweight, permeable fabric that lets in light, air, and water while keeping pests out. The Royal Horticultural Society (RHS) notes that floating row covers are a cornerstone of integrated pest management, preventing pest access without disrupting the ecosystem. For my hibiscus, which are heavy feeders and sun-lovers, I needed a cover that wouldn’t stifle their growth.
My Step-by-Step Process: Installing Row Covers on Hibiscus
Here’s the exact process I followed, refined through trial and error.
Choosing the Right Material Not all row covers are the same. I selected a lightweight, UV-stabilized polypropylene fabric with a weight of 0.5 oz/sq yd. This grade provides excellent pest exclusion (including for small leafhoppers) while allowing about 85% of light transmission and good air flow—critical for preventing leafhoppers on tropical plants like hibiscus.
Preparing the Plants and Area First, I gave my hibiscus a thorough inspection and a gentle spray with water to dislodge any existing pests. This step is crucial; you don’t want to trap insects under the cover with your plants. I also applied a balanced, slow-release fertilizer and watered deeply, as accessing the soil would be less frequent once covered.
Building a Support Structure This is where I made my first big mistake. I initially draped the fabric directly onto the plants. On a warm day, the fabric pressed down on the leaves and restricted new growth. The solution? I created a simple support structure using flexible PVC pipes arched over the plants, pushing the ends into the soil to form a low tunnel. This kept the fabric floating above the foliage—a true “floating row cover” setup.
Securing the Cover Thoroughly I unrolled the fabric over the PVC frame, ensuring it reached the ground on all sides with plenty of excess. My second mistake was weighting it down with rocks. A strong wind found its way underneath and turned my cover into a giant sail! I quickly switched to using landscape fabric pins (U-pins) every 12-18 inches around the entire perimeter, burying the edges in a shallow trench with soil. This created a complete seal. For accessing the plants for watering or checking, I decided on a section I could easily unpin and re-secure.
The Two-Week Observation: What Happened Under the Cover
- Days 1-3: The plants looked slightly subdued, likely from the initial disturbance. I monitored soil moisture closely, watering at the base in the early morning.
- Days 4-7: No new leafhopper damage appeared. The existing damage remained, but no fresh stippling. I noticed the microclimate under the cover was slightly warmer and more humid, which the tropical hibiscus seemed to enjoy. New leaf buds were forming.
- Days 8-14: This was the most telling period. My treated hibiscus showed vigorous new growth that was completely clean and undamaged. In contrast, a few uncovered plants I kept as a control group continued to show minor new damage. I carefully lifted the cover every 3-4 days to check for pests, water, and ensure air circulation. I never found a single leafhopper inside the barrier.
Addressing Common Challenges and Pitfalls
- Pollination Concerns: Hibiscus are self-pollinating, but I was worried about completely excluding bees. Since I was targeting the peak leafhopper season (not the primary blooming peak for my variety), this was a temporary measure. For extended use during bloom, I would switch to a cover with a larger mesh size that allows pollinators but still excludes leafhoppers.
- Heat and Ventilation: During a particularly hot afternoon, I noticed some condensation. I immediately added temporary venting by propping up one side of the cover with sticks for a few hours in the late afternoon. This quickly regulated the temperature and humidity.
- Durability and Weathering: A heavy rainstorm tested the setup. The fabric shed water well, but where it pooled on top, it sagged. I gently pushed the pool of water off from underneath and added an extra support under the lowest point to improve runoff.
Integrating Row Covers into a Holistic Pest Management Plan
Row covers are a powerful tool, but they work best as part of a system. I practice good garden hygiene by removing fallen leaves where pests can overwinter. I’ve also planted companion plants like marigolds and garlic around my hibiscus beds, which are believed to have repellent properties. The AHS emphasizes this layered approach, combining physical, cultural, and biological controls for long-term garden health.
Frequently Asked Questions
How long should I keep the row covers on my hibiscus? I maintained the cover for the full two-week period during an active infestation cycle. For prevention, you can install them at the start of the season when leafhoppers first appear and keep them on until their activity declines, typically through the hottest summer months. Monitor regularly and remove if plant growth is being restricted or for pollination.
Will row covers harm my hibiscus plant or stunt its growth? Not if done correctly. Using a support frame is non-negotiable for a shrub like hibiscus. With the fabric floating above the plant, my hibiscus actually grew more vigorously, protected from pest stress. Ensure you use a lightweight cover and provide adequate water and fertilizer.
Can I use row covers on potted hibiscus plants? Absolutely. The principle is the same. Create a small frame with stakes or bent wire coat hangers over the pot, drape the cover, and secure it tightly around the pot’s rim. This makes managing leafhopper infestations on container plants very straightforward and effective.
Seeing my hibiscus bounce back with lush, green leaves and unblemished buds was all the proof I needed. The initial investment of time and materials for the row cover system paid off by eliminating the need for constant spraying and worry. It’s a method that requires a bit of setup and vigilance, but it provides peace of mind and a truly non-toxic solution. By creating a physical barrier, you’re not just fighting pests reactively; you’re proactively creating a safe zone for your plants to thrive. Give your hibiscus the protection they deserve, and you’ll be rewarded with a spectacular, healthy display all season long.





