 bluename
Hibiscus Root Rot Treatment: Repot with Fresh Soil to Save Your Tropical Beauty
There’s a special kind of heartbreak that only a plant lover knows. You’ve nurtured your hibiscus, watched it unfurl those stunning, dinner-plate blooms, and then, seemingly overnight, the leaves turn yellow, droop, and fall. The soil stays wet for days, and a faint, unpleasant smell might even waft from the pot. If this sounds familiar, you’re likely facing the dreaded adversary of container gardening: root rot. I’ve been there, staring at a once-vibrant ‘Lord Baltimore’ with a sinking feeling. But here’s the crucial hope: hibiscus root rot treatment is possible, and repotting with fresh soil is the most critical step. I recently navigated this exact rescue mission, and over a focused two-week period, I brought a plant back from the brink. Let me walk you through the exact process, the mistakes I made along the way, and the clear signs of recovery you can expect.
Understanding the Enemy: Why Root Rot Happens
Before we dive into the rescue, it’s vital to know what we’re fighting. Root rot is primarily caused by overwatering, which creates an oxygen-deprived environment in the soil. This stresses the roots and allows opportunistic soil-borne fungi, like those in the Pythium or Phytophthora genera, to attack. According to the American Hibiscus Society (AHS), these pathogens thrive in soggy conditions and can quickly destroy a plant’s root system, its lifeline for water and nutrients. It’s not just about “too much love”; it’s about creating conditions where harmful biology takes over.
The Essential Toolkit for Repotting Success
Gathering the right materials before you start is half the battle. Here’s what you’ll need:
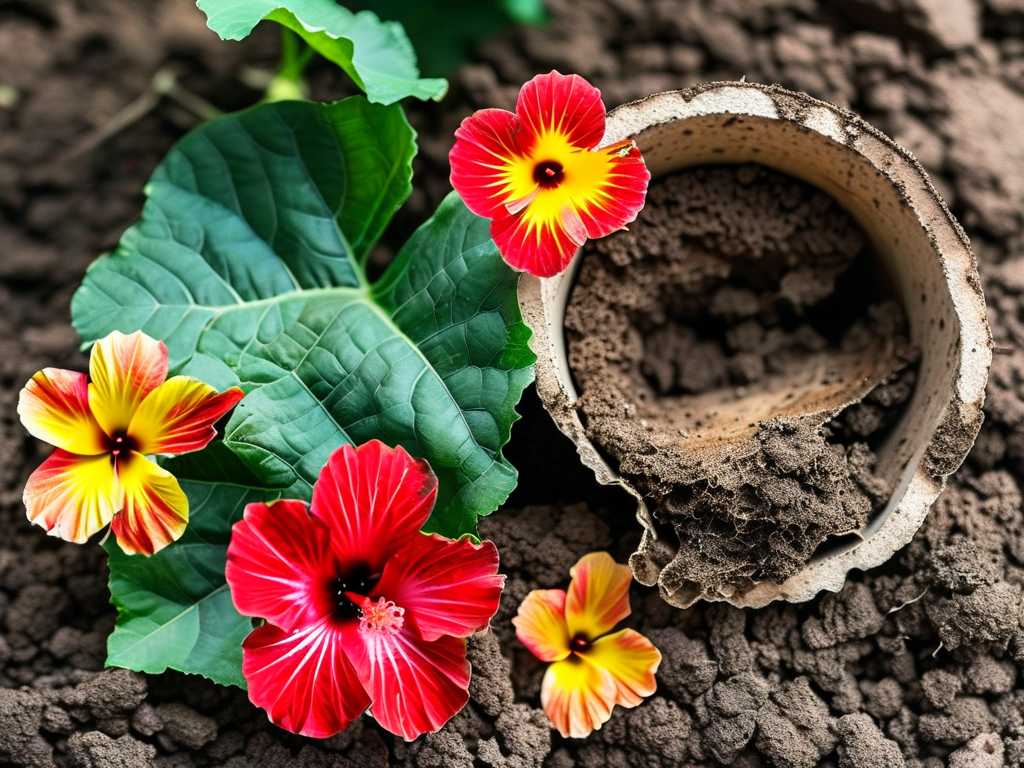
- A New, Clean Pot: Choose one with excellent drainage holes. Size is key—only go 1-2 inches larger in diameter than the root ball you’ll have left after pruning. A pot too large holds excess soil that stays wet, inviting more trouble. I used a simple, unglazed terracotta pot, which naturally wicks away moisture.
- Fresh, Well-Draining Potting Mix: This is non-negotiable. Do not reuse old soil. I opted for a high-quality potting mix labeled for palms and citrus, which has the slightly acidic pH hibiscus loves, and amended it with extra perlite (about a 4:1 ratio) for supreme drainage. The Royal Horticultural Society (RHS) emphasizes using “free-draining compost” for container plants to prevent waterlogging.
- Sterilized Pruning Shears: Clean them with rubbing alcohol or a bleach solution. You’ll be cutting through diseased tissue, and you must avoid spreading pathogens.
- A Work Space: Prepare an area with newspaper or a tarp. Things will get messy.
- Optional but Helpful: A gentle fungicide like a copper-based solution or a hydrogen peroxide mix (1 part 3% H2O2 to 3 parts water), and rooting hormone for healthy cuts.
My Step-by-Step Rescue Operation: A Personal Account
This is where theory meets practice. I’ll share my exact steps and the immediate hurdles I faced.
Step 1: The Gentle Extraction and Initial Assessment I watered the plant lightly the night before to reduce transplant shock (this was a tip from a local nursery expert). The next day, I tipped the pot sideways, supporting the plant’s base, and gently coaxed it out. The first red flag was the weight—the pot felt heavy and waterlogged. The root ball was a dense, dark mass. A musty odor confirmed my fears: this was active root rot.
Step 2: The Root Inspection and Radical Surgery Here’s where I made my first mistake. Initially, I was too timid. I only shook off the loose soil and trimmed the obvious black, mushy ends. After rinsing the roots under lukewarm water to see them clearly, I realized the damage was more extensive. Healthy hibiscus roots should be firm and whitish-tan. These were mostly brown and slimy.
- The Fix: I got ruthless but careful. Using my sterilized shears, I pruned away every single soft, dark, or stringy root until I was left with only firm, healthy tissue. This sometimes meant removing over 60% of the root mass. It was scary, but it’s necessary. For the remaining healthy roots, I gave them a quick soak in a diluted hydrogen peroxide bath for about 10 minutes to disinfect any lingering spores.
Step 3: Preparing the New Home While the roots soaked, I prepared the new pot. I placed a few pieces of broken pottery over the drainage holes to prevent soil washout. Then, I added a layer of my fresh, airy potting mix, creating a small mound in the center to seat the plant on.
Step 4: The Repotting and Critical Aftercare I placed the pruned root system over the mound, spreading the remaining healthy roots gently. I then backfilled around it with the fresh mix, tamping lightly to remove large air pockets but not compacting it. I ensured the plant was at the same soil depth as before—burying the stem can lead to further rot. I left about an inch of space from the soil surface to the pot rim for watering. Then came the most critical step: I did not water it in immediately. This was counterintuitive but essential. The fresh soil had some moisture, and the wounded roots needed a day or two to callus over before being soaked. Watering immediately could re-infect them. I placed the pot in a location with bright, indirect light—no direct sun, which would stress the recovering plant. I also pruned back about one-third of the top growth (leaves and stems) to balance the severe root loss and reduce the plant’s water demands.
The Two-Week Recovery Journal: What to Expect
Patience and observation are your best tools now. Here was my plant’s timeline:
- Days 1-3: The plant looked sad and wilted. This is normal transplant shock, compounded by the major surgery. I resisted the urge to water. I simply misted the remaining leaves lightly to increase humidity.
- Day 4: I performed the first watering after repotting hibiscus. I watered thoroughly until it ran out the bottom, using the hydrogen peroxide mix one final time to keep the soil environment hostile to fungi. Then, I let it drain completely.
- Days 5-7: The wilting stabilized. No further yellow leaves dropped. This was my first sign of hope—it meant the remaining roots were beginning to function and take up water.
- Day 10: The real test came. I checked the soil moisture by sticking my finger two inches deep. It was almost dry. More importantly, when I gave the stem a very gentle wiggle, there was the slightest resistance. This indicated new root growth was anchoring the plant! I watered again with plain water.
- Day 14: Victory signs! At the leaf nodes where I had pruned, I spotted tiny, bright green bumps—new growth points. The existing leaves felt firmer and had a healthier sheen. The plant was officially on the mend, putting energy into new shoots rather than just surviving.
Common Pitfalls and How to Avoid Them
My journey wasn’t perfect. Here’s what I learned the hard way:
- Under-Pruning the Roots: As mentioned, my initial hesitation was a mistake. Any compromised root left behind will continue to decay and can spread. Be thorough during the inspection.
- Wrong Soil Choice: In a past attempt years ago, I used a generic, moisture-retentive potting soil. It doomed the plant from the start. Investing in a well-draining, appropriate mix is the foundation of success.
- Overwatering During Recovery: The temptation to “help” by keeping the soil moist is strong. I stuck to the finger test and only watered when the top few inches were dry. Good drainage is useless if you waterlog the soil from above.
Frequently Asked Questions from Fellow Gardeners
How do I know if my hibiscus has root rot or is just underwatered? This is a classic dilemma. Both can cause wilting and yellowing. The key differentiator is the soil moisture and the condition of the roots. Underwatered plants have dry, crumbly soil and roots that are dry and brittle but usually light in color. Root rot presents with persistently wet soil and roots that are soft, dark brown/black, and often mushy or slimy. The smell test is also telling—rot has a distinct, foul odor.
Can I use the old pot again, and should I fertilize after repotting? Yes, but you must sterilize the old pot thoroughly with a bleach solution (1 part bleach to 9 parts water) to kill any clinging pathogens. As for fertilizer, do not fertilize for at least 4-6 weeks after repotting. The fresh soil has nutrients, and the stressed root system cannot handle the salts in fertilizer. Fertilizing too soon can burn the new, tender roots and set back recovery. Focus on root establishment first.
My plant lost almost all its leaves after repotting. Is it dead? Not necessarily. Hibiscus are surprisingly resilient. If you’ve followed the steps—pruned all rotten roots, used fresh soil, and provided proper aftercare—the plant may be focusing all its energy on regenerating its root system. As long as the stems are still green and firm when lightly scratched, there is life. Be patient. It may take several weeks for new leaves to emerge from the nodes. Continue careful watering and provide stable, bright indirect light.
Watching a hibiscus recover from root rot is a lesson in plant resilience and the importance of getting the fundamentals right. The process of treating hibiscus root rot by repotting is intense but deeply rewarding. It teaches you to read your plant’s signals, from the smell of the soil to the firmness of a stem. Success hinges on a few non-negotiable actions: aggressive removal of all diseased roots, a fresh start in a perfectly draining soil mix, and the discipline to water only when needed. That two-week window of observation is critical; the shift from shock to the first signs of new growth is the ultimate reward. Your hibiscus isn’t just a plant in a pot—it’s a living system, and by giving its roots a healthy foundation, you’re not just saving it, you’re setting it up for seasons of spectacular blooms.





