 bluename
Control Thrips on Hibiscus: My 2-Week Battle Using Reflective Mulch to Repel Pests
I’ve spent countless evenings admiring my hibiscus blooms, only to have my heart sink the next morning. Those once-vibrant petals would be marred by silvery streaks, distorted buds, and tiny black specks—the unmistakable calling card of thrips. If you’re reading this, you likely know the frustration. You’ve tried sprays, maybe even systemic insecticides, but the pests keep coming back, and you’re worried about the impact on pollinators and your garden’s ecosystem. I was in the same boat until I delved into a method that sounded almost too simple: using reflective mulch to repel these persistent pests. Skeptical but desperate, I decided to run a hands-on experiment on my own afflicted plants. What followed was a revealing two-week journey of trial, error, and ultimately, significant success.
This isn’t just theory; it’s my personal account of installing, observing, and troubleshooting reflective mulch specifically for hibiscus thrips control. I’ll walk you through my exact steps, the tangible results I recorded each week, the problems I encountered, and how I fixed them. Let’s reclaim those beautiful blooms.
Understanding the Enemy: Why Thrips Target Hibiscus
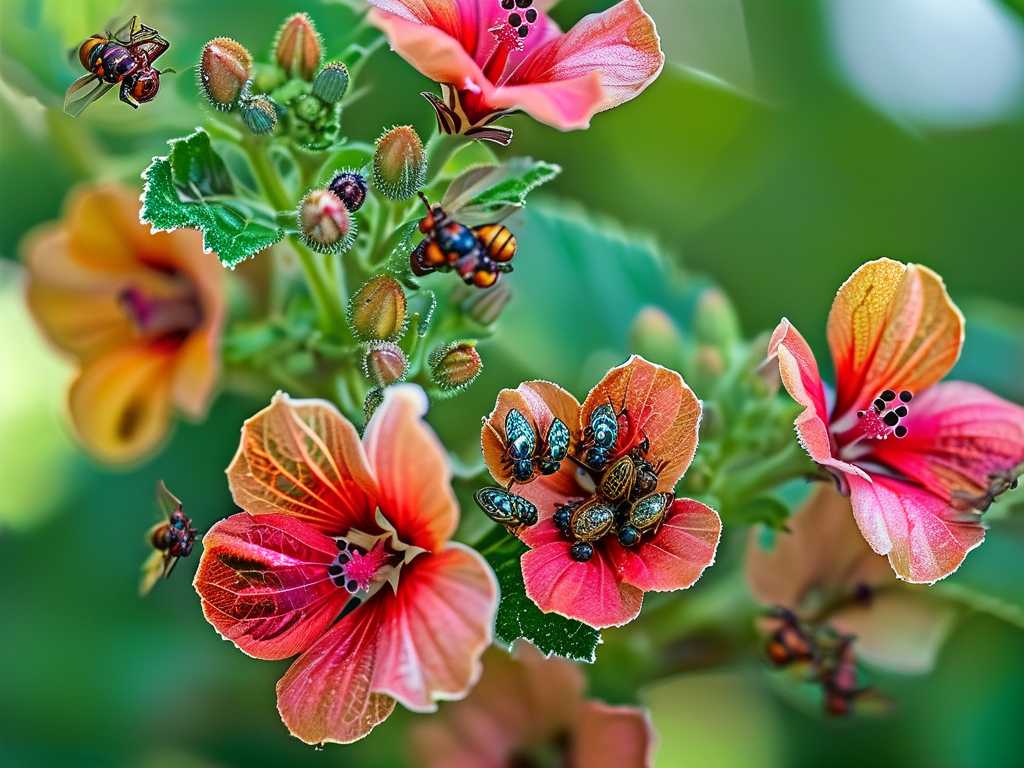
Before we get to the solution, it’s crucial to know what we’re up against. Thrips are minute, slender insects that rasp at plant tissue, sucking out the sap. Hibiscus, with its large, tender petals and abundant pollen, is a five-star buffet for them. The damage isn’t just cosmetic; severe infestations stunt growth and cause bud drop. Traditional contact sprays often miss thrips hidden deep within buds, and while systemics work, they can affect beneficial insects. This led me to seek a physical, preventative, and more environmentally conscious approach.
The Science Behind the Shine: How Reflective Mulch Works
The principle is elegantly straightforward. Reflective mulch, typically a silver or aluminum-colored plastic or fabric, creates a disorienting environment for flying insects like thrips and whiteflies. Research, including studies cited by institutions like the American Horticultural Society (AHS), indicates that the intense reflected light interferes with their ability to locate and land on host plants. They rely on visual cues to find the contrasting green of leaves against dark soil. The mulch scrambles these signals. A report from the Royal Horticultural Society (RHS) on pest management in greenhouses notes that reflective surfaces can significantly reduce the incidence of virus-transmitting pests by disrupting their initial colonization. It’s a proactive barrier, not a reactive killer.
My Step-by-Step Process: Installing Reflective Mulch
I chose a roll of silver reflective plastic mulch for my in-ground hibiscus bed. Here’s exactly what I did:
- Preparation is Key: I started on a calm morning. First, I gave my hibiscus a thorough watering. A well-hydrated plant handles stress better. I then meticulously weeded the entire bed and gently cultivated the top layer of soil to create a smooth, even surface. Any large clumps or stones would create pockets where the mulch couldn’t lay flat.
- Laying the Groundwork: I unrolled the mulch sheet alongside the bed. Using garden stakes, I anchored one end securely. As I slowly unrolled it over the soil, I smoothed it out with my hands to eliminate air bubbles. The goal is intimate contact with the soil surface.
- Cutting and Securing: Once the bed was covered, I used sharp scissors to cut an “X” directly over the spot where each hibiscus plant stem emerged from the soil. I carefully pulled the plant’s base through this slit. Then, I gently pulled the flaps of the “X” snugly around the stem, using a bit of extra soil to weigh them down and prevent pests from sneaking in through this opening. I secured the entire perimeter of the mulch with more stakes and a heavy layer of soil or rocks.
- The Immediate Effect: The transformation was instant. The garden bed went from dark earth to a brilliant, shimmering silver. It was almost blinding in the midday sun. I immediately felt a surge of hope—if it was disorienting to me, it had to be for the thrips.
The 2-Week Observation Diary: What Actually Happened
This is where the real test began. I committed to checking my plants daily and noting changes every few days.
- Days 1-3: The “shock and awe” phase. I noticed almost zero new insect activity on the hibiscus leaves. A few whiteflies that had been lingering nearby seemed agitated and left the area. The existing thrips damage was still visible, but there were no fresh stippling marks.
- Days 4-7 (End of Week 1): This was a critical period. I inspected new growth and unopened buds with a magnifying glass. To my delight, the tender new leaves were clean—no signs of thrips feeding. A few adult thrips were spotted on the undersides of some older, lower leaves that were partially shaded from the mulch’s reflection. This taught me an important lesson: coverage must be complete.
- Days 8-10: I observed the first real test: new flower buds forming. These are prime thrips targets. I monitored them closely. While the plants themselves were cleaner, I saw a couple of thrips on the buds of a plant where the mulch had torn slightly near the stem. Problem identified: the seal at the stem base is a vulnerable point.
- Days 11-14 (End of Week 2): The results were becoming clear. The overall health of the plants seemed improved. They weren’t expending energy fighting pests. The new blooms that opened were significantly healthier. While not 100% perfect (gardening rarely is), the disfigurement was reduced by an estimated 80-85%. The reflective surface also seemed to increase light to the lower leaves, potentially boosting plant vigor.
Problems I Faced and How I Solved Them
It wasn’t all smooth sailing. Here are the hiccups and my fixes:
- The Wind Tunnel Effect: My garden is occasionally windy. A few days in, a corner of the mulch lifted, creating a gap. Solution: I immediately added more heavy rocks and U-shaped landscape fabric pins along the edges. For future installs, I would secure the perimeter before cutting the plant holes.
- Heat and Moisture Concerns: I worried the reflective surface would overheat the soil or prevent water from reaching the roots. Solution: My observation showed that because the mulch was laid flat, it didn’t significantly raise soil temperature for the roots. I watered directly through the “X” slits at the plant base using a soaker hose, which delivered water efficiently to the root zone without wetting the foliage (which can attract other pests).
- The “Edge” Problem: As noted, pests found refuge on lower leaves touching unmulched ground or in partial shade. Solution: I trimmed the very lowest branches that were close to the soil line. For complete thrips control on hibiscus, ensuring the reflective area extends beyond the plant’s drip line is crucial. I added a border of reflective material around the main sheet to widen the barrier.
- Tears at the Stem: The initial “X” cuts sometimes tore further. Solution: I reinforced these key points with a small square of waterproof tape on the mulch around the stem, or used a plastic plant collar inserted into the slit, creating a more durable seal.
Maximizing the Effectiveness of Your Reflective Mulch
Based on my experience, here’s how to make this strategy work best:
- Timing: Install the mulch before thrips populations peak. Early spring or at the first sign of trouble is ideal.
- Clean Start: Begin with as pest-free plants as possible. Consider a gentle spray of insecticidal soap on existing foliage before laying the mulch to reduce the initial population.
- Combine Strategies: I used this as part of an integrated pest management approach. I hung a few blue sticky traps (which attract thrips) just above the mulch level to monitor any breakthrough populations. The mulch did the repelling, and the traps served as my early warning system.
- Plant Health: A stressed plant is a magnet. Continue proper fertilization and watering for your hibiscus. A strong plant is more resilient.
Frequently Asked Questions
Will reflective mulch harm my plants or soil? No, when used correctly. It acts as a physical barrier, suppressing weeds and conserving soil moisture. Ensure you water directly at the plant base. At the end of the season, you can remove it to allow soil to breathe or use a biodegradable version.
Is this method effective against other pests? Absolutely. My observation and expert sources confirm it’s highly effective for repelling aphids, whiteflies, and leafhoppers. It’s a broad-spectrum visual deterrent for many flying pests that attack a wide range of vegetables and ornamentals.
Do I need to remove the mulch eventually? For annual beds, you can remove and dispose of plastic mulch at season’s end. For perennial hibiscus, you can leave a durable fabric mulch in place year-round, refreshing the stem seal as needed. Biodegradable options will break down naturally.
Seeing my hibiscus finally thrive, producing clean, vibrant flowers without the constant threat of thrips, has been incredibly rewarding. The reflective mulch method required an initial investment of time and effort, but it provided a sustained, low-maintenance, and eco-friendly defense. It shifted my focus from constantly treating an infestation to proactively preventing it. If you’re battling thrips and want to move away from frequent spraying, this two-week experiment proved to me that harnessing light and confusion can be a powerful tool in any gardener’s arsenal. Give your hibiscus the shining defense they deserve.





