 bluename
How to Get Rid of Mealybugs on Hibiscus: My 2-Week Battle Plan with Rubbing Alcohol Swabs
There’s nothing more disheartening for a hibiscus lover than spotting those first signs of an invasion: tiny, cotton-like clusters tucked in the leaf axils, along the stems, or under the leaves. Mealybugs. I’ve been there, watching my prized hibiscus’s growth stunt, its leaves yellow, and that sticky honeydew coat everything, often followed by sooty mold. If you’re reading this, you’re likely in the same frustrating battle. You want a solution that is effective, accessible, and safe for your plant when used correctly. After trying various remedies, I dedicated two full weeks to a method centered on one simple, powerful tool: rubbing alcohol swabs. This is my detailed, step-by-step account of exactly how to get rid of mealybugs on hibiscus using this technique, including the mistakes I made, how I fixed them, and the undeniable results I observed.
Understanding Your Enemy: The Mealybug Lifecycle
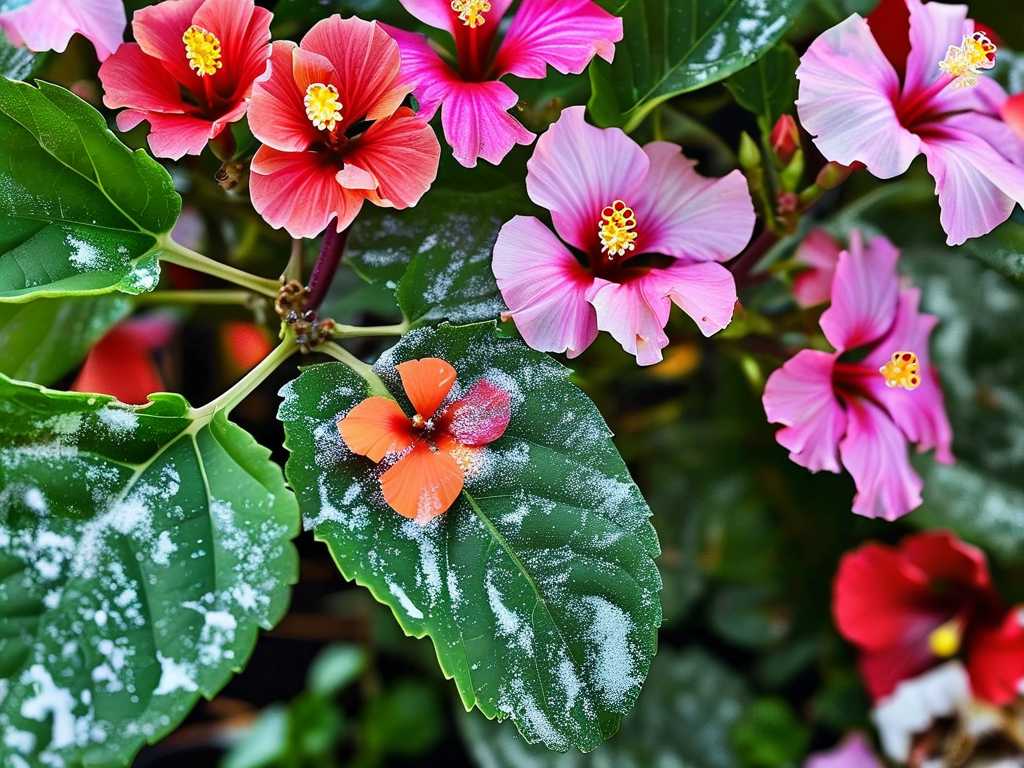
Before diving into treatment, it’s crucial to know what you’re fighting. Mealybugs are sap-sucking pests that weaken plants by feeding on their vital juices. According to the American Horticultural Society (AHS), their waxy, cottony coating makes them resistant to many water-based sprays, but it is soluble in alcohol. This is the key to our strategy. They reproduce quickly, and females can lay hundreds of eggs. Missing just a few individuals or eggs guarantees a rapid resurgence. My goal was to break this cycle completely.
Why I Chose Rubbing Alcohol as My Primary Weapon
I needed a method that was targeted, immediate, and avoided drenching my hibiscus in harsh systemic chemicals, especially since it was still blooming. Isopropyl alcohol (rubbing alcohol) is a desiccant; it dissolves the bug’s protective wax on contact, dehydrating and killing them almost instantly. The Royal Horticultural Society (RHS) notes in its pest management guidance that “a cotton bud dipped in methylated spirit or insecticide can be used to dab onto scale insects and mealybugs” as a precise control method. This validated my plan. My core long-tail keyword focus became “using rubbing alcohol swabs for hibiscus mealybugs” and “safe mealybug control for hibiscus plants.”
My Preparation and Tools Checklist
Gathering the right tools before starting is half the battle. Here’s what I assembled:
- 70% Isopropyl Rubbing Alcohol: I chose 70% over 90% as it evaporates slightly slower, allowing more contact time, and is generally considered safer for plant tissues.
- Cotton Swabs (Q-tips) and Makeup Remover Pads: Swabs for precision work on stems and small clusters, pads for wiping broad leaf surfaces.
- Magnifying Glass or Reading Glasses: Essential for spotting tiny nymphs and eggs.
- Mild Liquid Soap & Neem Oil: For a complementary spray solution.
- Soft-Bristled Toothbrush: For gentle scrubbing on sturdy stems.
- Gloves: To protect my hands.
- Newspaper or a Tarp: To protect the work area.
The Two-Week, Step-by-Step Treatment Protocol
Week 1: The Initial Assault and Daily Checks
Day 1: Isolation and Initial Manual Removal. First, I isolated the affected hibiscus from my other plants to prevent spread. I placed it on a tarp in good lighting. Using my magnifying glass, I inspected every inch—stem junctions, under leaves, around new buds. I dipped a cotton swab in rubbing alcohol, ensuring it was damp but not dripping, and dabbed it directly onto every single mealybug and white cluster I saw. I heard a faint sizzle—the sound of success. For larger infestations on stems, I used an alcohol-damped pad to wipe. I was meticulous. After this 45-minute session, I prepared a mild follow-up spray: 1 liter of water, 1 teaspoon of mild liquid soap, and 1 teaspoon of neem oil. I misted the entire plant, focusing on the undersides of leaves, to disrupt any remaining young nymphs. This combination of direct alcohol application and neem oil spray formed my core tactic.
Days 2-7: The Persistence Phase. This is where most people fail. Mealybug eggs hatch in 5-10 days. I committed to a daily 10-minute inspection. Every evening, with my swab and magnifying glass, I hunted for any new, tiny, yellowish nymphs that had hatched from eggs I’d missed. I dabbed them immediately. I also watched for ants, which farm mealybugs for honeydew; controlling ants is part of the battle. By Day 5, the visible adult population was nearly zero.
The Pitfall I Encountered and How I Solved It Around Day 3, I noticed a few leaves, particularly younger ones, developed slight brown spots where I had applied alcohol. I realized I had been too generous—letting the swab drip onto the leaf and letting pooled alcohol sit. The fix was simple: I made sure my swabs were only moist, not soaking wet. For delicate new growth, I would sometimes apply the alcohol to the swab and then gently roll it between my fingers to reduce excess before dabbing the pest. This eliminated further leaf damage.
Week 2: Breaking the Cycle and Monitoring
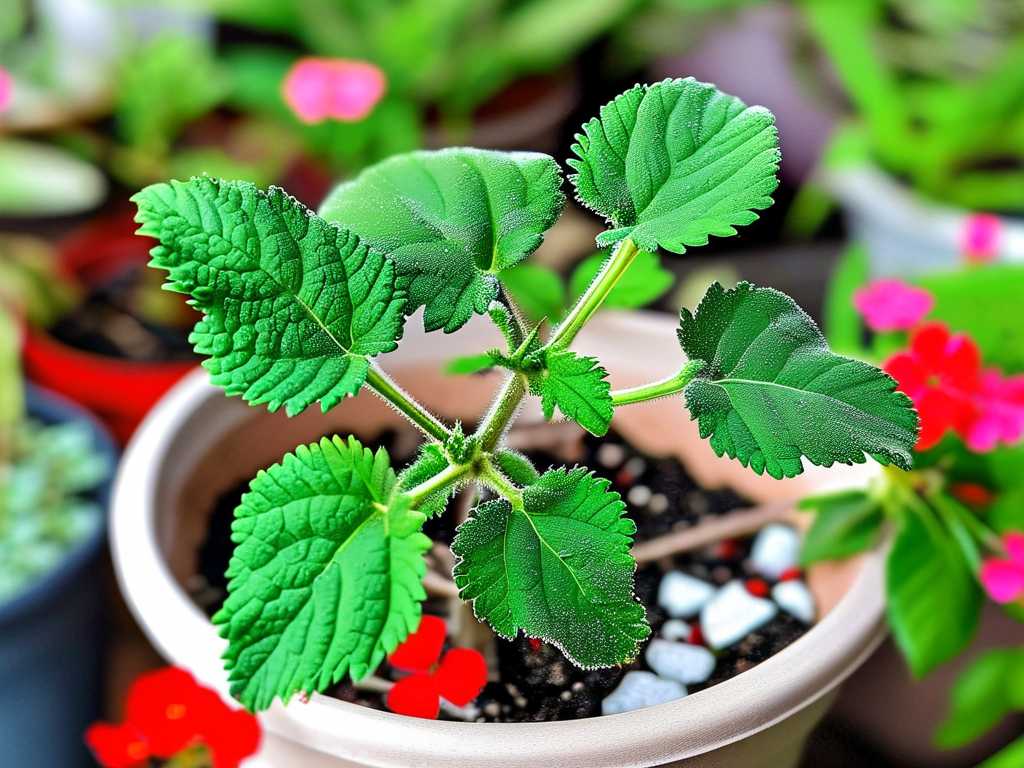
Days 8-14: Alternate-Day Treatment and Soil Check. Confident that I had caught the main hatches, I scaled back to an every-other-day inspection and spot treatment. I found only a handful of new nymphs during this period, each swiftly dealt with. I also gently scraped the top layer of soil, as mealybugs can hide there. I did not drench the soil with alcohol (which can harm roots), but I was prepared to replace it if needed. Thankfully, it wasn’t necessary.
Observing the Recovery: The Results After 14 Days The transformation was clear. The sticky honeydew was gone. New growth emerged clean and vigorous, without the distortion that mealybugs cause. The existing leaves regained their firmness and deep green color. Most importantly, there were no visible cottony masses or crawling insects. The plant’s overall energy shifted from survival back to growth and blooming.
Integrating Preventative Practices Post-Treatment Victory is not just about elimination, but prevention. I made three changes:
- Regular Inspection: My hibiscus now gets a close look every time I water.
- Optimal Plant Health: I ensured it received balanced fertilizer and proper sunlight, as stressed plants are more susceptible. The AHS consistently emphasizes that plant vigor is the first line of defense.
- Proactive Neem Oil Sprays: I began using a diluted neem oil solution as a monthly preventative foliar spray, a practice supported by organic gardening guidelines for its anti-feedant properties.
Addressing Your Lingering Questions
Can I just spray rubbing alcohol directly on my hibiscus? I do not recommend indiscriminate spraying. A direct spray can be too harsh, especially in full sun, and can cause significant leaf burn. The swab method is targeted, minimizes plant contact, and is far safer. For larger infestations, you can lightly mist a solution of 1 part 70% alcohol to 3 parts water on a small area first to test for sensitivity, but dabbing remains the gold standard for control.
How often should I repeat the alcohol swab treatment? The frequency depends on the infestation severity. For a serious case, follow my protocol: intense daily dabbing for the first week, then alternate days the second week to catch late hatchers. For a minor sighting, dabbing every 3-4 days for two weeks should suffice. Consistency over a two-week period is non-negotiable to break their reproductive cycle.
Are rubbing alcohol swabs safe for all hibiscus plants? While generally safe for most Hibiscus rosa-sinensis (tropical hibiscus), always test first. Dab a single, inconspicuous leaf or small section of stem and wait 24-48 hours for any adverse reaction (wilting, browning). Some very delicate or stressed plants may be more sensitive. The RHS advises using such methods with care on sensitive plants. If in doubt, dilute the alcohol further with water for your test.
Seeing your hibiscus rebound from a mealybug infestation is incredibly rewarding. The rubbing alcohol swab method requires patience and a keen eye, but it is profoundly effective because it combines immediate physical removal with a chemical action that breaks down the pest’s defenses. My two-week journey proved that with diligent, targeted effort, you can rescue your plant without resorting to harsh, broad-spectrum interventions. Remember, the secret isn’t just in the alcohol—it’s in the consistent, meticulous follow-through. Your hibiscus will thank you with a return to vibrant, pest-free growth.





