 bluename
How to Get Rid of Spider Mites on Hibiscus: Water Blast Method
I remember the sinking feeling when I first noticed my prized hibiscus looking sickly. Its vibrant green leaves were dull, speckled with tiny yellow dots, and had a strange, dusty sheen. Upon closer inspection, I saw the telltale signs: fine, silken webbing clinging to the undersides of leaves and stems. It was a full-blown spider mite infestation. As a dedicated plant enthusiast, I was determined to find a solution that was effective, immediate, and gentle on my plant. After researching and consulting resources from the Royal Horticultural Society (RHS), I decided to commit fully to the water blast method for spider mite control. This is my detailed, two-week journey using this technique, including the steps I followed, the mistakes I made, and the remarkable results I observed.
Understanding Your Enemy: Why Spider Mites Love Hibiscus
Before diving into the solution, it's crucial to understand the problem. Spider mites are not insects; they are tiny arachnids that thrive in hot, dry conditions—exactly the environment our indoor and patio hibiscus often face. They pierce plant cells and suck out the chlorophyll, causing the stippled, yellowed leaves. According to the American Horticultural Society (AHS), a single mite can lay hundreds of eggs, and a colony can explode in numbers in less than a week. Their rapid lifecycle makes early and consistent intervention key. Chemical pesticides are often ineffective and can harm beneficial insects, which is why a physical removal method like water blasting is so appealing.
My Step-by-Step Guide to the Water Blasting Technique
This method is simple in concept but requires precision and consistency. Here is the exact process I followed.
Gathering the Right Equipment You don't need fancy tools. I used a kitchen sink sprayer with an adjustable nozzle, but a handheld showerhead or a spray bottle set to a strong jet stream works perfectly. I also prepared a few soft microfiber cloths and a large bucket of lukewarm water with a few drops of mild, fragrance-free dish soap.
The Initial Blast: First Contact I moved my hibiscus to a shaded area on my patio (direct sun post-washing can scorch wet leaves). Starting from the top, I gently tilted the plant and used a strong, pinpoint jet of water to blast the undersides of every single leaf. This is non-negotiable—this is where 95% of the mites reside. I worked methodically, stem by stem, ensuring the force of the water dislodged the mites, their eggs, and their webbing. The RHS emphasizes that the water pressure should be strong enough to dislodge pests but not so strong that it damages the leaf tissue or bruises the stems.
The Follow-Up Wipe Down After the initial blast, I dipped a microfiber cloth in the soapy water, wrung it out well, and gently wiped the top and bottom of each leaf. This step helped remove any stubborn mites and cleaned off the honeydew residue they leave behind, which can attract sooty mold. I used a fresh section of the cloth for each major leaf cluster to avoid spreading the mites.
Isolation and Environmental Adjustment Spider mites spread easily. I kept my treated hibiscus isolated from my other plants for the entire two-week period. Crucially, I increased the humidity around the plant. Mites despise moisture. I placed the pot on a pebble tray filled with water and began misting the leaves lightly every morning. The AHS notes that maintaining humidity above 60% can significantly deter future infestations.
The Two-Week Observation Diary: What Actually Happened
This is where the real test began. I treated my hibiscus using the water spray technique for hibiscus mites every three days for two weeks.
- Days 1-3: After the first treatment, the plant looked cleaner, but some yellow speckling remained on older leaves. I saw a dramatic reduction in visible webbing.
- Days 4-6 (Second Treatment): I repeated the full blasting and wiping process. I noticed no new webbing forming. The new leaf buds at the tips of the stems appeared healthy and green, showing no signs of stippling.
- Days 7-9 (Third Treatment): This was a critical point. Upon extremely close inspection with a magnifying glass, I found a few tiny, moving dots on one leaf. I immediately spot-treated that area with an extra-strong water jet and a soapy cloth wipe. This highlighted the importance of relentless vigilance.
- Days 10-14 (Fourth & Final Treatment): By the fourth treatment, the plant looked revitalized. The existing leaf damage (the yellow spots) did not disappear—damaged leaves rarely recover fully—but there was absolutely zero new damage. The leaves had regained their natural sheen, and the plant pushed out two new, perfectly healthy leaves.
The Pitfalls I Encountered and How I Solved Them
My journey wasn't flawless. I made mistakes that could have undermined the entire process.
Mistake 1: Inconsistent Water Pressure. During my second treatment, I used a weaker spray setting, thinking it was gentler on the plant. A few days later, I saw a resurgence. Solution: I committed to using a consistently strong, targeted jet for every session. The plant can handle it, but the mites cannot.
Mistake 2: Neglecting the Soil and Pot Rim. After blasting, I noticed mites crawling back onto the plant from the soil surface and the pot's rim. Solution: During each treatment, I lightly sprayed the top layer of soil and thoroughly rinsed the outer and inner rim of the pot. This cut off their escape and re-infestation routes.
Mistake 3: Forgetting the Surroundings. I had my hibiscus near a dusty windowsill. Solution: I cleaned the entire area—windowsill, saucer, and even the nearby wall—with soapy water to eliminate any stray mites.
Why This Method Aligns with Expert Gardening Principles
The water blast approach to eliminating spider mites works because it attacks the problem physically and alters the environment. The RHS consistently recommends non-chemical controls as a first line of defense for sap-feeding pests. By physically removing the mites and then creating a humid environment hostile to their return, you're employing an integrated pest management (IPM) strategy. It’s a method that respects the plant's ecosystem while effectively solving the issue.
Frequently Asked Questions
Can the water blast method damage my hibiscus flowers? Yes, if done carelessly. The strong force can bruise delicate petals. When my plant was in bloom, I shielded the flowers with my hand during blasting and focused the jet solely on the leaves and stems. I relied more on the gentle wiping technique for areas near blooms.
How do I know if the mites are completely gone? Look for the absence of new stippling or yellow dots on the newest leaves. Existing damage is permanent. Use a white piece of paper under a leaf; tap the stem. If you see tiny, moving specks on the paper, they're still present. After two weeks of my regimen, the paper test was clean.
Will I ever need to use insecticidal soap or neem oil? In my case, the thorough water treatment for hibiscus spider mites was sufficient. However, for severe, persistent infestations, the AHS suggests insecticidal soaps or horticultural oils can be used as a complement to physical removal. These work by suffocating pests and are considered organic options. I kept a neem oil solution ready but did not need it after establishing my consistent water blasting routine.
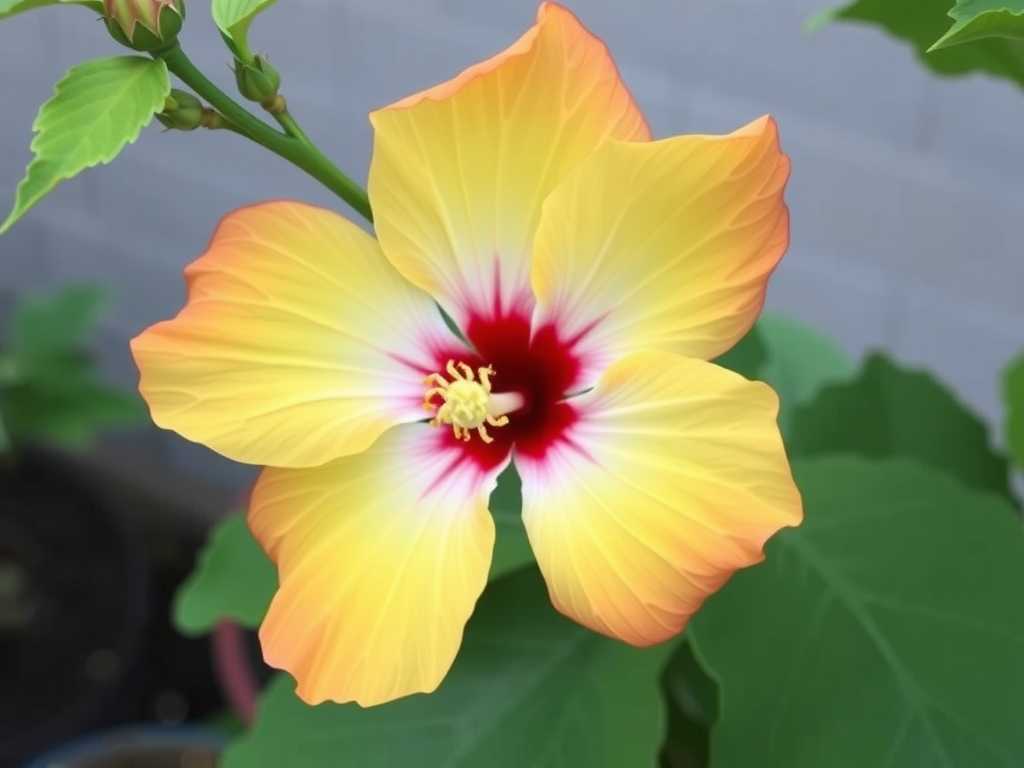
Watching my hibiscus recover its vigor over those two weeks was incredibly rewarding. The water blast method demands more elbow grease than simply spraying a chemical, but the results are lasting and safe. It’s a testament to the power of simple, consistent, and physical intervention. By understanding the pest, committing to a meticulous process, and adjusting the plant's environment, you can rescue your hibiscus from spider mites and enjoy its spectacular blooms once again. The key is patience, thoroughness, and turning your watering routine into a powerful pest control strategy.





