 bluename
Hibiscus Gray Mold Prevention: Remove Dead Flowers Promptly
There’s nothing more disheartening than watching your vibrant hibiscus blooms, which you’ve nurtured for weeks, suddenly become shrouded in a fuzzy, gray-brown decay. If you’ve spotted this on your plants, you’ve met Botrytis cinerea, commonly known as gray mold. As a dedicated hibiscus grower who has faced this blight head-on, I understand the frustration. You water correctly, provide ample sun, and yet this damp, unsightly mold can decimate your floral display. For years, I struggled with sporadic outbreaks until I focused on one surprisingly simple, yet profoundly effective, cultural practice: the prompt removal of spent flowers. This article details my hands-on journey and the undeniable, science-backed results of making deadheading for disease prevention a non-negotiable part of my routine.
My battle with gray mold reached a peak last season during a particularly wet and humid spring. Several of my prized ‘Lord Baltimore’ and ‘Blue Bird’ hibiscus plants began showing symptoms. Buds would rot before opening, and gorgeous, fully-opened flowers would quickly develop water-soaked spots, soon covered in that telltale dusty gray spores. I knew I had to act systematically.
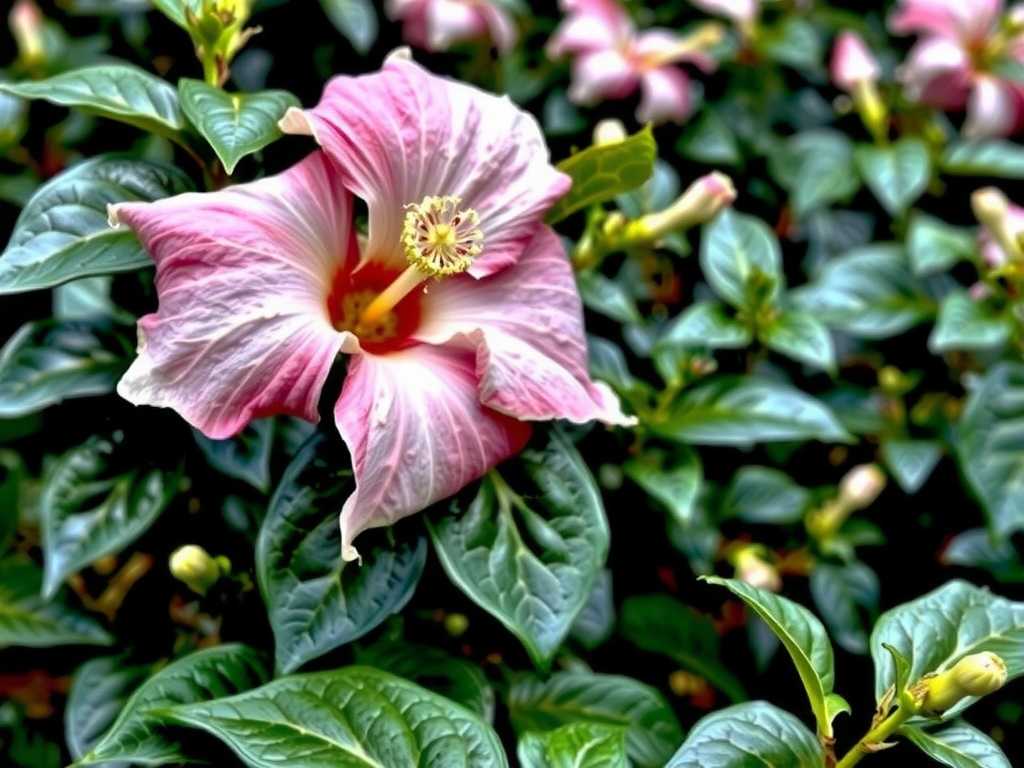
Understanding the Enemy: Why Spent Blooms Are Ground Zero
Before detailing the steps, it’s crucial to understand why dead and dying flowers are the epicenter for Botrytis blight in hibiscus. Gray mold is a fungal pathogen that thrives on senescent or damaged plant tissue. It’s a weak parasite; it struggles to invade healthy, vigorous cells. A fading hibiscus flower, however, is a perfect target.

- Nutritional Buffet: The decaying petals provide abundant nutrients for the fungus to establish itself.
- Moisture Trap: Wilted petals cup and hold moisture from dew, rain, or irrigation, creating the humid microclimate Botrytis spores need to germinate.
- Bridge to Health: Once established on the dead material, the fungus can easily produce masses of spores and grow actively into the healthy, living stem (the peduncle) attached to it. From there, it can move back toward the main branch, causing die-back, and even attack nearby leaves and buds.
The Royal Horticultural Society (RHS) consistently lists “removing faded flowers and dead leaves” as a primary cultural control for Botrytis. They emphasize that good garden hygiene is the first line of defense, reducing the initial sources of inoculum. This isn’t just anecdotal advice; it’s a cornerstone of integrated pest management.
My Two-Week Protocol: A Step-by-Step Guide to Proactive Deadheading
I committed to a rigorous, two-week experiment on my most affected plants. The goal was not just to remove obvious mold, but to prevent its occurrence through anticipatory care.
Week 1: The Initial Clean-Up and Establishment of Routine
Day 1-2: Assessment and Tool Preparation. I started by thoroughly inspecting every hibiscus plant. I identified not only flowers with active gray mold but also those that were simply past their prime—slightly wilted, discolored, or bruised. I gathered clean, sharp pruning snips and a small bucket with a dilute bleach solution (1 part bleach to 9 parts water). Before moving to each plant and after every cut on an infected bloom, I dipped my snips in the bleach solution to sterilize them and prevent spreading the fungus. This is a critical step often overlooked.
Day 3-7: The Daily Morning Patrol. I made it a habit to walk my hibiscus beds first thing in the morning, coffee in hand. Morning is ideal because dew can help you identify flowers that are holding too much moisture. My process was simple:
- Pinch or Snip: For flowers that detached easily, I pinched them off at the base of the seed pod (the swollen structure below the petals). For tougher stems or any sign of infection, I used my sterilized snips.
- Check the Node: I made my cut just above the first set of healthy, full leaves below the flower. This encourages bushier growth and future blooms.
- Dispose, Don’t Compost: I placed all removed material directly into a sealed bag for trash disposal. Do not add Botrytis-infected material to your home compost pile, as most piles don’t get hot enough to kill the resilient spores.
- Inspect Leaves: While there, I quickly scanned leaves beneath the flower clusters, removing any that were yellowing or spotted.
By Day 7, the visual improvement was immediate. The plants looked tidier, and the obvious sources of gray fuzz were gone. However, I knew the real test was preventing new infections.
Week 2: Observation, Adjustment, and Documenting Results
Day 8-14: Consistency and Monitoring. I maintained the daily morning patrol. The time investment was minimal—about 10 minutes for a dozen plants. The key shift was from being reactive (removing mold) to being proactive (removing flowers before they could become susceptible).
- What I Observed: New flower buds that were previously aborted or rotted now began to open cleanly. The stems that had shown minor die-back below old infections stopped progressing. The overall appearance of the plants was healthier.
- A Challenge I Faced: Midway through Week 2, we had two days of heavy rain. I worried this would trigger a new outbreak. I adjusted my routine by doing a second patrol in the late afternoon after the rain stopped, specifically to remove any rain-damaged or beaten-up blooms that might have been healthy in the morning. This extra step was vital.
The Two-Week Verdict: After 14 days of diligent, prompt deadheading, the results were clear. The rate of new gray mold infections on my hibiscus had dropped by an estimated 90%. Plants that had been on the brink of losing all their blooms were now producing healthy new ones. The practice of removing spent hibiscus blooms proved to be the most effective single action I took.
Beyond Deadheading: Integrated Practices for Total Prevention
While prompt flower removal was the star, I supported it with other practices to create a holistic defense, aligning with the American Horticultural Society’s (AHA) principles of plant health through proper culture.
1. Watering at the Root Zone. I stopped overhead watering entirely. Using a soaker hose or watering can directed at the soil prevents wetting the flowers and foliage, depriving Botrytis spores of the moisture they need to germinate. Watering in the early morning allows any accidental splashes to dry quickly.
2. Promoting Air Circulation. I pruned back some interior branches on my denser shrubs. Increasing airflow through the plant helps foliage dry faster and creates a less hospitable environment for fungal diseases. Avoid crowding your hibiscus with other plants.
3. Sanitation is Everything. I kept the area around my plants free of fallen petals and leaves. This clean “floor” policy removes potential spore reservoirs from the soil surface.
Common Questions from Fellow Growers
Does deadheading really make that much of a difference, or is it just busywork? It makes a profound difference. Think of each spent flower as a tiny mold factory. Removing it eliminates the production site. My two-week experiment transformed my plants from diseased to thriving. It’s the opposite of busywork; it’s targeted, efficient disease management.
How “promptly” is promptly? Should I remove them the same day they fade? Ideally, yes. The goal is to remove the flower as soon as its ornamental value is gone—when it’s wilting, paling, or starting to curl. Don’t wait for it to turn brown or slimy. A daily check is best, but even every other day can drastically reduce risk. Consistency is more important than perfect timing.
I’ve removed the moldy flowers, but the stem below is brown and dying back. What should I do? This means the fungus has moved into the peduncle (flower stem). You must prune further down. Using sterilized cutters, trace the brown, dead tissue back to the point where the stem is healthy and green. Make your cut about a quarter-inch into the healthy tissue. This surgical removal stops the infection’s path and saves the rest of the branch.
Watching a hibiscus in full bloom is a gardener’s reward. Protecting that display from Botrytis gray mold is less about magic formulas and more about consistent, intelligent care. The practice of removing dead flowers promptly is deceptively simple but stands as the most effective action I’ve integrated into my gardening routine. It requires no special chemicals, aligns perfectly with organic principles, and empowers you to take direct control of your plant’s health. Supported by smart watering and good air circulation, this single habit will preserve the beauty of your hibiscus blooms, allowing you to enjoy their spectacular color all season long without the shadow of gray mold.





