 bluename
Hibiscus Rust Control: Prune Infected Leaves to Stop Spread
There’s nothing more disheartening for a hibiscus lover than seeing those vibrant, tropical leaves marred by ugly orange or yellow pustules. I know the feeling all too well. Last season, my prized collection was hit by hibiscus rust, and the fear of it spreading uncontrollably was real. I tried fungicide sprays, but the problem seemed to linger. It wasn't until I committed to a precise, hands-on approach that I truly turned the tide. The most effective strategy I discovered wasn't just about spraying something on; it was about surgically removing the problem at its source. Let me walk you through exactly how pruning infected leaves became my cornerstone for hibiscus rust control.
Understanding the Enemy: What is Hibiscus Rust?
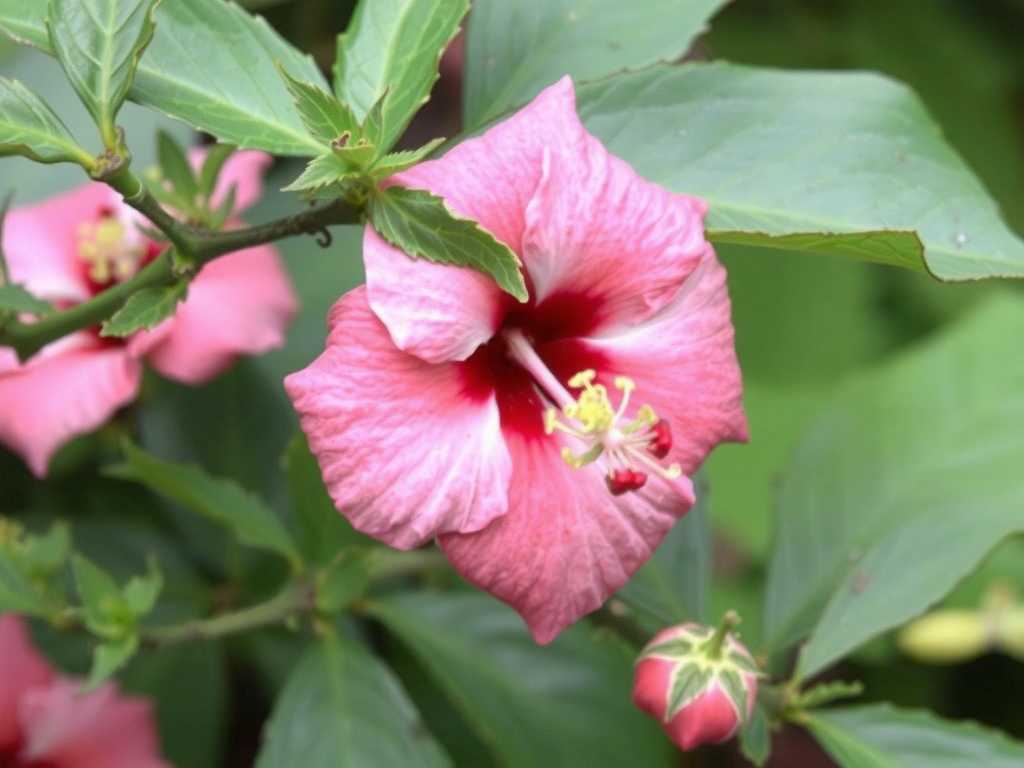
Before you can fight it, you need to know what you're dealing with. Hibiscus rust is a fungal disease caused by Kuehneola malvicola. It starts as small, pale yellow spots on the upper surfaces of leaves. The real tell-tale sign, however, is on the underside: raised, powdery, orange to brown pustules that release spores. These spores are incredibly light and travel easily by wind, water, or even on your tools and clothing, spreading the rust fungus to healthy parts of the same plant or to neighboring plants.
According to the American Hibiscus Society (AHS), environmental conditions play a huge role. Warm days (70-80°F), cool nights, and extended leaf wetness from rain, dew, or overhead watering create the perfect breeding ground for this fungus. Ignoring early signs, as I learned the hard way, allows the disease to weaken the plant, causing premature leaf drop, stunted growth, and reduced flowering.
My Two-Week Battle Plan: Pruning as Primary Defense
I decided to treat this not as a quick fix but as a focused campaign. For two weeks, I made rust management a daily garden task. Here was my step-by-step process, centered on removing diseased hibiscus leaves.
Week 1: Assessment and Aggressive Removal
Day 1-2: The Initial Triage I gathered my supplies: sharp, bypass pruners, a small bucket, isopropyl alcohol, a trash bag, and gloves. The first step was a thorough inspection of every hibiscus plant. I examined both the tops and undersides of every leaf. Any leaf showing more than a few distinct spots or clusters of pustules was marked for removal. The AHS emphasizes the importance of sanitation, so I dipped my pruners in alcohol between each cut and certainly between each plant to avoid becoming an agent of spread myself.
Day 3-7: The Surgical Strikes My initial rule was: when in doubt, cut it out. I pruned all heavily infected leaves, making clean cuts at the leaf stem (petiole) where it meets the branch. I was careful not to just pull leaves off, as this could tear the bark and create another entry point for disease. Every single removed leaf went directly into the bucket, not on the ground. At the end of each session, I sealed the contents in a trash bag for disposal with the household waste—never in the compost pile. This prevents fungal spores from recycling back into your garden environment.
The Pitfall I Encountered and How I Solved It By day 5, I noticed a worrying trend. I was removing a lot of leaves, and some plants started looking sparse. I feared I was over-pruning and stressing the plants further. My solution was to pivot from removing entire leaves for minor infections. For leaves with only one or two isolated spots, I used a different tactic. I carefully trimmed away just the infected portion of the leaf, cutting an inch into healthy tissue around the spot. This preserved more of the plant's photosynthetic "engine" while still removing the source of spores. It was more time-consuming but felt much more sustainable.
Week 2: Monitoring, Maintenance, and Supporting Recovery
Day 8-14: Vigilance and Care With the major infection sources gone, my focus shifted to prevention and plant health. I switched my watering method from overhead sprinkling to a soaker hose at the base, keeping the foliage dry. I continued my daily patrols, immediately removing any new suspect leaves—and there were far fewer now. To support the plants' recovery, I applied a balanced, slow-release fertilizer to encourage new, healthy growth. The Royal Horticultural Society (RHS) advises that healthy, well-nourished plants are inherently more resistant to pests and diseases, and I found this to be absolutely true.
Observing the Results: What Happened After Two Weeks?
The transformation was clear and encouraging. By the end of the first week, the rampant production of orange dust (spores) had visibly halted. By the end of the second week, new leaves were emerging without any signs of spots. The plants that had looked a bit bare were pushing out fresh, clean growth. The environment in my hibiscus bed felt less "contagious." While I knew the fungal spores might still persist in the environment, the cycle of infection on my plants had been decisively broken through consistent pruning of rust-infected foliage. This manual control created a window for the plants to outgrow the problem.
Building a Fortified Defense: Beyond Pruning
While pruning was the critical first step, I used it as part of a multi-pronged strategy for long-term hibiscus rust management.
Cultural Practices are Your Best Ally Spacing your plants properly to ensure good air circulation is crucial. I rearranged a few pots that were too crowded. Watering in the morning so leaves dry quickly during the day is a simple yet powerful habit. Regularly cleaning up fallen debris from under the plants denies the fungus a place to overwinter.
When to Consider Fungicide Support In severe cases, or when environmental conditions are persistently wet, pruning alone may need support. After my major prune, I applied a protective fungicide containing chlorothalonil as a preventative shield on the new growth. It's vital to follow label instructions precisely and rotate fungicide classes to prevent resistance. The RHS recommends using chemical controls as a supplement to, not a replacement for, good cultural practices like pruning and sanitation.
Why This Method Works: Breaking the Cycle This approach is effective because it directly addresses the life cycle of hibiscus rust. The fungus needs living leaf tissue to produce spores. By removing infected leaves, you physically eliminate the spore factories. This reduces the "inoculum pressure" or the sheer number of spores in the immediate area, making it much harder for the disease to spread or reinfect. It’s a direct, immediate intervention that fungicides alone cannot replicate.
Common Questions from Fellow Hibiscus Enthusiasts
Can I compost the infected leaves I prune off? Absolutely not. Home compost piles rarely reach temperatures high enough to kill resilient fungal spores like those of hibiscus rust. You risk creating a reservoir of disease that can re-infect your garden later. Always bag and dispose of them with your regular trash.
How do I disinfect my tools effectively? A quick wipe isn't enough. I keep a small spray bottle of 70% isopropyl alcohol or a container of a disinfectant like Lysol alongside my tools. I spray or wipe the blades thoroughly after each major cut or before moving to a new plant. For a stronger solution, a 1:9 bleach-to-water mix works but can be corrosive to tools if not rinsed and oiled afterward.
My plant is almost entirely infected. Is it too late to prune? This is a tough call. If a plant is severely defoliated and weakened, aggressive pruning could be the final stressor. In one case, I chose to isolate a badly infected plant and performed a very hard prune, cutting back most stems. I kept it isolated, maintained optimal care, and it did resprout healthily. However, sometimes the most responsible action for the health of your other plants is to remove and destroy a severely infected specimen entirely.
Seeing your hibiscus thrive with lush, green leaves and abundant blooms is the ultimate reward. My two-week journey taught me that controlling hibiscus rust through leaf removal is an active, engaged process. It requires patience, consistency, and a willingness to get hands-on with your plants. By combining immediate surgical removal of infected material with smart cultural practices, you don’t just treat the symptoms—you stop the spread at its source. This method restored health to my garden, and with diligent observation and care, it can do the same for yours.





