 bluename
Hibiscus Root Rot Prevention: Your Guide to Avoiding Overwatering in Winter
There’s a special kind of heartbreak that comes with seeing your beloved hibiscus, once vibrant and full of life, begin to wilt, drop its stunning blooms, and show yellowing leaves in the middle of winter. You water it, thinking it’s thirsty, only for the problem to worsen. If this sounds familiar, you’ve likely encountered the silent killer of houseplants: root rot, and winter is its favorite season to strike. I know this pain intimately. After losing a prized ‘Midnight Marvel’ hibiscus to what I later diagnosed as advanced root rot, I dedicated myself to understanding and preventing this issue. This guide is born from that experience, detailing the exact steps I took to save my next plant and the crucial two-week observation period that confirmed my methods worked. We’ll focus on the core principle of hibiscus root rot prevention by mastering the art of avoiding overwatering in winter.
Understanding the Enemy: Why Winter Turns Water into a Threat
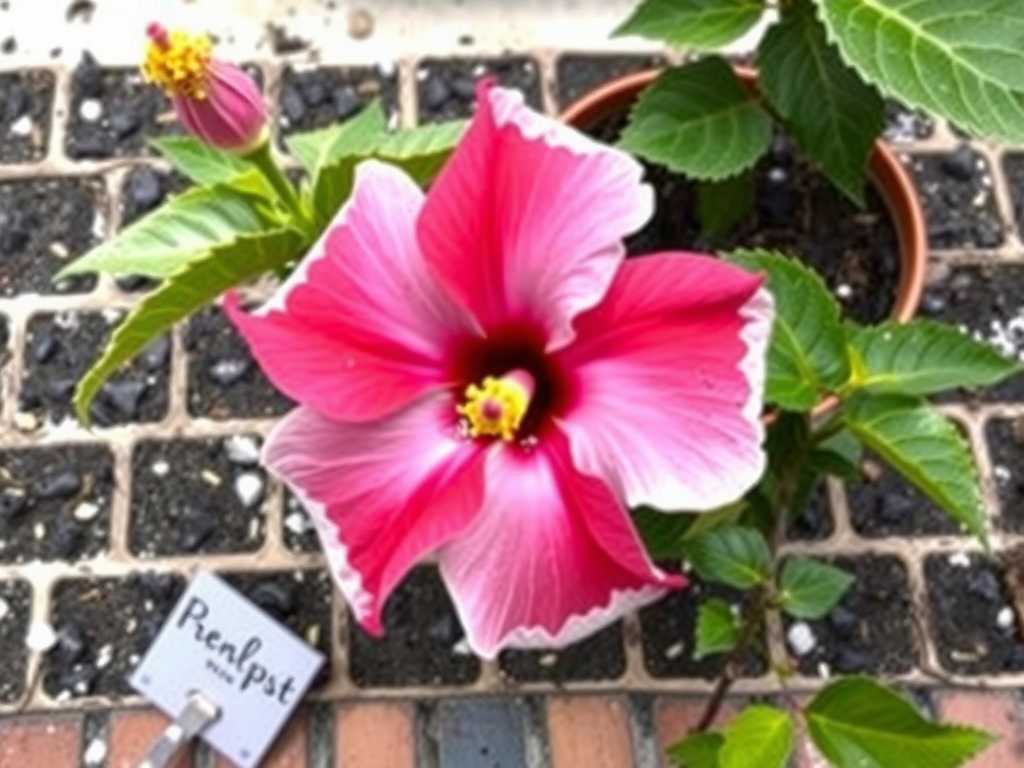
To prevent root rot, we must first understand why our watering routines, perfect for summer, become dangerous in winter. Hibiscus plants, especially tropical varieties kept indoors, enter a period of significantly slowed growth during the colder, darker months. Their metabolic processes downshift; they use less water and nutrients. Meanwhile, evaporation from the soil slows dramatically due to lower light levels and often drier indoor air (from heating systems). This creates a perfect storm: we continue watering on a “summer schedule,” but the plant cannot absorb it, leaving the soil soggy for days.
This persistent moisture suffocates the roots. Healthy roots need oxygen as much as they need water. In waterlogged soil, air pockets are flooded, and the roots begin to die and decay. This decay is often accelerated by soil-borne fungi like Phytophthora or Pythium. The American Hibiscus Society (AHS) explicitly notes that “overwatering is the most common cause of hibiscus death,” particularly for potted plants where drainage is controlled entirely by the grower. The first symptoms—leaf yellowing, wilting, leaf drop—mimic underwatering, tragically leading many well-meaning plant parents to water even more.
My Two-Week Rescue Mission: A Step-by-Step Account
When I noticed the telltale signs on my new ‘Florida Sunset’ hibiscus—slightly yellowing lower leaves and soil that felt cool and damp days after watering—I sprang into action. Here was my process, framed around the key action: how to prevent hibiscus root rot in cold months.
Step 1: The Critical Diagnosis – Unpotting and Inspection I stopped all watering immediately. Gently, I tipped the pot and slid the root ball out. The smell was the first clue—a faint, musty odor, not the earthy smell of healthy soil. I carefully loosened the roots and began my inspection. The outer roots were dark brown and mushy, sliding off with a gentle tug. This confirmed it: early-stage root rot. The Royal Horticultural Society (RHS) advises that at the first sign of overwatering, one should “check the roots immediately” as early intervention is key. This was my moment to act.
Step 2: Surgical Removal and Repotting Armed with clean, sharp scissors, I trimmed away all soft, brown, and rotten roots back to firm, white, healthy tissue. I disinfected the scissors with rubbing alcohol between cuts to prevent spreading any potential pathogens. This felt drastic, but it’s necessary. Next, I chose a new pot only slightly larger than the remaining root mass (a common mistake is using too large a pot, which holds excess water). Crucially, the pot had multiple, large drainage holes. I created a well-draining soil mix using two parts high-quality potting soil, one part perlite, and one part coarse orchid bark. This mix promises excellent aeration and fast drainage, directly addressing the winter hibiscus watering pitfalls.
Step 3: The Post-Op Care and Observation Regimen After repotting, I did not water. I placed the plant in a bright, warm spot away from drafts and direct heat vents. My goal was to let the root wounds callus over and the fresh soil to dry out adequately. This began my intensive two-week observation period.
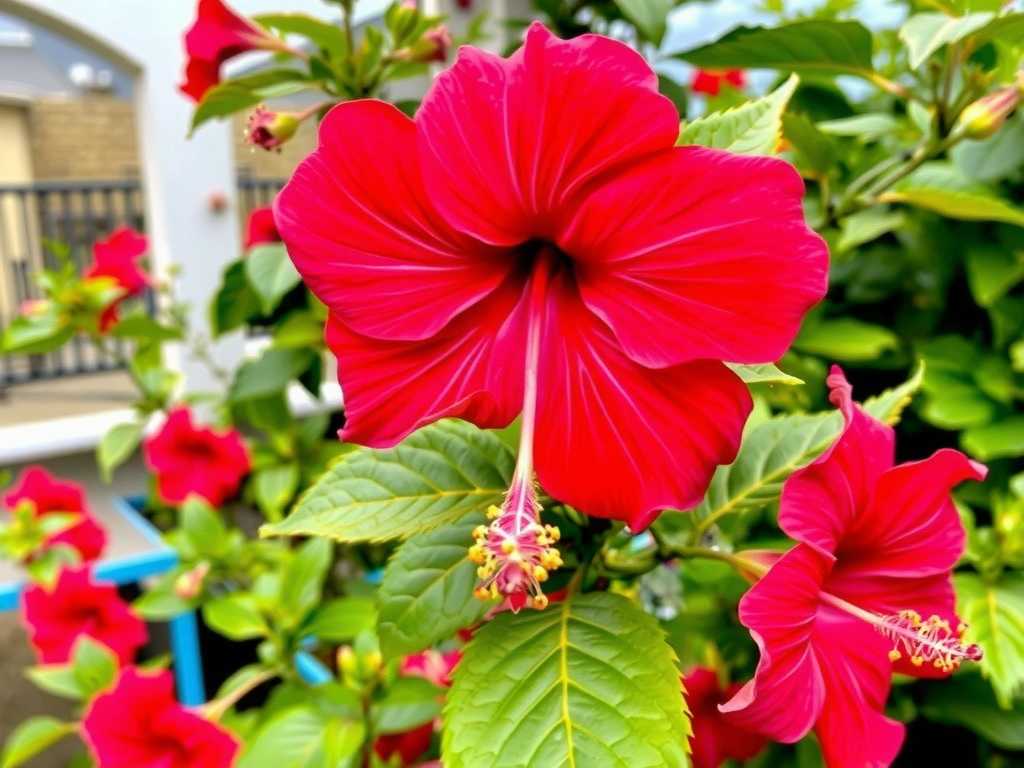
- Days 1-3: The plant looked stressed—slight wilting. This was expected due to root loss. I resisted the powerful urge to water. I misted the leaves lightly to provide humidity.
- Days 4-7: The wilting stabilized. I finally performed the “finger test,” inserting my finger knuckle-deep into the soil. It was completely dry. This was my signal for the first watering. I used room-temperature water and watered thoroughly until it ran freely from the drainage holes, then immediately emptied the saucer underneath. This is non-negotiable for preventing waterlogged hibiscus soil.
- Days 8-14: Here’s where the proof emerged. Instead of declining further, the plant held steady. No new yellow leaves appeared. The existing green leaves felt firm. By day 14, I even noticed a tiny, hard green nodule—a potential new growth point! This was the definitive sign my intervention was successful. The plant was focusing energy on root recovery and new growth, not fighting decay.
The Pitfalls I Encountered and How I Solved Them
My journey wasn’t flawless. I made a critical error: assuming my “moisture meter” was infallible. A week after repotting, it read “dry” near the surface, but the middle of the root ball was still moist. I almost overwatered again. I learned to use the meter as a secondary tool, always cross-checking with the classic finger test or by lifting the pot to feel its weight. A light pot means dry soil; a heavy one means there’s still plenty of moisture inside.
Another pitfall was location. I initially had the plant in a stylish ceramic pot without drainage (a “cache pot”). I’d water it and forget to empty the hidden reservoir. Now, I either use pots with built-in drainage or place a nursery pot inside the decorative one, always removing it to water and drain completely before putting it back.
Building a Foolproof Winter Watering Routine
Prevention is always better than cure. Based on my experience and guidance from the AHS, here is my fail-safe routine for hibiscus care in low light conditions:
- Abandon the Calendar: Never water on a schedule (e.g., “every Saturday”). Your plant’s thirst depends on light, heat, and humidity.
- Master the Soil Probe: Before even thinking about water, physically check the soil. Insert your finger 2-3 inches deep. If it feels damp or cool, wait. Water only when the top 2-3 inches are completely dry. For larger pots, a wooden chopstick works like a cake tester—if it comes out with damp soil stuck to it, wait.
- Water Deeply, Then Dry Thoroughly: When you do water, do so thoroughly until water escapes the drainage holes. This encourages deep root growth. Then, ensure all excess water is discarded.
- Prioritize Environment: Increase light if possible with a grow light. Group plants to raise humidity, reducing moisture stress on leaves. Keep plants away from cold drafts and hot radiators.
Answering Your Pressing Questions
My hibiscus leaves are yellowing and falling. Isn’t that a sign it needs more water? This is the most common and dangerous misconception. While underwatering causes dry, crispy leaves and general wilt, overwatering and early root rot cause yellowing leaves (often starting with the older ones), leaf drop, and a wilt that doesn’t improve after watering. Always check the soil moisture first.
What is the absolute best potting mix to prevent root rot? A loose, chunky, and fast-draining mix is essential. A blend of quality potting soil with ample drainage agents like perlite, pumice, or coarse sand is ideal. The goal is for water to flow through easily, not be retained for days. Many hibiscus enthusiasts swear by mixes designed for citrus or palms, amended with extra perlite.
How do I know if my hibiscus is dormant or just struggling? A healthy, dormant hibiscus in winter will have slower growth and may drop a few leaves, but the stems will remain firm and green, and the remaining leaves will look healthy. A struggling plant shows progressive yellowing, widespread leaf drop, and soft or shriveling stems. When in doubt, check the roots.
Watching my hibiscus recover over those two weeks taught me more than any article ever could. The success wasn’t in a single act of heroism, but in consistent, mindful neglect—the courage to not water. Hibiscus root rot prevention truly hinges on avoiding overwatering in winter by becoming a student of your plant’s environment and its soil. Throw away the watering schedule, trust your fingertips, and create a gritty, breathable home for the roots. Your hibiscus will reward you by weathering the winter, ready to explode with breathtaking blooms when the sun returns.





