 bluename
How to Stop Hibiscus Branch Tips Dying from Anthracnose Entering Tiny Insect Wounds
If your hibiscus branch tips are turning black and dying back, and you have noticed tiny insects or their feeding scars on the stems, anthracnose has likely found its way into those micro-wounds. I have dealt with this exact problem on my own potted hibiscus, and I can tell you that stopping it is not about drenching everything in fungicide. It is about breaking the chain: insect damage opens the door, anthracnose walks in, and branch tips die. Once I understood that, I finally stopped losing stems every summer.
Why Anthracnose Loves Tiny Insect Wounds on Hibiscus
Anthracnose is a fungal disease caused by several species in the Colletotrichum genus. The spores need moisture and an opening to infect. On hibiscus, those openings are often created by aphids, whiteflies, mealybugs, and thrips.
These pests pierce the soft tissue at the tips of new growth. The wounds are tiny—almost invisible until the damage spreads. But that is all the fungus needs.
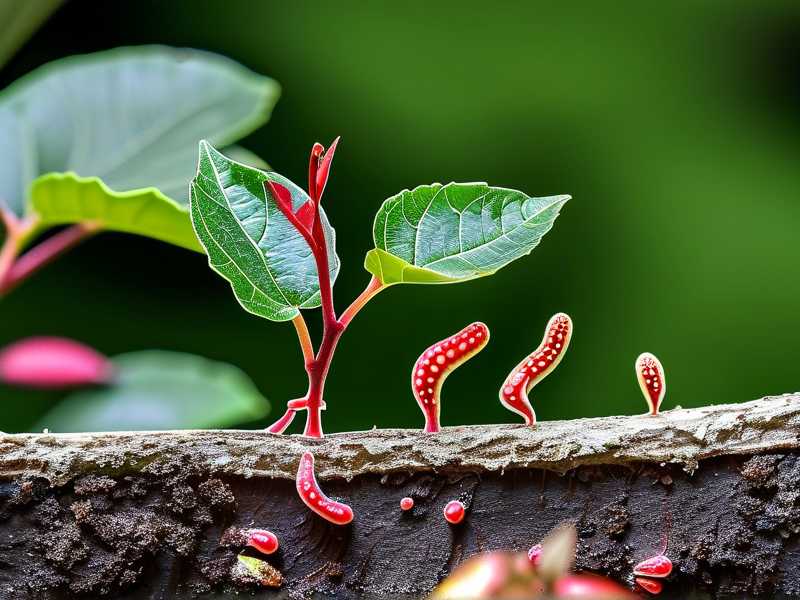
The RHS notes that anthracnose fungi often colonize weakened or wounded plant tissue first. Once inside, the fungus causes dark, sunken lesions that girdle the stem. The tip beyond the lesion dies because water and nutrients cannot move through.
I learned this the hard way with a tropical hibiscus I had babied for two years. It looked perfect until I spotted a few aphids on the newest leaves. I ignored them for a week. Big mistake.
The Three Mistakes I Made That Made Everything Worse
I have killed more hibiscus plants than I care to admit. Every single failure traced back to one of three rookie errors. If you are dealing with anthracnose on hibiscus, check these first.
Mistake 1: Overwatering. I used to water on a fixed schedule. Every three days, no matter what. That kept the soil constantly wet, which is exactly what anthracnose spores need to germinate. You have probably heard this before, but it bears repeating: 90% of indoor plants die from overwatering. My hibiscus was drowning, and the fungus was thriving.
Mistake 2: Wrong light. I kept my hibiscus in a corner that looked bright to me but was actually deep shade. Hibiscus needs at least six hours of direct sun. Without it, the plant grows weak and leggy. Weak growth is anthracnose candy.
Mistake 3: Wrong pot. I used a decorative ceramic pot with no drainage hole. Water pooled at the bottom. The roots sat in a swamp. I might as well have invited the fungus in for tea.
My Two-Week Recovery Plan for Hibiscus Branch Tips
After losing three hibiscus plants to what I now know was anthracnose entering insect wounds, I built a step-by-step routine. I tested it over two weeks on a hybrid hibiscus with early tip dieback. Here is exactly what I did.
Day 1–2: Stop the Insects First
You cannot beat anthracnose if insects keep opening new wounds. I inspected every stem tip with a magnifying glass. I found green peach aphids clustered on the softest growth.
I sprayed the entire plant with insecticidal soap, focusing on the undersides of leaves and the stem tips. I repeated the spray every three days for the first week. That knocked down the aphid population fast.
If you have whiteflies or thrips, use a product labeled for those pests. The key is to break the insect cycle so no new wounds form.
Day 3–5: Prune the Infected Tips
Next, I sterilized a pair of pruning shears with rubbing alcohol. I cut every blackened or sunken stem tip back to clean, green tissue. I made each cut at a 45-degree angle, just above a leaf node.
I bagged the cuttings and threw them in the trash. Do not compost them. Anthracnose spores can survive in compost and reinfect your garden later.
After pruning, I wiped the shears again with alcohol between cuts. It sounds fussy, but it stops the fungus from spreading to healthy stems.
Day 6–8: Fix the Watering and Soil
I repotted my hibiscus into a terracotta pot with a drainage hole. Terracotta wicks moisture away from the roots, which helps prevent the soggy conditions anthracnose loves.
I switched to a chunky potting mix: two parts regular potting soil, one part perlite, one part orchid bark. This mix drains fast. I also started watering only when the top inch of soil felt dry. I checked with my finger, not a schedule.
I stopped watering from above. Wet leaves give anthracnose spores a free ride. Instead, I watered the soil directly at the base of the plant.
Day 9–11: Apply a Fungicide If Needed
For mild cases, pruning and fixing the growing conditions may be enough. My case was moderate, so I used a copper-based fungicide labeled for anthracnose on ornamentals.
I sprayed the remaining stems and leaves according to the label directions. I applied it in the early morning so the plant had time to dry before evening. Wet foliage overnight is an open invitation for fungus.
The AHS recommends rotating fungicides with different active ingredients if you need repeated applications. That helps prevent the fungus from building resistance.
Day 12–14: Observe and Adjust
By day 12, I saw new green growth on the pruned stems. No new black tips. The remaining leaves looked perkier. By day 14, the plant had pushed out two new shoots from nodes that had looked dead.
I kept checking the stem tips every morning for two more weeks. Any sign of new insect activity got an immediate soap spray. Any new dark lesion got pruned off right away.
How to Tell Anthracnose Apart from Other Hibiscus Problems
Not every dying branch tip is anthracnose. Here is what I look for.
Anthracnose lesions are dark, sunken, and often have a slightly raised edge. They may show tiny black dots (the fungal fruiting bodies) in humid conditions. The dieback moves down the stem in a wedge shape.
If the tip is dry and crispy but the stem below is green, that is more likely sunburn or drought stress. If the whole plant wilts suddenly, check for root rot.
I once confused anthracnose with botrytis blight. Botrytis leaves a fuzzy gray mold. Anthracnose does not. Now I always look for that fuzzy growth before reaching for fungicide.
Preventing Anthracnose from Coming Back
Once you have stopped the active infection, prevention is everything. Here is my ongoing routine.
- Keep insects off the plant. Inspect new growth weekly.
- Water at the soil level. Never wet the leaves.
- Prune dead or damaged tips immediately.
- Space plants so air moves freely around them.
- Avoid high-nitrogen fertilizers. They push soft, weak growth that insects and fungi love.
I also learned to quarantine new hibiscus plants for two weeks before placing them near my established ones. You never know what hitchhikers they bring.
When to Give Up on a Hibiscus Stem
Sometimes the damage is too far gone. If the stem is black all the way down to the main trunk, prune it off at the base. The plant will redirect energy to healthy growth.
If more than half the plant is affected, you may need to start over with a new plant. I have done this twice. It stings, but it is better than watching a doomed plant decline for months.
FAQ
Can I use neem oil for both the insects and the anthracnose?
Neem oil can help with soft-bodied insects and has some antifungal properties. But it is not a cure for active anthracnose. I use it as a preventive spray every two weeks during humid weather. For active infections, I reach for a copper fungicide.
Will anthracnose spread to my other plants?
Yes, especially to other hibiscus or plants in the same family. The spores travel by water splash and wind. I isolate infected plants until the symptoms stop for at least two weeks.
How long does it take to see recovery after treatment?
With consistent treatment, you should see new green growth within 10 to 14 days. If you see no improvement after three weeks, the infection may be too advanced. Check the roots and consider starting fresh.
Stopping hibiscus branch tips from dying due to anthracnose entering tiny insect wounds comes down to three things: control the insects, fix the growing conditions, and prune the infected tissue fast. I wish I had known this before I lost my first hibiscus. Now you do.





