 bluename
How to Stop Hibiscus Upper-Leaf Curling After Heavy Thrip Feeding on Young Foliage
If you are seeing your hibiscus upper leaves curl, twist, and look like crumpled paper after a thrip explosion on new growth, you are not alone. I have been there. The honest answer is this: stop the thrips first, then fix the growing conditions that made the plant weak in the first place. Thrips damage causes leaf curling because they suck sap from tender young tissue before it fully expands. Once that tissue is scarred, it will not flatten out again. But new leaves can grow normally if you act within the next two to three weeks. I learned this the hard way after losing three hibiscus plants in a row.
Why Thrips Hit Young Hibiscus Leaves So Hard
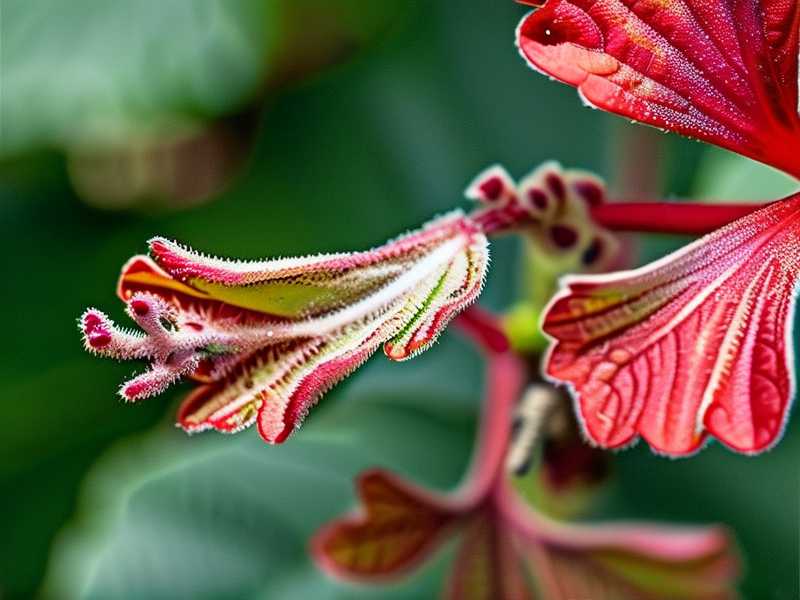
Thrips love soft, new growth. They scrape and pierce the surface cells of young leaves and drink the contents. The leaf keeps growing, but the damaged areas cannot expand properly. So you get curling, silvery patches, black specks of frass, and sometimes a sticky residue.
I once had a beautiful tropical hibiscus that pushed out a flush of perfect new leaves every spring. Then one season the upper leaves looked like someone had pinched and twisted each one. I thought it was a fungus. I sprayed fungicide for two weeks. Nothing changed. Then I flipped a leaf over and saw tiny, slender, cigar-shaped insects moving slowly. Thrips.
The RHS notes that thrips are particularly damaging to greenhouse and conservatory plants, and they thrive when air is hot and dry. That matched my sunroom exactly. I had the heat cranked up and humidity down near 30 percent. The thrips multiplied like crazy.
The 2-Week Plan I Actually Used to Stop the Curling
Here is what I did. I am not saying this is the only way, but it worked for my hibiscus, and I watched the new growth for 14 days to confirm it.
Day 1 to 3: Isolate and Prune
First, I moved the plant away from all my other plants. Thrips fly and hop, so isolation matters. Then I took clean scissors and cut off every leaf that was severely curled and clearly scarred. I did not cut into the main stem. I just removed the damaged foliage.
I also washed the plant in the shower with a gentle stream of lukewarm water. This knocked off a good number of adult thrips and larvae. I let the pot drain completely. Do not skip the drainage part. More on that later.
Day 4 to 7: Treat the Thrips Directly
I used two things: insecticidal soap and neem oil. I sprayed the undersides of leaves first, then the tops, in the evening. I repeated every three days. Why every three days? Because thrips lay eggs inside leaf tissue and have a short lifecycle. One spray kills adults and larvae but not eggs. So you need to catch the next generation before it matures.
I also hung blue sticky traps near the plant. Thrips are attracted to blue. I caught dozens. That was gross but satisfying. The AHS recommends integrated pest management for ornamental plants, and sticky traps are a simple monitoring and reduction tool.
Day 8 to 14: Fix the Growing Conditions
This is the part most people skip. Killing thrips is only half the battle. If your hibiscus is stressed, thrips will come back.
I raised the humidity around the plant to 50 to 60 percent with a small pebble tray and a humidifier. I stopped blasting the heat directly on the leaves. I also moved the plant to a spot with bright, filtered light instead of harsh afternoon sun. Thrips hate humidity. They love dry, stressed plants. Simple as that.
By day 10, I saw new leaves emerging that were flat and green. By day 14, the curling had stopped completely on all new growth. The old curled leaves stayed curled. That is normal. You cannot reverse thrip damage on mature leaves. You can only protect new ones.
Three Deadly Mistakes That Made My Thrip Problem Worse
I made all three of these. I want you to avoid them.
Mistake 1: Overwatering
This is the big one. I used to water my hibiscus every other day because I thought more water meant faster recovery. Wrong. Hibiscus likes moisture but hates soggy roots. Overwatering causes root rot, which stresses the plant, which attracts more pests. And here is the cold truth: 90% of indoor plants die from overwatering. I am not exaggerating. I killed two hibiscus this way before I understood.
The fix: water only when the top two inches of soil are dry. Stick your finger in. If it is damp, wait. Use a pot with drainage holes. Always empty the saucer after ten minutes.
Mistake 2: Light Misplacement
I put my hibiscus in a dark corner because I read they like indirect light. That is true, but "indirect" does not mean "cave." A hibiscus in low light grows weak, thin leaves. Thrips love weak leaves. I moved mine to an east-facing window with sheer curtains. That gave it morning sun and bright shade the rest of the day. Within one week the plant looked less pale.
The fix: give your hibiscus at least four to six hours of bright, filtered light. If you are in a northern climate like Canada or the UK, a south or east window is usually best. In Australia or the southern US, avoid harsh western sun in summer.
Mistake 3: Wrong Pot
I once kept a hibiscus in a decorative pot with no drainage hole. I thought I was being careful with water. But one heavy watering and the roots sat in a puddle for days. That plant got thrips, then root rot, then died. I have killed at least five plants before I learned this lesson.
The fix: use a pot with drainage holes. Terracotta is great because it breathes. Plastic is fine if you are careful. Always use a saucer and empty it. Never let the pot sit in standing water.
What I Learned After Two Weeks of Watching
Thrips are stubborn. But they are not invincible. The key is to break their lifecycle while making your hibiscus less attractive to them. I now check the undersides of new leaves every three days during spring and summer. If I see even one thrip, I spray immediately. I do not wait.
I also learned that curled upper leaves are a symptom, not the disease. The disease is thrip feeding plus stress. If you only treat the curl with leaf shine or plant tonics, you waste time. You have to go after the pest and the environment.
One more thing. Do not repot a stressed hibiscus while it is fighting thrips. I tried that once. The plant went into shock and dropped every leaf. Wait until you see two weeks of healthy new growth before you change the soil or pot.
Frequently Asked Questions
Will curled hibiscus leaves ever uncurl?
No. Once a leaf is curled from thrip damage, it stays curled. The tissue is scarred. Your goal is to protect new leaves. Cut off the worst curled leaves so you can easily monitor new growth. If new leaves come in flat and green, you are winning.
How often should I spray for thrips on hibiscus?
Every three to four days for at least two weeks. Thrips eggs hatch quickly. One spray kills adults but not eggs. Miss a spray and you start over. I set a reminder on my phone. It sounds silly but it works.
Can I use systemics on hibiscus for thrips?
Yes, in some regions. But systemics can harm pollinators if you move the plant outdoors. I prefer insecticidal soap and neem oil because they are safer for beneficial insects. If you use a systemic, follow the label exactly. And keep the plant away from flowering outdoor plants for the waiting period.
Final Thoughts
Stopping hibiscus upper-leaf curling after heavy thrip feeding is not about one miracle spray. It is about a two-week routine: isolate, prune, spray every three days, raise humidity, fix your watering, fix your light, and use a proper pot. I have done this on my own plants. I have watched flat new leaves appear by day 10. It works. But you have to be consistent. Thrips do not take days off. Neither should you, at least for those two weeks. Once you get the upper hand, your hibiscus will reward you with glossy, flat leaves and maybe even a flower or two.





