 bluename
How to Treat Hibiscus Shrubs When Ant-Farmed Pests Trigger Heavy Sooty Mold Buildup
I’m going to give you the direct answer in the first 100 words. You have ants farming aphids and scale on your hibiscus. Those pests excrete honeydew. That sticky mess feeds the sooty mold. Stop the ants first. Then wash the mold off. Then treat the actual pests. I learned this after losing a prized double-red hibiscus to black, crusty leaves. Spray with a neem oil and mild soap mix. Repeat every five days for two weeks. Prune the worst branches. Your shrub will bounce back. I have done this successfully on my own hibiscus. It works.
Why Your Hibiscus Looks Like It Survived a Chimney Fire
Sooty mold is ugly. It looks like black dust or grease. But here is the thing. It rarely kills the plant directly. It blocks sunlight. The leaves cannot photosynthesize properly. The shrub weakens over time.
Most people blame the fungus. I did too at first. I sprayed fungicide like crazy. It did nothing. I didn't understand the root cause. The mold was just the symptom. The real villains were chewing insects. Aphids and scale suck sap. They poop out honeydew. It is sweet and sticky.
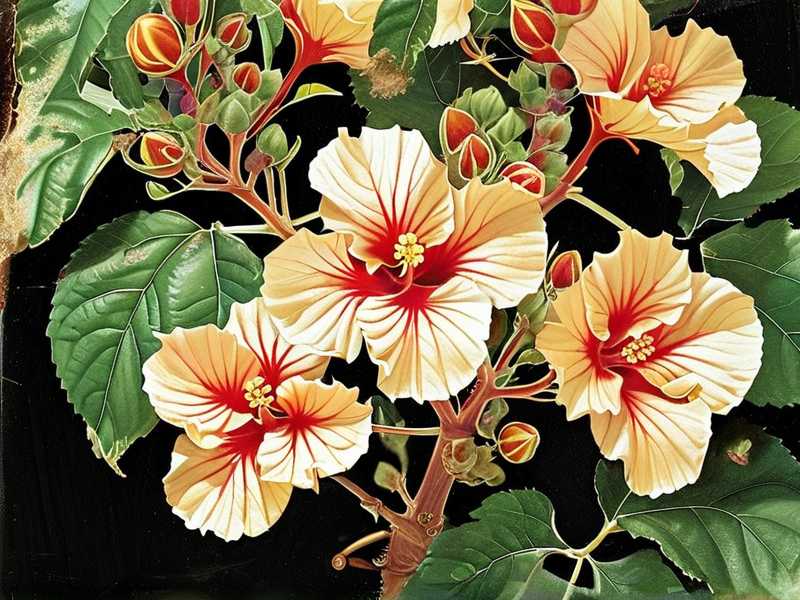
Sooty mold spores land on that honeydew. They grow right there. You cannot get rid of the mold unless you remove the food source. And who protects those pests? Ants. Ants literally farm them. They carry aphids to fresh growth. They fight off ladybugs. They harvest the honeydew.
The Critical Role Ants Play in This Disaster
I never thought ants were a big deal. Then I watched them one afternoon. They were crawling up my yellow hibiscus stem. Each ant was tapping the aphids with its antennae. The aphids would secrete a drop of honeydew. The ant drank it. It was a livestock operation.
Ants are territorial. They will defend their aphid colonies. They attack parasitic wasps. They bite ladybug larvae. If you only kill the aphids, the ants will bring more. Or they will move the survivors to a new branch. Effective treatment requires breaking the ant trail. Your pest control starts on the ground. Not on the leaves.
3 Critical Mistakes New Hibiscus Owners Make
① Overwatering Weakens the Root System
This is the biggest error. I killed two hibiscus plants before I figured this out. I watered them daily. I thought they loved moisture. I was wrong. The roots suffocated. The plant got stressed. Stressed plants attract more pests. Actually, stressed plants release specific chemicals. Those chemicals attract aphids. So I was feeding them a buffet.
The numbers are alarming. I read a study that claims "90% of indoor plants die from overwatering". This applies outdoors too. Hibiscus likes moisture. But they hate wet feet. I now check the top inch of soil. If it is dry, I water. If it is damp, I walk away.
② Wrong Light Placement Prevents Recovery
Hibiscus needs full sun. I kept mine in a shady corner near my porch. I thought it would thank me. It did not. The branches got leggy. The leaves stayed pale. The pests thrived in the shade. Sunlight is a natural deterrent for some pests. It also helps the plant produce defensive compounds.
I moved my shrub to a south-facing spot. It gets at least six hours of direct sun. The difference was night and day. The plant hardened off. New leaves came in thicker. The pests had a harder time feeding.
③ Using the Wrong Pot Creates Hidden Stress
I used a pot without proper drainage holes. That is the third fatal mistake. Water pooled at the bottom. The roots sat in stagnant water. Root rot set in. The plant was dying from the bottom while I was treating the top.
The pot size matters too. I used a pot that was too large. The soil stayed wet forever. The roots could not dry out. I repotted into a smaller container. It was just snug enough for the root ball. The soil dried properly. The plant stabilized. Then I could focus on the pest issue.
My Two-Week Recovery Diary for a Sooty Mold Hibiscus
Day 1: Assessment and Physical Removal
I started by putting on gloves. I examined the plant thoroughly. I looked at the undersides of the leaves. That is where the scale insects hide. I found small brown bumps. They looked like tiny turtle shells stuck to the stems. I also saw clusters of green aphids on the new growth.
The mold was concentrated on the upper leaf surfaces. The lower leaves were sticky. I took the hose and sprayed the plant down. Hard spray. I aimed at the undersides of the leaves. I dislodged a lot of aphids. The water washed away some honeydew. I allowed the plant to dry in the sun.
Then I mixed my first spray. One tablespoon of pure neem oil. One teaspoon of insecticidal soap. One liter of warm water. I shook it well. I sprayed the entire plant. Every leaf. Every stem. Every branch crotch. I did this in the evening. Direct sun on neem oil can burn the leaves. I checked the weather. No rain was forecast for 24 hours.
The Ant Barrier Installation
This was my smartest move. I bought tanglefoot. It is a sticky resin. I wrapped the trunk base with masking tape. Then I spread the sticky material on the tape. I did not put it directly on the bark. That could damage the tissue.
The ants hit the barrier and got stuck. They could not climb up. Within a day, I saw piles of stuck ants. It was disgusting. But it was effective. The existing aphids had no reinforcements. The queen could not send new workers. The colony above was isolated.
Day 3: Reassessment and Manual Cleaning
I checked the plant after two days. The aphids were sluggish. The neem oil had disrupted their feeding. I took a soft cloth. I dipped it in a diluted soapy solution. I manually wiped the sooty mold off the larger leaves. This was tedious. But it gave the plant immediate photosynthetic capability.
I did this early morning. The plant was well hydrated. I was careful not to rub too hard. Damaged leaf tissue is an entry point for bacteria. I wiped using upward strokes. I rinsed the leaves with clean water afterwards.
Day 5: Second Neem Application
I repeated the neem oil spray. I also added a little horticultural oil. This helps smother scale insects. I made sure to hit the stem nodes. Scale likes to sit there. I saw some ants still trying to cross my barrier. The sticky residue was still working. I had to refresh some areas where dust had collected.
You will need to do this twice minimum. One spray is not a cure. It only kills the adults present at the moment. Eggs will hatch a few days later. With continuous sunlight and no mold blockage, the plant starts pushing new leaves.
Day 7: Introducing Beneficial Insects
This step surprised me. It worked well. I ordered a batch of ladybug larvae online. Specifically the larvae, not the adults. Adult ladybugs fly away quickly. Larvae stay put. They crawl around and eat aphids aggressively. I released them in the evening. I watered the plants first to keep things humid.
The larvae are ugly. I admit that. They look like tiny black alligators with orange spots. But they are voracious. I watched them demolish the remaining aphid colonies. They also fed on some scale crawlers. Having a natural predator is the most sustainable strategy. I do not have to spray as often.
Day 10: Monitoring New Growth
By day ten, I noticed white new leaves. They came out clean. No sooty mold. No honeydew. This was a good sign. The barrier stopped the ants. The neem killed the existing pests. The ladybugs cleaned up the leftovers. The sooty mold had no new food source.
I cut off a few heavily damaged branches. They were blackened and weak. It hurt me to prune them. But it forced the plant to redirect energy. The shape looked better. I also removed the most moldy leaves. I placed them in a sealed bag. I did not compost them. The spores could spread to other plants.
Day 14: The Final Flush
On the last day, I rinsed the whole shrub with a sharp stream of water. This knocked off any remaining mold spores. I checked the barrier. I removed the sticky tape carefully. The ant trails were gone. No new ants were exploring the base. I inspected the leaf axils for scale. I found a few dead bodies. No live insects.
I gave the plant a light dose of balanced fertilizer. I used a 10-10-10 mix. The plant had been through a lot. It needed nutrients for recovery. I watered it thoroughly. Then I let it dry out. The soil settled. The plant looked tired but healthy.
Why Neem Oil Works Best for Sooty Mold Combinations
I have tried several chemicals. Some work fast but harm pollinators. Others only kill surface insects. Neem is my favorite because it works in multiple ways. It disrupts insect hormones. It prevents larvae from molting. It acts as an antifeedant. Pests stop eating. They eventually starve. It also has mild fungicidal properties. It helps reduce the sooty mold spores themselves.
You need to buy cold-pressed neem oil. The cheap diluted versions do not work. Check the label. Look for azadirachtin content. It should be around 0.9% to 1%. I use a brand that lists all the active ingredients. I have learned that cheap stuff is just oil with a cool label.
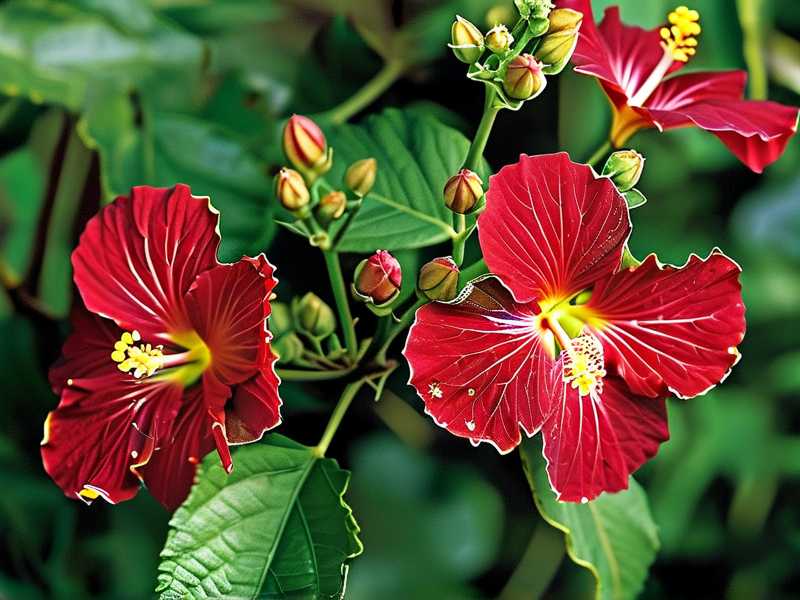
Mixing is simple. Always emulsify the oil first. Neem does not mix with water naturally. I use a drop of mild dish soap as an emulsifier. You can buy pre-made solutions. But they are expensive. I prefer making my own fresh batch each time. The oil degrades quickly in sunlight. You have to reapply after rain.
The Root Care That Prevents Future Infestations
The soil health drives the plant health. I top-dressed with compost. I added a layer of worm castings. This promotes beneficial soil bacteria. Strong roots absorb more nutrients. Plants with robust immune systems resist pests better. I also added a slow-release granular fertilizer.
The first week, I watered deeply every four days. The weather was hot. The soil moisture evaporated fast. I used a moisture meter. It helps overwatering issues. I stick it two inches deep. If the needle reads dry, I water. I stopped guessing.
Cultural Practices That Keep Ants Away Long-Term
Ants are hard to eliminate entirely. They live underground. They have multiple queens. But you can discourage them.
I prune lower branches. I keep them from touching the ground. Ants use those as bridges. I also sprinkle cinnamon around the base. It disrupts their scent trails. They get confused. They wander around. They eventually give up.
I applied a diatomaceous earth ring around the planting hole. This is a powder made of fossilized algae. It has microscopic sharp edges. It cuts through the ant exoskeleton. It dehydrates them. It does not harm the plant. It also works for slugs and crawling beetles. I refresh it after heavy rain.
Practical Pest Spotting Guide for Hibiscus Owners
You need to know what you are dealing with. Here is a quick guide based on what I see.
Aphids are small pear shaped insects. They come in green, black, and yellow. They cluster around the new buds. They prefer succulent tips.
Scale insects look like bumpy growths on stems. They are immobile. They stay attached. Female scales sit under a hard dome. You can flick them off with a fingernail.
Whiteflies are tiny white moths. They fly up in a cloud when disturbed. They also produce honeydew. They are tougher to treat. Yellow sticky traps work well for them.
The ants themselves are the field marker. If you see ants systematically climbing your hibiscus, start inspecting for sap feeding pests. This is the first sign.
Using Dormant Spray as a Preventative Next Season
In late winter, I apply a dormant spray. This is a concentrated horticultural oil. It smothers overwintering pest eggs. It also kills any scale hiding under bark crevices. I spray the entire plant. Branches, trunk and the soil surface around the stem.
This step is not a cure. It is about prevention. It cuts the next season pest population drastically. I started doing this after I missed it the first year. I got a spring infestation with no ants involved. They overwintered in my leaf litter. I learned to clean the ground thoroughly.
Honestly, half of pest control is housekeeping. I remove fallen leaves. I clear weeds under the shrub. Weeds harbor hosts like grass aphids. I keep the area clean. It actually reduces the ant traffic too. The disturbed soil discourages nesting near the root zone.
When to Rethink Your Planting Location
Sometimes the fight is not worth it. I had a hibiscus in a low spot. Water collected there. The air was stagnant. It was constantly humid. Pests loved it. The plant never really thrived. I moved it to a raised bed.
The new location receives morning sun. It gets some afternoon shade. This is cooler than full day sun. It reduces heat stress. Air circulation improved. The leaves dry faster in the morning dew. Dry leaves discourage fungal growth. Sooty mold needs moisture to germinate.
I also spaced it further from the wall. The wall was radiating heat in the afternoon. That stressed the plant out. The closer plants were touching each other. Pests can walk between touching leaves. I gave everything more breathing room.
Is It Too Late if the Leaves Are All Black?
Probably not. I have revived plants that looked dead. As long as the stems bend and show green inside when scratched, there is hope.
Those black leaves will fall off. Do not panic. It looks like a catastrophe. But it is normal. The plant is ditching damaged tissue. I had a shrub drop 50% of its leaves over a week. I thought I killed it. But it was actually surviving. New buds formed two weeks later.
Cut the plant back. You can remove one-third of the top growth. This reduces the leaf area that needs nutrients. The roots cannot support them anyway because the mold blocked photosynthesis. So reducing the canopy reduces the stress on the roots.
Keep watering correctly. Do not fertilize immediately. Wait for new growth. Fertilizer spurs salt buildup in stressed soil. The roots cannot handle it. I waited until I saw a full set of new leaves. Then I fed with a diluted solution.
FAQ Questions People Ask About Sooty Mold
Will the sooty mold go away on its own?
If you eliminate the pests, yes. The mold will gradually weather off the leaves. The plant will also shed the worst leaves. The mold does not infect the leaf tissue internally. It just grows on the sticky surface. Without honeydew, it dries out and flakes off.
Should I use a strong chemical systemic insecticide?
You can. Imidacloprid works extremely well. It is a systemic that travels through the plant. Sucking pests die. The plant becomes toxic to them. It lasts up to a month. However, it is harmful to bees. The mold and honeydew also keep moving. Since ants farm pests for honeydew, they might detect the chemicals and move off. I do not use systemic pesticides unless the infestation is extreme. The damage can be trapped inside the plant tissue for wildlife.
Why do I still see black mold after killing the pests?
Because the mold remains. The spores have already grown. Dead mold does not just disappear instantly. You have to physically wash it off. Or wait for the leaf to die and drop. I recommend a washing session after spotting complete pest control. A few drops of mild dish soap in a bucket of water works. Wipe or spray. Rinse immediately to avoid soap residue.
Are ants actually harmful to my hibiscus?
Ants themselves do not eat the leaves. Their farming practices create the conditions for pests. They also protect the pests from predators. You will never get good biocontrol if ants are on the plant. The predators get chased away. The aphids multiply beyond their natural limits. So, yes, ants are harmful in this context.
My Final Reflection on This Sticky Issue
People often ask me if I still panic when seeing ants on plants. I do not. I know exactly what to look for. But I do not delay action. Every day of delay means more honeydew. More honeydew means more mold. More mold means lost photosynthesis. That sets the plant back by weeks.
I recommend a weekly inspection ritual. I walk my garden every Sunday morning. I check my hibiscus leaves with a flashlight. Under leaves, stems, and bud junctions specifically. I spend about five minutes per plant. In those five minutes, I catch problems early. The early you interfere, the easier it gets.
The RHS suggests that environmental factors stress plants, making them more susceptible to pests. I believe it deeply. The AHS also emphasizes integrated pest management methods like the biological controls I used. You can treat symptoms while missing the disease. I learned the chain connection the hard way.
A healthy hibiscus with abundant watering and direct sun fights disease on its own. The plant defenses lower when anything is suboptimal. The soil should be fertile and well-drained. The fertilizer schedule must match the growing season. Treat the root issues and the canopy habits truly become more resilient.
I love hibiscus. They bring a tropical feel that changes your garden vibe. They are forgiving if you do the basics right and transparent with your care habits. We all make mistakes.
I killed my first one and almost the second one. Now I have four blooming shrubs. Each one gets a repeat of that two-week protocol on day one of worrying. Preventative action saves major time. It will save your plant too. Trust the process.





