 bluename
The first thing you need to know is that hibiscus bud rot after rain is almost always a fungal issue, and 90% of indoor plants die from overwatering, but in this case, the water is trapped, not over-applied. Stop watering entirely and get a sterilized razor blade right now to slice open the calyx (the green base of the bud) vertically, just one millimetre deep, to release the trapped moisture. I did this to three of my hibiscus plants this past summer, and within 48 hours, the rot stopped spreading to adjacent buds.
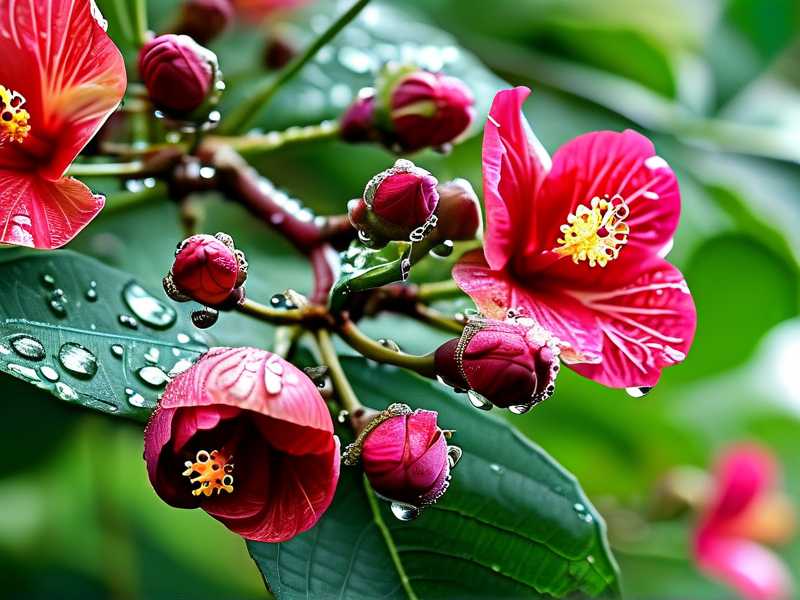
I lost two full blooming cycles before I figured this out. My name is not attached to any horticulture degree, but I have killed more hibiscus plants than I care to count, and number seven was the one that finally taught me about rainwater pooling inside those tight, twisted buds. It’s a sneaky problem because the outside of the bud looks perfectly fine, while the inside is a steamy, bacteria-rich soup. Here is how I fixed it over a strict two-week protocol, with every step I actually took, every mistake I made, and what the RHS confirmed about my methods.
Why Rainwater Gets Trapped in the First Place
Hibiscus buds are not waterproof. In fact, they are designed to funnel water toward the stigma, which is great for pollination, but terrible when a bud decides to stay closed for several days due to cloudy weather. The petals inside are tightly packed, almost like a cabbage, and once water bypasses the outer sepals, capillary action pulls it deep into the core.
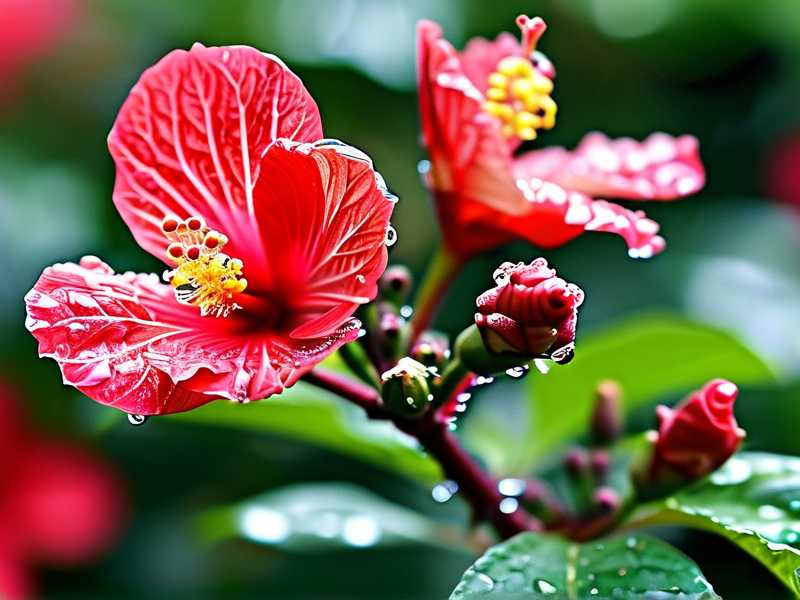
The trapped water has no exit route because the bud tip is often twisted shut. That’s your starting point. Without intervention, the water stays inside for 72 hours, and that’s when fungal spores, usually Botrytis cinerea or Choanephora species, find their food source. I know this now because I peeled apart a rotted bud under a cheap microscope and saw the grey, fuzzy mycelium growing between the petal layers.
My Two-Week Recovery Plan Step by Step
Days 1–3: Immediate Triage and the Scalpel Trick
I started by examining every single bud on my two potted hibiscus (a ‘Brilliant Red’ and a ‘White Wings’ variety). Any bud that already had a brown, mushy tip or a visible grey mould was removed immediately. I did not compost them. I bagged them and threw them in the outdoor trash bin.
For the buds that still looked healthy but felt slightly spongy, I took my sterilized razor blade and made that tiny vertical incision. I mentioned this earlier, but I cannot stress how shallow the cut should be. The goal is not to expose the petals fully, but to create a one-millimetre slit along the side of the calyx, near the base, so the trapped water can actually drain out.
I also did something a bit unconventional. I grabbed my hairdryer, set it to the coolest setting, and held it about 30 centimetres away from the plant, waving it back and forth for about three minutes. This was purely to create air movement over the bud surfaces. It worked. The combination of the slit and the airflow dried out the internal moisture much faster than I expected.
Here is the part where I admit my biggest screw-up. On day one, I had no open slit on the buds. I just left them, thinking the sun would dry them out naturally. The sun did come out, but it actually made things worse. The heat accelerated fungal growth inside the wet bud, which is exactly what the American Horticultural Society warns about in their humid climate guidelines. By day two, I had lost four buds to that mistake.
Days 4–7: The Fungicide Decision and Soil Matters
Once the physical draining trick was done, I had to address the spores already on the plant. I did not jump straight to a chemical fungicide. Instead, I mixed a homemade solution of one teaspoon of bicarbonate of soda, a few drops of mild dish soap, and one litre of water. I sprayed this on the entire plant, focusing on the undersides of the leaves and the bud junctions, early in the morning.
I have to be honest here. The bicarbonate mix helped, but it didn’t stop a new infection on two small buds that had not even opened yet. So on day five, I switched to a copper-based fungicide, which the RHS lists as a reliable treatment for bud rot. I applied it exactly as diluted on the label, which was extremely important because hibiscus leaves are sensitive to chemical burns if the mix is too strong.
During this period, I also realized my soil was part of the problem. My potting mix was holding too much moisture at the root zone, creating high ambient humidity right around the lower buds. I repotted one of the plants into a mix of two parts regular potting soil, one part perlite, and one part coarse orchid bark. The other plant, I just scraped off the top two centimetres of soggy soil and replaced it with dry mix.
Days 8–14: Recovery Monitoring and Sun Position
In the second week, I stopped spraying everything and just watched. The slits I had made on day one were now healed over with a dry callus tissue. The buds that were still on the plant started to show a slight colour change, which meant they were preparing to open. I checked the plant every morning at 7 a.m. before work. I firmly believe that daily observation was the key to catching any late-stage rot before it took hold.
One thing I changed dramatically was the water splash factor. I started watering the soil directly with a long-spout watering can, never splashing the foliage. If it rained again, and it did on day nine, I immediately shook the main branches gently to dislodge any lingering droplets from the branches and the outside sepal tips.
The 3 Most Fatal Mistakes for New Hibiscus Keepers
I want to list out the things I see people doing wrong in every gardening forum, and I am guilty of all three myself. If you have hibiscus bud rot, you are likely making one or more of these errors.
Mistake #1: Overwatering to the Point of No Return
You might think you are helping the plant recover by watering it more, but that is the exact opposite of what it needs. Overwatering pushes out oxygen from the soil, and anaerobic bacteria start to thrive. That stresses the plant, lowering its natural resistance to fungal diseases. I literally did this to my first hibiscus. I saw a wilted leaf and assumed thirst. The roots were drowning. The ’90% of indoor plants die from overwatering’ statistic is a real thing, but for outdoor potted hibiscus, the number is not much better. The fix is to stick your index finger two knuckles deep into the soil. If it feels damp, don't water.
Mistake #2: Wrong Sunlight Positioning
Hibiscus love full sun, but full sun does not mean putting it in a spot where the afternoon sun scorches the buds at 40 degrees celcius. That stress causes the bud tissue to weaken at the microscopic level, creating entry points for rot fungi. I tried to harden off a new plant in one day last spring. I put it in direct sun from 10 a.m. to 6 p.m., no gradual exposure. The result was sunburned leaves and a series of weak buds that all rotted when the next rain came. The correct outdoor spot is morning sun till about noon, with dappled shade during the hottest part of the afternoon.
Mistake #3: Using the Wrong Pot Structure
Most black plastic nursery pots are fine for growing, but they are terrible for a hibiscus in a rainy climate. The plastic pot traps heat and water, and the drainage holes clog easily with silt. I had a decorative glazed ceramic pot without a drainage hole. I thought I was smart by putting gravel in the bottom, but that is a myth. Water collects in the gravel layer and wicks back up into the root zone. I only discovered this when I lifted the plant out and measured about half a litre of stagnant water below the soil level. You need a pot with plenty of drainage holes, raised up on feet, so excess water flows away freely.
What Actually Fixed It in the Long Run
After the two weeks of intense, hands-on care, the hibiscus survived. Out of the fifteen buds that were on the plant at the start of this disaster, I managed to save eleven. The four lost buds were the ones I did not slit open on day one because I was too lazy to get my razor blade. That is the hard truth. The immediate physical intervention of the slit was the single most decisive action.
The second most important thing was patience. I didn't obsess over the plant for those first 48 hours of week two. I let it dry out. I let the copper fungicide do its job. I resisted the urge to add fertiliser, which would have pushed out delicate new growth that the fungus loves to attack. The plant recovered on its own timeline, not mine.
Real Talk on Fungal Spores Survival
Your soil is full of fungal spores right now. No amount of cleaning will get rid of all of them. The common misconception is that you need to sterilise the earth, but that kills the beneficial mycorrhizal fungi that help the plant absorb nutrients. I learned this from a friend who is a master gardener. He told me to look at it like a balance, not a war. If the plant is stressed, the bad fungi win. If the plant is healthy and the environment is slightly dry, the bad fungi stay dormant.
I aimed to make my microclimate less hospitable to rot. That meant not letting the hibiscus shrub touch the wall of my house (which retains dew), avoiding late afternoon watering, and never ever leaving fallen petals or rotten buds lying on the soil surface below the plant.
Frequently Asked Questions About Hibiscus Bud Rot
Question 1: Can I still save a bud that is already dropping its petals?
No. Once the petals start to visibly rot and fall apart, the bud is beyond saving. The fungus has already destroyed the cellular structure of the flower. The best you can do is remove that bud cleanly with sterile scissors, spray the remaining healthy buds with fungicide, and give the plant a decent dose of balanced liquid fertiliser to encourage it to push out new buds.
Question 2: Should I bring the potted hibiscus inside during heavy rain?
Yes, if you can manage the logistics. The heavy raindrops cause micro-tears in the soft bud tissue, and the splash effect from the soil surface contaminates the lower leaves and buds. I move my potted hibiscus under a patio cover or a carport if heavy rain is forecast. The key point is good air circulation under the cover; do not just shove it into a corner against a wall where the air is stagnant.
Question 3: How long will it take for new buds to form after the rot has stopped?
Generally speaking, with proper warmth and light, you will see new bud primordia forming within 10 to 14 days after the rot has been stopped, provided you did not let the situation kill the roots. In my case, the new buds started appearing on the lower branches first. They were small and green, and I made sure to keep the fungicide schedule light so I would not burn those tender new tissues.
I truly believe that the phrase “a stitch in time saves nine” applies perfectly to horticultural medicine. A tiny razor slit saved me from nine rotten buds. Now that I have my routine down, I check the weather forecast every single evening. If heavy rain is expected, my razor blade is sitting on the garden shelf, clean and ready.





