 bluename
If you are reading this, there is a good chance your prized container hibiscus looks like it survived a botanical war. I am going to give you the direct answer first because I know the panic. To recover a container hibiscus after anthracnose spots cover most mature leaf surfaces, you must immediately remove all severely spotted leaves, isolate the plant, and switch to a strict "dry-side" watering schedule while applying a copper-based fungicide every 7 days for 2 weeks. I have been exactly where you are, staring at a plant that looked beyond saving.
Let me be honest with you. I killed my first three hibiscus plants entirely through misguided love. It was only after I stopped treating them like fragile divas and started understanding their actual biological needs that I finally saw real recovery. The day I spotted those dark, sunken lesions spreading across the mature foliage like a terrible rash, my stomach dropped. The spots were mostly on the older leaves at the bottom, which confused me at first. But I learned that anthracnose is an opportunistic fungus. Almost instantly, I realized my biggest contribution to this mess wasn't the weather—it was my own watering can.
The absolute hardest lesson I had to learn is that 90% of indoor plants die from overwatering, and container hibiscus are no exception. In fact, container hibiscus are even more susceptible because they have less soil volume to buffer against excess moisture. When I saw those first signs of spotting, my instinct was to mist the leaves and water more to "flush" out the disease. That was catastrophic. I was basically throwing a pool party for the fungus on the leaf surface. The spores love nothing more than standing water and high humidity. What the plant actually needed was for me to back off completely.
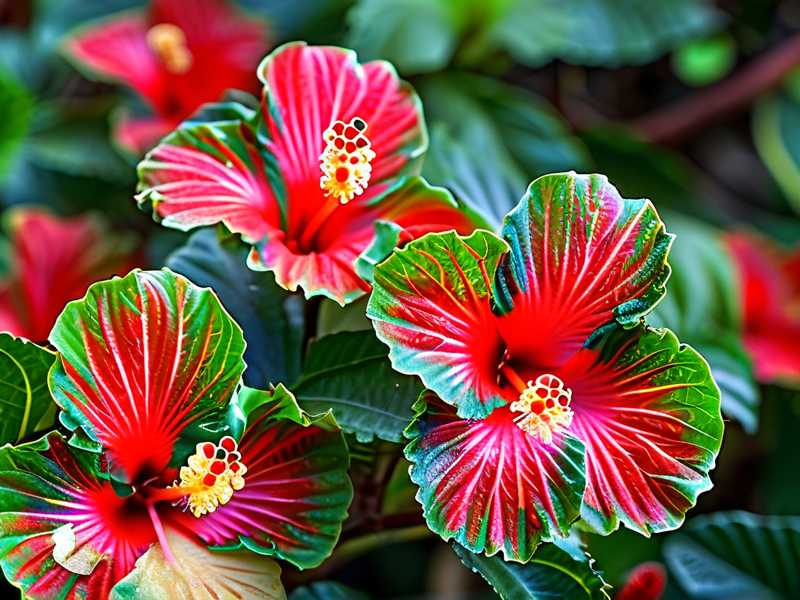
Here is what I my actual recovery protocol looked like, day by day, for 2 weeks. I hope it saves you the heartbreak I endured.
Step 1: The Emergency Triage (Day 1)
First, I took the plant away from all other container flowers. Anthracnose spreads via splashing water and wind, but indoors it mainly spreads when you touch an infected leaf and then touch a healthy one. I used a pair of sterilized pruning shears and cut off every mature leaf that had more than 50% spot coverage. It felt violent. But look at it this way: those leaves were already dead weight. They were not photosynthesizing; they were just stealing energy and spreading spores. I removed about 70% of the foliage on my worst plant. It looked bald and pathetic. I was sure I had killed it.
Do not add those infected leaves to your compost. I put them in a sealed plastic bag and threw them straight into the trash bin outside the house. That stopped the spore source immediately.
Step 2: The Watering Reset (Day 1 - Day 3)
This was the hardest part for me because I felt like I was neglecting the plant. After the pruning, I did not water it for the first three days. I know that sounds scary, but the soil was still damp from my previous overwatering habit. I had to let the top two inches of the soil dry out completely. During this time, I checked the moisture with my finger, not a fancy meter. If it felt cool to the touch, I walked away. I sat on my hands. I repeated to myself: "I am not a water fountain; I am a gardener."
Step 3: The Fungicide Application (Day 4)
On the fourth day, I mixed a copper-based fungicide, which is actually approved for organic gardening, according to the general guidelines shared by experts at the RHS. I chose copper because it creates a protective barrier on the leaf surface rather than just trying to kill the fungus inside the tissue. I sprayed all remaining leaves, especially the undersides where fungus spores like to hide. The secret here is coverage. I sprayed until the point of runoff, but I made sure not to do this in the middle of the day when the sun was beating down on the patio. I did it in the early morning so the leaves could dry out as the day warmed. This is critical because moisture on leaves overnight is exactly how this mess started.
Side note: I used to be careless and spray in the evening. Bad idea. The leaves stayed wet for 12 hours, which just made the fungal situation worse. Morning is your only friend here.
The Crucial Observation Log (Week 1)
For the next few days, I watched the plant like a hawk. I will tell you this: the spotting did not stop immediately. That was my biggest panic moment. Old spots stayed visible, but I was looking for new growth. Around Day 6, I spotted tiny, bright green shoots emerging from the axils of the stems where I had removed the old leaves. This was the signal that the plant was redirecting energy into survival.
During this week, I watered only once, on Day 5, when the soil was completely dry to a depth of my whole index finger. I watered slowly, at the base, avoiding the leaves completely. I think we often forget that these plants drink through their roots, not their foliage. Leaf watering is for pest control and humidity, not hydration.
Adjusting the Environment for a Comeback (Week 1 - Week 2)
This is where I realized my "good intentions" were the root of the problem. My hibiscus was sitting in a corner that got bright, indirect light for most of the day but almost no direct sun. In my head, I was protecting it from sunburn. But the anthracnose fungus loves shaded, humid, still-air environments. It thrives where light is dim and breezes are non-existent.
I moved the pot to a south-facing windowsill, but I put a sheer curtain up. That gave it intense, bright light without scorching the recovering leaves. Crucially, I placed a small desk fan nearby on a low setting. I directed it at the foliage, not the pot. this moving air was the secret weapon. It kept the leaf surfaces bone dry at all times. Within 48 hours of adding the fan, I noticed no new spots appearing on the new growth. That was the turning point for me.
The Second Application (Day 10)
I applied a second treatment of the fungicide on Day 10 to catch anything that was still maturing. I have learned that one spray is never enough. You have to break the lifecycle. The first spray kills the active spores; the second spray prevents the next generation from taking hold. By this time, most of the lower stem was bare, but the top was starting to look like a fuzzy green head of hair.
Growth Reset and Feeding (Day 14)
After two weeks, the new leaves were coming in clean. No spots. No distortion. The plant was not huge, but it was alive and pushing out foliage. At this point, I watered with a diluted, balanced liquid fertilizer at half strength. I want to warn you: I did this too early once before on a different plant, and the nitrogen shock nearly killed it. You have to wait until you see active growth first. If you fertilize while the plant is stressed, you basically burn the roots. This time, the new leaves had already emerged, so I felt safe.
Now, I know you might be looking at your plant and making the same mistakes I did. So let me be blunt about the details that the internet doesn't tell you. I have narrowed down my failures to three specific, fatal errors.
Newbie Fatal Error #1: The Overwatering FetishI cannot stress this enough. When we see a sick plant, we want to "nurse" it. We give it an extra drink. We mist it. We create a lovely, wet environment that is essentially a biohazard. I used to water on a schedule—every Monday and Thursday, regardless of soil condition. That is the kiss of death for a container hibiscus. The roots rot, the plant stress response skyrockets, and anthracnose sees a vulnerable host. I now wait until the leaves start to look just slightly dull, not shiny, before I even think about watering. That subtle change tells me the plant is thirsty.
Newbie Fatal Error #2: The Light Positioning FallacyI used to think "bright indoor light" meant a spot next to a north-facing window. Why did I think that? I have no idea. Hibiscus are sun-worshippers. They are not ferns. When I moved my sick plant to a spot with more sun, the recovery sped up massively. The heat and light helped the plant metabolize higher levels of sugars, which helped it build strong cell walls that the fungus is less likely to penetrate. If you have your plant in a dim living room corner and you are wondering why it keeps getting sick, it's because you are starving it. it cannot fight a disease if it doesn't have the energy to do so.
Newbie Fatal Error #3: The Wrong Potting MediumThis one is subtle. I bought a decorative ceramic pot with no drainage hole. I put my plastic nursery pot inside. Then I watered. The water pooled at the bottom of the ceramic pot, right under the nursery pot. The roots sat in that stagnant puddle for days. It was a fungal amusement park. If you are growing in a container, you need air flow at the roots. I switched to a terracotta pot with a wide drainage hole. Terracotta wicks moisture away from the soil, allowing faster drying. This alone has reduced my fungal issues by half. The substrate needs to be chunky and well-aerated. If you are using standard garden soil in a pot, you are heading for disaster.
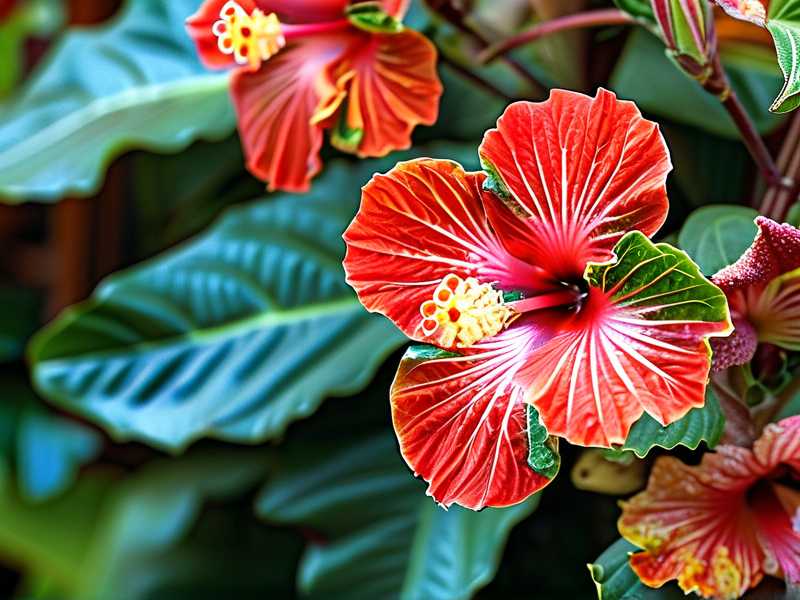
Soil Drench and Root Health (Why the Leak Matters)
Let's talk about the soil a bit more. While the leaves are the obvious victims here, the fungus often starts in the soil or splashes up from it. I checked the top layer of my potting mix. It was compacted and had a layer of algae on top, which indicates water retention. I scraped off the top inch of that algae-ridden soil and replaced it with fresh, dry potting mix and perlite. This added a layer of defense against any spores living in the soil trying to jump up to the lower leaves during watering.
A good practice I adapted from the AHS guidelines is to use a "soak and dry" method on a strict basis. I bottom-water my hibiscus now. I place the pot in a basin of water and let it wick up moisture from the drainage hole for about 20 minutes. Then I remove it and let it drain completely. This ensures the top of the soil stays dry, which means the fungus present in the top layers won't have the moisture it needs to sporulate.
The Long-Term Roadmap (What to Do in the Following Month)
Once you have your plant producing clean leaves again, do not pat yourself on the back and revert to old habits. The fungus is still in the environment. It is basically dormant, waiting for you to slip up.
Maintain Airflow: I keep that fan running for at least 4 hours a day now, even during the winter. Stale air is your enemy.Monitor Leaf Wetness: If you have to water, do it at the soil line. Don't splash the leaves. If you accidentally get them wet, grab a paper towel and dry them off. I know that sounds obsessive, but for a container hibiscus, it’s the difference between life and death, especially during the recovery phase.Remove Leaf Litter: Any fallen leaf in the pot is a spore factory. I check daily for dead plant matter and remove it immediately. It’s like taking out the trash.
Personal Reflections on Recovery
I want to tell you a specific story about a hybrid hibiscus I nearly lost. It was called "The Path," and it had these huge, ruffled orange flowers. When the anthracnose hit, it hit hard. I sprayed it with a generic "plant tonic" that I think was just diluted seaweed extract. That did absolutely nothing. I wasted a week. Then I used a harsh synthetic chemical that burned the leaf tips.
I felt like an awful plant parent. But here is the thing: the plant forgave me. Once I stopped messing with it and just gave it the drainage, the light, and the airflow it needed, plus the correct copper treatment, it bounced back. It took about a month to look full again, but the new growth was robust and vigorous.
"Don't be discouraged if the plant looks ugly for a while," says a friend of mine who is a landscape architect. Pruning off the mature leaves means you are drastically reducing the plant's ability to photosynthesize. It will need time to regrow that solar panel array. During this two-year period of me keeping hibiscus, I have seen plants bounce back from what looked like certain death. The recovery is rarely instant, but it is consistent if you are disciplined.
Common Mistakes I Corrected in Phase Two
One thing I realized is that I love feeding my plants. I used to throw fertilizer on them every week. With a stressed plant, this is terrible. During the initial recovery phase, you are just trying to keep the roots alive. I waited until the green shoots appeared before I introduced any mild fertilizer. And I absolutely avoided high-nitrogen formulas during this time. Nitrogen forces soft, leafy growth that is highly susceptible to fungal reinfection. I use a fertilizer higher in potassium (the "K" in N-P-K) to help the plant harden off the new cell walls.
Key Takeaways for Long-Term Success
Let me summarize the specific actions that will take your plant from "dying" to "thriving":
Remove infected tissue immediately. Don't leave it to "fall off." Cut it off and dispose of it away from the house.
Dry out the environment. The topsoil needs to feel dry before you water again. The room needs airflow.
Use preventative fungicides. Stick to copper or sulfur-based options. Apply them in the morning.
Sun exposure is non-negotiable. Give it as much direct sun as you safely can, acclimating it over a few days to avoid leaf scorch of the new leaves.
If you are struggling with this in a cooler climate, understand that indoor heating creates very dry air, which is actually good for fungus prevention, but it also means the plant might need more consistent watering checks. Watch the heat vents, though. If the vent blows directly on the plant, it will crisp the new leaves. Position the plant near a humidifier but with a fan to move the air.
Frequently Asked Questions
Can I save a hibiscus if ALL the leaves have spots?Yes, but only if the stems are still firm and green. If the spots cover every leaf, you need to strip the plant bare. I have done this. I cut the stems back by half and removed every leaf. I left the soil to dry out for a week. Eventually, dormant buds at the base of the stems will swell and break into new growth. It is a drastic move, but it often resets the plant. Remember, the leaves don't make the plant alive—the roots and stems do.
Should I repot the hibiscus to get rid of the fungus in the soil?I recommend you only repot if the soil drains terribly. Repotting a stressed plant can cause transplant shock, which makes it more susceptible to disease. Instead, just scrape off the top inch of soil and replace it with fresh mix. The anthracnose fungus primarily lives on infected plant debris and leaves, not really as a root pathogen. Your focus should be on keeping the leaves dry.
Is the anthracnose fungus going to spread to my other houseplants?Usually, anthracnose is host-specific. The strain affecting your hibiscus will likely not attack your snake plant or your fern. They are different biological pathways. However, always quarantine the sick plant to be safe and wash your hands and tools after handling it. You don't want to physically transfer the spores to a plant that has a pre-existing weakness.
Recovering a container hibiscus from anthracnose is a test of patience. You will look at the bald stems and want to throw in the towel. Don't. I know it looks hopeless when the mature leaves have more black spots than green. But the plant is programmed to survive. It wants to live. Your job is just to get out of the way and stop drowning it. Give it air, give it sun, and let the soil dry out. In two weeks, you will see the beginning of a new canopy. And that feeling? It is worth every second of the worry. Just be patient. I promise, your hibiscus is tougher than you think.





