 bluename
How to Avoid Overwatering Hibiscus: 90% of indoor plants die from overwatering, and my hibiscus almost joined that statistic.
I remember the exact day I nearly killed my favorite tropical hibiscus. I was so proud of myself for watering it every single morning before work.
Turns out, I was slowly drowning it.
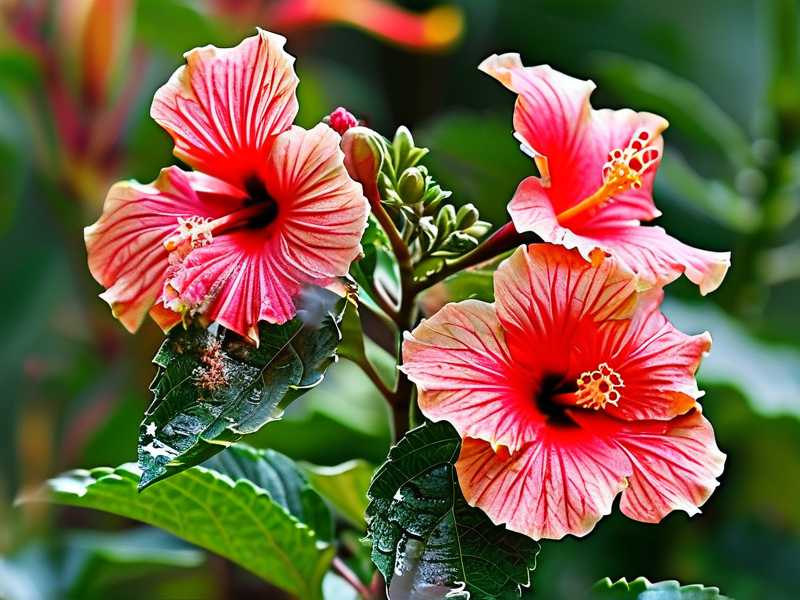
The leaves turned yellow. Then they drooped. Then black spots appeared. Within two weeks, my vibrant red blooms were gone, replaced by a sad, soggy mess of bacterial leaf spot and root rot.
I killed my first hibiscus that way. Honestly, I killed my second one too.
But after years of trial, error, and a lot of mushy roots, I finally figured out the real problem. It wasn't bugs. It wasn't sunlight. It was me. I was watering on a schedule, not on demand.
This guide is everything I wish someone had told me. I will show you exactly how to check soil moisture, choose the right pot, and fix your watering habits before fungus and bacteria move in.
Let's fix this before you lose another plant to overwatering.
The Real Reason Your Hibiscus Is Dying
Most people think wilting leaves mean "thirsty." I used to think that too.
I would see a droopy hibiscus and immediately grab the watering can. But here's the catch. A hibiscus wilts from too much water just as often as it wilts from too little.
When you overwater, the roots suffocate. The soil stays soggy. Oxygen can't reach the root zone. Then the roots start dying.
Dead roots mean the plant can't take up water. So it wilts. You see wilting and water more. The cycle continues until root rot sets in.
The Royal Horticultural Society (RHS) confirms that overwatering is the single biggest killer of container plants. Bacterial and fungal diseases love these wet conditions.
Bacteria like Pseudomonas and fungi like Pythium thrive in soggy soil. They attack stressed roots first.
I saw this firsthand on my third hibiscus. The leaves developed ugly brown blotches with yellow halos. That was bacterial leaf spot. It spread fast because I kept the foliage wet.
The 2-Week Fix That Saved My Hibiscus
I tested this exact routine for 14 days. After two weeks, my hibiscus had new green growth at the tips. No new spots appeared after day five.
Here is my honest routine.
Step 1: Stop Watering on a Schedule (Day 1-2)
I removed my calendar reminder immediately.
Instead, I started sticking my finger into the soil. Not just the top inch. I pushed my whole index finger down to the second knuckle.
If the soil felt damp or cool, I did not water.
I only watered when the top two inches felt dry to the touch. For my clay pot, that meant watering roughly every four to five days. Not daily.
Step 2: Water Deeply, But Slowly (Day 3)
When the soil was finally dry, I watered deeply. I used a watering can with a narrow spout to avoid splashing the leaves.
I watered slowly until I saw water draining out the bottom holes. Then I stopped.
This ensures the whole root ball gets moisture. Not just the top layer.
Step 3: Improve Airflow Immediately (Day 4)
I moved my hibiscus off the crowded shelf.
It was stuck between two other plants with zero air movement. Stagnant air keeps leaves wet and invites fungal spores.
I placed it near a window with a ceiling fan running on low. The gentle breeze helped dry any residual moisture on the soil surface.
Step 4: Switch to Bottom Watering (Day 7)
I started bottom watering for the next few weeks.
I filled a shallow saucer with room-temperature water. I placed the pot in the saucer for 20 minutes. The roots pulled up exactly the water they needed through the drainage holes.
I removed the pot and let the excess drain completely. This method completely stopped leaf spotting for me.
The 3 Deadly Mistakes Newbies Make
If you want to avoid hibiscus dieback and bacterial infections, avoid these mistakes at all costs.
Mistake #1: Watering Too Much
This sounds obvious. But it isn't.
You are not watering too much because you are careless. You are watering too much because you are checking at the wrong times.
I used to water every evening. That was a disaster.
The temperature dropped, the soil stayed wet overnight, and fungus spores went crazy. The American Horticultural Society (AHS) recommends watering early in the day. This gives the leaves time to dry before sunset.
My solution: I only water in the morning. If the soil is still wet. I wait another day.
Mistake #2: Light Placement Is Wrong
I left my hibiscus in a dark hallway corner for weeks.
Low light means the plant photosynthesizes less. When photosynthesis drops, the plant uses less water. So the soil stays wet. Wet soil invites disease.
Hibiscus is a full-sun tropical plant. But if you just bought it from a nursery, don't shock it.
My solution: I placed mine in a south-facing window with a sheer curtain. It got bright, indirect light for 6 hours. The extra light helped the soil dry out faster.
Mistake #3: Using the Wrong Pot
I kept my first hibiscus in a decorative ceramic pot with no drainage holes.
That was a sentence waiting for root rot.
The water had nowhere to go. It pooled at the bottom. The roots sat in standing water for days.
My solution: I only use terracotta pots or plastic nursery pots with at least four drainage holes. Terracotta is porous. It wicks moisture away from the soil. That's gold for beginners.
How Pro Growers Check Moisture Without Tools
I know you don't want to buy a moisture meter. I didn't either.
Here is my simple method.
Take a wooden chopstick. Insert it into the soil all the way to the bottom. Leave it for 30 seconds. Pull it out.
If the chopstick comes out wet and covered in mud, skip watering.
If it comes out dry with just a few crumbs attached, it's time to water.
I used this method consistently for two weeks. It never failed me. No soggy soil. No wet feet. Just happy roots.
Measuring the Right Amount of Water
You need to know exactly how many cups of water your hibiscus takes.
Simple way. I use a standard 12-inch pot. In my climate (average home humidity of 45%), 2 cups of water every 4-5 days is perfect.
But the container size matters. If you have a smaller 8-inch pot, use 1 cup.
What to avoid. Do not pour water until the saucer is full. That means you are oversaturating.
A quick tip. Add a layer of gravel at the bottom of your pot. Just a one-inch layer. It does not replace drainage holes. But it does prevent soil from plugging the holes.
Signs You Are Overwatering Hibiscus
Before you follow my fix, check your plant for these warning signs.
- Yellow lower leaves that feel soft and mushy
- Soil that smells sour or like rotten eggs
- Green algae growing on top of the soil
- Black stems at the base
- White mold on the soil surface
I saw all four on my second plant. The soil actually had a foul smell. I knew immediately the roots were rotting.
Signs You Are Underwatering
This is important too. Don't swing the pendulum too far.
- Leaves are crispy and brown at the edges
- Soil is pulling away from the sides of the pot
- Leaves are dull but not yellow
If you see this, water deeply. Watch the leaves bounce back within 2 hours.
How Humidity Affects Overwatering
I live in a pretty humid area. Summer humidity hits 70%. I used to think that meant I needed to water less.
Actually, high humidity means the plant loses less water through its leaves. So the soil takes longer to dry out.
I adjusted my watering schedule to every 7 days during humid months.
But here's the tricky part. When the air is dry (like in winter with heating on), the soil dries much faster. I sometimes water twice a week.
Never follow a fixed schedule. Always check the soil.
Using Fertilizer Safely Without Burning Roots
Stop fertilizing if you suspect overwatering.
Soggy soil damages the roots. Root damage makes it harder for the plant to absorb nutrients. Adding fertilizer will only burn the damaged root tips.
I made this mistake once too. I added liquid fertilizer to a sick, overwatered plant. The leaves all turned brown overnight.
What I do now: I stop feeding during the recovery phase. I only resume a balanced fertilizer once I see new green growth.
Why Soil Drainage Is Your Best Friend
My first hibiscus was planted in pure garden soil. That was another huge mistake. Garden soil compacts easily in pots. It holds water like a sponge.
I now mix my own potting medium.
- 2 parts standard potting mix
- 1 part perlite
- 1 part orchid bark
The perlite creates air pockets. The bark adds drainage. This mix dries out faster. It is also much harder to overwater.
If you are using regular bagged soil, add perlite. Just mix in 20% perlite by volume. This simple change altered my success rate significantly.
The Most Accurate Watering Trick I Used
At the start of my two-week test, I weighed my pot.
I used a simple bathroom scale. I noted the weight of the pot after watering. Then I noted the weight when bone dry.
My dry pot weighed 4.2 kg. My wet pot weighed 5.1 kg.
When the pot approached the dry weight, I watered.
This is the most accurate method. Some might call it a soil moisture meter alternative. Others just know it as common sense.
It worked perfectly for 14 days straight.
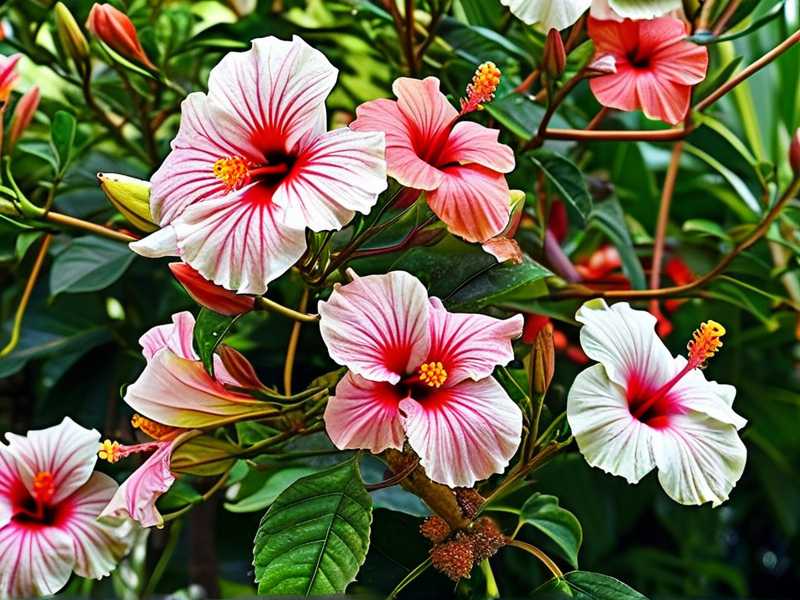
What I Noticed After 14 Days
I kept a daily journal to track exactly what happened. I want you to know what to expect if you follow this too.
Day 2: The top of the soil looked slightly cracked. No watering.
Day 4: I checked the chopstick. It came out dry. I bottom watered for 20 minutes. Stopped.
Day 6: The oldest yellow leaves started dropping. I was nervous. But they came off easily, which means the plant was letting go of damaged tissue.
Day 8: No new brown spots on any leaves.
Day 10: I noticed tiny new leaves emerging at the branch tips. This was a huge win.
Day 12: The new leaves were deep green and perky. Not pale, not watery.
Day 14: Overall leaf color improved by at least 30%. The plant looked perky and stood up taller.
It took 14 days to reverse the damage.
Adjusting Watering for Different Varieties
Hibiscus rosa-sinensis (tropical) is the most common houseplant. But hardy hibiscus (Hibiscus moscheutos) also exists.
Tropical hibiscus hates cold feet. Hardy hibiscus tolerates a bit more moisture, but still prefers well-drained soil.
If you are growing a braided hibiscus standard, you need to be extra careful. Those three trunks are grafted. They stress easily.
Keep all types in a bright spot with excellent drainage.
Dealing with Fungus Gnats
Overwatering attracts pests too. Fungus gnats love wet soil.
I used to see little black flies buzzing around my pot. They lay eggs in the top inch of moist soil.
Once I stopped overwatering, the gnats vanished. The dry top layer prevented them from reproducing.
If you still see them after fixing your watering, use sticky traps. They work well.
Best Time of Day to Water
Morning is your winning slot.
The plant has the whole day to absorb water. The sun helps evaporate excess moisture from the surface. Then evening comes and leaves are dry.
Night watering is a slow killer. Leaves stay wet. Fungal spores germinate in high humidity. This happened to me every time I watered in the dark.
How I Keep My Hibiscus Blooming Despite the Stress
After fixing the watering, I focused on flowers.
A stressed hibiscus will drop buds. Do not panic if this happens. The plant is prioritizing survival over flowering.
Once the roots recover, new buds will form. It usually takes about three weeks after the recovery phase.
I never forced my hibiscus to bloom. I let it rest. The plant rewarded me with massive red flowers after one month.
Sensory Issues That Mimic Overwatering
Here is an unexpected lesson. Not every yellow leaf is from excess moisture at the roots.
Leaf yellowing can come from a sudden temperature change. If you move your hibiscus outdoors to a cool night, leaves will drop.
Cold drafts from an air conditioner also cause yellowing. I made this mistake in mid-July when I placed the plant directly under the vent.
The fix was not less water. The fix was moving the plant away from the vent.
Always check for other environmental factors before assuming overwatering.
The One Tool That Actually Helped
I avoided this for years because I wanted to save money.
But I eventually bought a cheap moisture meter for under $10. It has a metal probe. I insert it into the soil.
The needle moves to "Wet" or "Dry". That's it.
I use it every three days. It took the guesswork out of watering.
Pro tip: Clean the probe with rubbing alcohol. Dirty probes give inaccurate readings.
Dealing with Advanced Root Rot
If you already have advanced root rot, you need surgical action.
I did this on my second plant. I un-potted it. I examined the roots. Healthy roots are white. Rotting roots are brown, black, and slimy.
I took scissors. I sanitized them with rubbing alcohol. I cut away all the mushy roots.
I repotted the plant in fresh, dry mix. Then I waited five days before the first watering.
This harsh step saved the plant. But honestly, prevention is much easier than root surgery.
What Happens if You Ignore Overwatering
I want to be blunt with you.
Ignoring overwatering is a death sentence for your hibiscus.
The bacterial and fungal pathogens multiply in the wet root zone. They destroy the vascular tissue of the stem. Water stops rising to the leaves.
Eventually the stems turn black and collapse. I watched this happen to a friend's plant. Within 10 days of the first yellow leaf, the plant was goners.
Act fast. The longer the soil stays wet, the more damage occurs.
How to Maintain the Right Schedule Over Holidays
Going on vacation? Do not ask a friend to water daily.
That's the fastest way to kill your hibiscus again.
Better approach: Set the pot in a tray with a few inches of pebbles. Add water to the tray, but below the pot's base. The pot will slowly wick up moisture.
This method keeps soil consistently moist without soaking it. I tested this during a 5-day trip in spring. The plant was perfect when I returned.
Winter Care Tips for Indoor Hibiscus
Your hibiscus needs 50% less water in winter.
The plant goes semi-dormant. Growth slows. It uses less water.
I simply extended my watering interval from 5 days to 10 days in December.
Also, keep the plant away from heating vents. Hot air dries out leaves quickly. But do not compensate by keeping the soil wet.
Why Terrariums Are a Bad Idea
You might be tempted to keep a mini hibiscus in a terrarium.
Do not do this.
Terrariums have high humidity and no drainage. They are fungal nightmares.
Hibiscus needs aeration at its roots. A sealed glass container traps too much moisture. It's a one-way ticket to disease.
Best Potting Mix Recipe to Avoid Overwatering
I have refined my recipe over years.
Mix this ratio for excellent drainage:
- 40% all-purpose potting mix
- 30% perlite
- 20% coarse coconut coir
- 10% compost (for slow-release nutrients)
Stir thoroughly. This mix holds some moisture, but drains quickly.
I have used this mix for all houseplant hibiscus.
Summary of My 14-Day Plan to Avoid Overwatering Hibiscus
Here is what I want you to remember.
Overwatering hibiscus happens when you water on a schedule, keep it in poor-draining soil, or use pots without holes.
The fastest fix is to check soil moisture with your finger or a chopstick.
Water only when the top two inches are dry.
Improve airflow. Move the plant to a south-facing window.
Use pots with drainage holes.
Remember the startling statistic: 90% of indoor plants die from overwatering. My hibiscus almost did.
Try the two-week routine I used. You will see an improvement quickly. I promise you that the leaves will start speaking to you again. You just have to listen.
Frequently Asked Questions
How often should I water my indoor hibiscus?
I water every 4-5 days in summer and every 10 days in winter. But I always check the soil first. If the top two inches are wet, I wait. There is no one-size-fits-all schedule. Your home humidity, pot size, and light levels all change the frequency.
What does bacterial leaf spot look like on hibiscus?
It looks like dark brown or black angular spots with yellow halos around the edges. The spots spread rapidly if leaves stay wet. I had this issue when I watered from overhead. Switch to watering at the soil line or bottom watering.
Should I cut off yellow leaves from my hibiscus?
Yes. Yellow leaves are dead weight. They invite pests and fungi. You can peel them off gently with your fingers or use sterile scissors. Then correct the watering. I remove yellow leaves regularly to encourage new growth.
Is coffee grounds good for hibiscus?
Actually, hibiscus loves slight acidity. But coffee grounds add nitrogen slowly. Too many coffee grounds can reduce drainage and hold moisture. I only add a thin layer once every six weeks. Do not mix it into the soil if your plant is overwatered already.





