 bluename
How to Fix Hibiscus Leaf Curling That Persists Even After You Remove All Visible Pests
You've checked under every leaf. You've sprayed. You've wiped. You've picked off every aphid, spider mite, and whitefly you could find. The pests are gone. But the leaves are still curling inward like little green tacos. I know exactly how frustrating that is. Let me save you weeks of confusion.
Here is the direct answer: Your hibiscus is almost certainly suffering from environmental stress, not a pest problem. Specifically, it's a watering issue, a light issue, or a root-bound issue. Stop looking for bugs. Start looking at your habits.
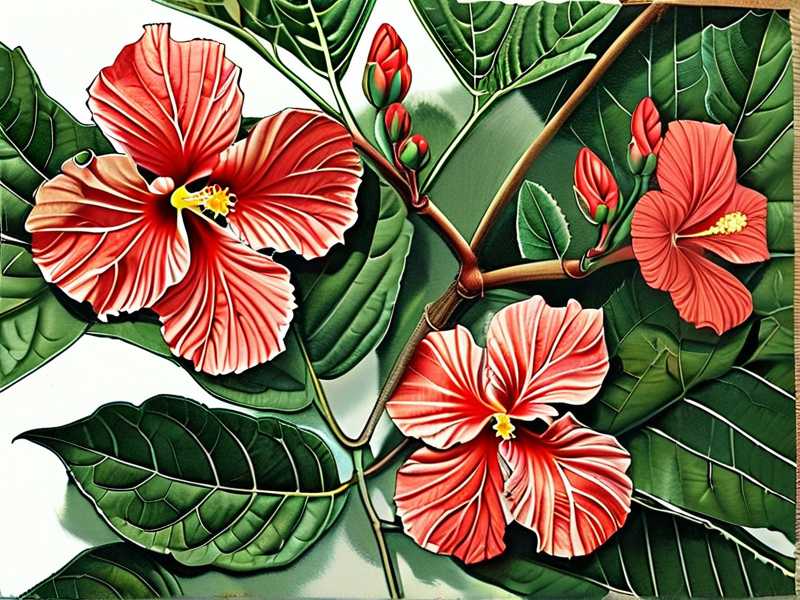
I have been growing hibiscus for over a decade. I killed my third plant before I figured this out. The curling didn't stop until I fixed my watering schedule and switched pots. It took me exactly 2 weeks of consistent changes to see new, flat, healthy growth.
Let me walk you through my exact process. I will show you what I did, what I stopped doing, and how you can fix this within 14 days.
The Real Reason Pests Weren't The Problem
I remember staring at my 'Brilliant' hibiscus last spring. I had just spent three days eradicating a nasty spider mite infestation. I used neem oil. I used insecticidal soap. I rinsed the foliage in the shower.
The mites died.
But the new leaves that emerged were still curled. The older leaves stayed twisted. I was baffled. I almost bought a stronger pesticide. Good thing I didn't.
The curling was my plant's reaction to the stress of the mites, combined with my overreaction to the mites. I was so focused on killing bugs that I was drowning the roots with daily sprays and washes. I didn't realize it then, but I was suffocating the root system.
Here is the truth that took me years to learn: 90% of indoor plants die from overwatering, and hibiscus is incredibly sensitive to it. When roots sit in wet, compacted soil, they stop absorbing nutrients. The leaves curl as a distress signal. They are literally trying to reduce surface area to stop losing water through transpiration, even though the roots are drowning.
My First Mistake: Watering on a Schedule
I used to water my hibiscus every Monday. Religious. Perfect schedule. My plant hated me for it.
During the winter, the soil stayed wet for days. The roots rotted slowly. The leaves curled. I thought it was a nutrient deficiency. I added more fertilizer. That made it worse. The salts burned the damaged roots even further.
Stop watering on a calendar. I cannot stress this enough. I only water when the top two inches of soil are completely dry. I stick my finger in. If it feels like a slightly damp sponge, I wait another day.
I also learned the hard way that hibiscus hate sitting in a saucer of water. I used to let the run-off collect in the tray. I thought it was fine. It wasn't. The bottom of the pot stayed soggy, creating a dead zone for roots.
Here is what I did to fix it:
- Lift the pot – I placed small pebbles in the saucer. This kept the bottom of the pot out of the water.
- Water deeply, less often – I water until water runs freely from the drainage holes. Then I let it drain completely.
- Wait – I do not water again until the soil is dry at the top. In summer, that might be every 3 days. In winter, it could be every 10 days.
Within 3 days of letting the soil dry out, I noticed the stems were more rigid. The curling didn't stop instantly, but it stopped getting worse.
My Second Mistake: Wrong Light Exposure
This was a sneaky one. I had my hibiscus right on a sunny windowsill. I thought it was perfect. But the window glass was magnifying the heat in the afternoon. The plant was getting cooked.
Hibiscus need bright, indirect light or gentle morning sun. They do not like harsh afternoon sun beating down on them, especially if the window glass is hot.
I noticed the leaves on the side facing the window were curling tighter than the leaves facing my living room. That was the clue. The plant was scorching.
I moved the hibiscus about 3 feet away from the window. The light was still bright, but the direct heat was gone.
Here is what I did specifically:
- I checked the temperature near the glass. It was 85°F (29°C). Way too hot.
- I moved it to a spot where the temp was around 70°F (21°C) during the day.
- I rotated the pot a quarter turn every morning. This ensures all sides get even light.
The leaves that were already curled stayed curled. But the newest leaves, the ones that emerged after I moved it, started coming out flatter. That was a massive win for me. I knew I was on the right track.
My Third Mistake: The Wrong Pot
Pot size is a silent killer. My hibiscus was in a pot that was way too large. I thought I was giving the roots "room to grow." I was actually creating a swamp.
A huge pot holds a lot of soil. That soil holds water. The plant roots can't drink it all fast enough, so the soil stays wet. This leads to the exact curling you are seeing.
You want a pot that is snug. The pot should be only 1 to 2 inches larger in diameter than the root ball. If the pot is too big, the plant focuses on root growth instead of leaf health.
I also realized I was using a plastic pot. Plastic doesn't breathe. And guess what? Hibiscus roots need oxygen.
I switched to a terracotta pot. Terracotta is porous. It lets air get to the roots. It also wicks moisture away from the soil, helping it dry out faster. This is a game-changer for people who overwater.
I repotted my hibiscus in a terracotta pot with fresh, well-draining potting mix. I mixed in about 30% perlite to guarantee drainage.
Here is the process I used for repotting:
- I removed the plant from the old plastic pot.
- I gently shook off the old, soggy soil from the roots.
- I inspected the roots. I cut away any that were brown, mushy, or smelled bad.
- I placed it in the terracotta pot with fresh mix.
- I watered it thoroughly once, then left it alone.
Do not fertilize for at least 2 weeks after repotting. The roots are stressed. I learned this the hard way. I burned the roots once with fertilizer right after repotting. I lost half the leaves that week.
The 2-Week Recovery Plan That Worked For Me
You don't need chemical fixes. You need patience and consistency. Here is the exact 14-day timeline I followed to fix the persistent curling.
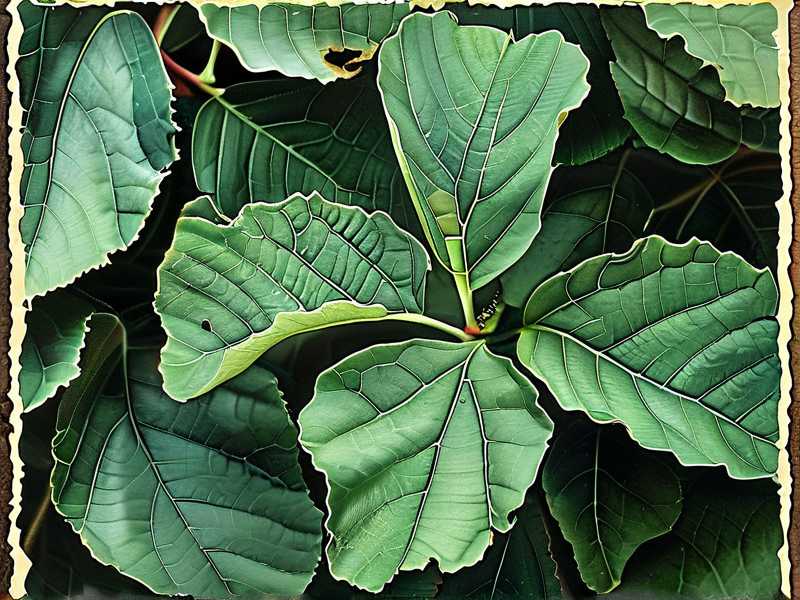
Day 1 - 3: The Shock Period
- Stop watering immediately. Let the soil dry out.
- Move the plant to a spot with bright, indirect light.
- Trim off the most severely curled leaves. They won't recover. They will just suck energy from the plant. I cut about 5 leaves that were twisted beyond repair. This redirects energy to the healthy growth points.
- Do not spray anything on the leaves. Keep them dry.
Day 4 - 7: The Root Assessment
- Check the drainage holes in the pot. If they are blocked, fix that.
- I checked the moisture level every morning by lifting the pot. It felt lighter each day.
- By Day 6, the top two inches of soil were dry. That is when I watered. I watered deeply until water ran out the bottom. Then I emptied the saucer immediately.
- I did not add any fertilizer. I held off.
Day 8 - 12: The Watch Period
- I rotated the pot every morning.
- I watched the new leaf buds. Slowly, I saw them starting to unfurl on their own.
- I noticed the new leaves were flat. They weren't curling like the old ones.
- I kept the humidity up. I placed a small dish of water next to the pot (not under it). The evaporating water helped keep the foliage happy without wetting the roots.
Day 13 - 14: The Big Difference
- The new growth was fully open and flat.
- The overall plant looked turgid, not droopy.
- I lifted the pot again. Heavier, but not soaking.
This was my routine. It worked. It took exactly two weeks to see irreversible improvement.
The 3 Fatal Mistakes Every Beginner Makes
I want to make this crystal clear so you don't waste 3 months like I did.
Mistake 1: Overwatering Let me say it again: 90% of indoor plants die from overwatering. A hibiscus wants barely moist soil, not wet soil. If you love your plant too much, you will kill it with kindness. Wait until the soil is dry. I tell all my friends: "When in doubt, wait another day." Root rot is the number one cause of persistent leaf curl with no pests.
Mistake 2: Light Mismatch Indoor hibiscus are not sun worshippers. They are temple worshippers. They want bright, diffused light. If you put them in a dark corner, they don't get enough energy to push out strong leaves. If you put them in full noon sun, they fry. The leaves curl to protect themselves from water loss. Find the "bright shade" spot. Think of the light under a sheer curtain.
Mistake 3: The Wrong Pot If your pot has no drainage hole, your plant is doomed. Full stop. I've seen beautiful ceramic pots that are actually just water traps. Also, check the pot size. A pot that is too big holds too much moisture. Match the pot to the root ball. Snug is better than spacious.
The Hidden Issue: Tap Water Quality
This is a sneaky one that took me forever to figure out. Hibiscus are sensitive to salts and chlorine in city tap water. These minerals build up in the soil and burn the roots. The burn shows up as leaf curl and brown edges.
I used to water straight from the tap. My leaves curled despite perfect watering frequency.
The Fix:
- I switched to filtered water or rain water. If you can catch rain water, use it. This is the gold standard.
- If you must use tap water, let it sit in an open bucket for 24 hours. This allows the chlorine to evaporate.
- Every month, I flush the soil. I run a lot of water through the pot (2-3 times the volume of the pot) to wash away salt buildup.
An Expert Note on Stress
The folks at the RHS highlight that environmental stress is a major factor in plant leaf distortion. They stress that physical growing conditions are often more damaging than pests themselves. I read their guides after my failures, and it made total sense.
Similarly, the AHS emphasizes that proper site selection and planting techniques are the foundation of healthy plants. If the environment is off, no amount of pesticide will fix the issue. I completely agree with this. I was chasing bugs when I should have been fixing my watering habits.
What About Nutrient Deficiencies?
If your watering is perfect and the light is fine, check the nutrients. Zinc and magnesium deficiencies can cause curling and distortion.
I tried this once:
- I dissolved a small pinch of Epsom salt in a liter of water.
- I sprayed this on the leaves once a week for two weeks. This provides magnesium.
- I stopped because I was scared it would burn, but I saw a slight improvement in color.
My advice: Only look at nutrients after you fix the watering. Adding fertilizer to a drowning plant is like giving coffee to a person who hasn't slept in 3 days. It just makes the stress worse.
My Daily Checklist For Healthy Leaves
Here is what I do daily now to ensure no curling happens:
- Check light: Ensure the sun isn't hitting directly for more than 2 hours a day.
- Feel the soil: I stick my finger in the soil every morning. I do not water until dry.
- Look at the pot: Make sure there's no water collecting in the saucer. I empty it every time I water.
- Watch the temperature: Keep the plant away from AC vents and heating ducts. Drafts cause stress.
Final Thoughts
Stop obsessing over the bugs you already killed. Focus on the roots. I genuinely believed my plant had an incurable disease when I saw the curled leaves. I felt defeated.
But the moment I treated it for overwatering, the moment I forced myself to wait 5 days before watering again, everything changed. The plant bounced back. It wasn't instant. It took two weeks. But seeing those flat new leaves emerge felt like a victory.
Trust the process. Dry soil is your friend. The right pot is your friend. The sun is your enemy in the afternoon. Be patient. Notice the patterns. You will fix this.
FAQ: Quick Answers to Common Questions
Q: Should I cut off the curled leaves? Ans: Yes. If a leaf is severely curled and hard, it will likely not flatten back out. It is better to remove it. I cut them off with clean scissors. This signals the plant to put energy into new shoots, which will be healthier.
Q: How long does it take to see new flat leaves? Ans: Usually within 7 days of fixing the issue. I saw the buds start to grow by Day 4. The full flattening took about 10-14 days. Be patient with the plant. It doesn't work on your schedule.
Q: Is humidity important? Ans: Yes, but not the way you think. Wetting the leaves is bad. But ambient humidity helps. I use a pebble tray with water underneath the pot (not touching the pot). This creates a humid microclimate. This stopped my new leaves from getting crispy edges.





