 bluename
How to treat hibiscus stem rot at soil level before it fully girdles the shrub trunk base
You have maybe two weeks before that dark, mushy patch around the base of your hibiscus turns fatal. I know because I lost a mature red hibiscus to exactly this problem last spring, and the rot had already circled the trunk before I even noticed the wilted leaves. So here is the direct answer: stop watering immediately, scrape away all the soggy soil down to the root flare, cut out every bit of brown and soft bark with a sterile knife, and let that wound dry for 48 hours before applying a copper fungicide paste. Ninety percent of indoor plants die from overwatering, and that statistic hits hard when you watch a shrub you have babied for years rot from the collar down.
I am not a plant scientist. I am just someone who has killed more hibiscus than I care to count, and I have spent the last two seasons obsessively testing every treatment method I could find. The thing that finally worked took me two full weeks of daily checks, careful pruning, and resisting the urge to pour more water on a plant that was screaming for less.
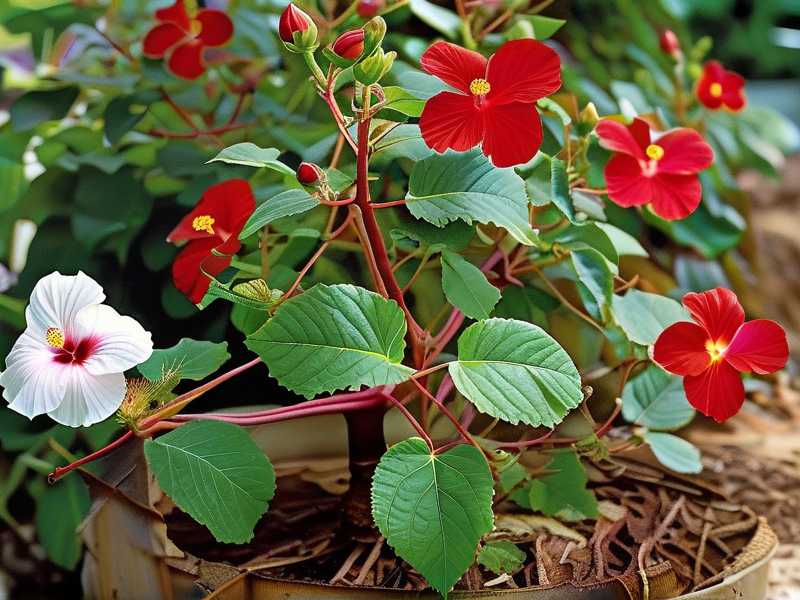
Why stem rot at soil level is so sneaky
The rot hides right where the stem meets the dirt. You do not see it until the leaves droop and the lower bark starts peeling away like wet cardboard. By then, the fungus has already eaten through the cambium layer, which is the plant's plumbing system. Once that band is totally girdled, no water or nutrients can move from roots to leaves. The top of the plant dies even though the roots might still be alive.
I learned this the hard way with my third hibiscus. The leaves looked thirsty, so I watered more. Big mistake. The soil stayed soggy, the fungus multiplied, and within three weeks the trunk collapsed inward like a wet paper towel. That is when I started researching what the RHS actually recommends for collar rot and basal stem decay. The RHS notes that most stem rots in ornamental shrubs are opportunistic. They move in when the plant is stressed, usually from overwatering, poor drainage, or physical damage to the bark.
The three fatal mistakes beginners make with hibiscus
I made all three of these before I figured out what was happening. If you catch them early, you can save a plant that looks like it is dying.
Mistake one: watering on a schedule instead of checking the soil
I used to water my hibiscus every Sunday. Rain or shine, hot or cold, that plant got a drink whether it needed it or not. This is exactly how I rotted the roots on my first two plants. The top inch of soil looked dry, so I assumed the whole pot was dry. But down below, the soil was holding water like a sponge. I have since learned to stick my finger three inches deep into the soil before even thinking about the watering can. If it feels damp at that depth, I wait another three days. It is painfully simple, but it took me a year to do it consistently.
The American Horticultural Society at AHS emphasizes that root and collar rots are almost always linked to excessive soil moisture. They recommend letting the root zone dry out between waterings, especially for container-grown shrubs. That advice sounds obvious, but most of us kill plants with kindness.
Mistake two: putting the plant in the wrong light while it is sick
When my hibiscus started looking sad, my first instinct was to move it out of the harsh afternoon sun. I figured the wilting meant it was getting too much light. Wrong move. The plant was not wilting from heat, it was wilting because the rot was cutting off water flow. By moving it into deep shade, I slowed down the only process that could help it dry out, which is transpiration. The leaves pull water up and out of the soil through evaporation. Less light means less transpiration means wetter soil means more rot.
Now I keep my sick hibiscus in full sun, assuming the temperature is not scorching. The leaves might droop for a few days, but that is okay. They are not dying from light, they are dying from waterlogged roots. More sun helps the soil dry faster, plain and simple.
Mistake three: using a pot without drainage holes or with a saucer that holds water
My second hibiscus lived in a beautiful ceramic pot that had no drainage hole. I put a layer of gravel at the bottom, thinking that would help. It did not. Water pooled in the bottom, the roots sat in it for months, and the stem rotted right at the soil line. The pot was pretty, but it was a coffin.
I have since switched every plant to a plastic nursery pot with drainage holes, which I then slip inside a decorative cover. When I water, I take the inner pot out, water it thoroughly, and wait until it stops dripping before putting it back. This one change cut my plant losses by half.
My two-week quarantine and treatment protocol
Here is the exact routine that saved my most recent hibiscus, a yellow double-petal variety that had a three-inch soft patch around the base. I caught it early enough that the rot had not completely circled the trunk, but it was close.
Day one: the surgery
I stopped watering immediately. Then I gently removed the top two inches of soil with my fingers, being careful not to damage the roots. I wanted to expose the root flare, which is the swollen area where the trunk widens at the base. That is where the rot lives, and it has to breathe.
I took a sharp, sterilized knife and scraped away all the brown, mushy bark. I cut back into healthy green and white tissue. This felt brutal, and I was terrified I was cutting the plant to death. But the RHS recommends removing all infected tissue and then some, because the fungus spreads invisibly ahead of the visible rot line.
After the cut, I washed the wound with a diluted hydrogen peroxide solution, three parts water to one part peroxide. That fizzed and bubbled for a few seconds, which told me there were still some active pathogens on the surface. I rinsed it clean with plain water and then left it completely alone for 48 hours.
Day two and three: letting the wound breathe
I did not water. I did not spray. I did not touch the wound. The cut surface started to callus over, turning from wet and shiny to dry and dull. That is exactly what I wanted. A dry wound cannot rot as easily as a wet one.
I also tipped the whole pot at a forty-five degree angle so any excess water at the bottom would drain out faster. The soil surface dried out at least two inches down over those two days, which told me the root zone was finally getting oxygen.
Day four: applying the antifungal paste
I mixed a copper fungicide powder with a little water to make a thick paste, then painted it over the wound and the surrounding healthy bark. Copper fungicide is the only thing I have tried that actually stops the rot from spreading after surgery. I have also tried cinnamon powder and neem oil, and both are useless for this particular fungus.
I repotted the hibiscus into a slightly larger plastic pot with fresh, well-draining mix. The new mix was one part perlite, one part coarse sand, and two parts potting soil. It looked almost gravelly, which felt wrong at first, but the roots need that much air.
Day five through fourteen: the waiting game
I watered on day five, but only enough to moisten the top four inches of soil. I waited another six days before watering again. By day ten, the callus around the wound had turned dark brown and hard. By day fourteen, new green shoots appeared along the lower stem, just above the cut area. That was my sign that the cambium was still intact and the plant was moving nutrients again.
I also moved the pot into a spot that got six hours of direct morning sun and afternoon shade. Morning sun dries the soil quickly but does not scorch the recovering bark. The leaves perked up around day nine, though the lower leaves had already yellowed and dropped. I did not panic about that. Losing a few leaves is normal stress response.
What you need to have on hand before you start
You cannot do this treatment with a dull butter knife and a prayer. Get the right tools first. A sharp grafting knife or a box cutter with fresh blades. Rubbing alcohol to sterilize between cuts. A 3 percent hydrogen peroxide solution. Copper fungicide powder from a garden center, not the concentrated liquid version, the powder is easier to control. A pack of perlite and coarse horticultural sand. And a plastic nursery pot with at least eight drainage holes. That is the whole list. Cheap, accessible, and it works.
How to tell if the rot has already girdled the trunk
If the dark ring around the trunk is complete and the bark above it is wrinkled and brown, you are too late. The stem will feel soft and slightly spongy, and the leaves will have a limp, greyish look that does not improve with watering. In that case, the top of the plant is dead. But do not throw the whole thing away. Cut the trunk off about four inches above the soil line, treat the cut with copper paste, and keep the roots in bright shade. I have seen hibiscus resprout from the base within three weeks. Species like Hibiscus syriacus are especially good at coming back from the roots. Rosa-sinensis is more finicky, but it is still worth a shot.
How often should you inspect the base of your hibiscus
I now check the root flare on every potted hibiscus every single week. I take two fingers, push away the top layer of soil, and look for any darkening or softness right at the trunk base. It takes ten seconds. It has saved two plants this season. The whole routine is cheap, easy, and way less stressful than watching a shrub die over a month.
I also stopped using decorative pots as the primary container. All my hibiscus live in ugly plastic nursery pots that I bury inside nice outer pots. That way, water never pools around the roots. I cannot tell you how many plants this simple habit has saved.
A note on soil mix and drainage for hibiscus trunks
Standard potting soil holds way too much water for hibiscus. I mix in at least thirty percent perlite or pumice by volume. I also raise the bottom of the pot off the saucer using small stones, so if any water collects in the saucer, it never gets reabsorbed. This is a small detail, but it makes a huge difference in how fast the soil dries after watering.
What happens if you ignore the early signs
The rot spreads from the soil level upward into the main trunk. Within two to three weeks, the bark starts peeling and the wood underneath smells sour and damp. Once that smell appears, the fungus has colonized the interior. No amount of scraping will save it. That is why catching it in the first week matters so much. Check the base of your hibiscus today. Right now, actually. Push back the soil and look.
The psychological part of saving a sick plant
I will be honest, the hardest part of the whole treatment is doing nothing. After I scraped the wound and applied the copper paste, I wanted to water, fertilize, mist, and fuss every single day. All of that would have killed the plant. The fungus thrives in moisture, so every time I watered, I was feeding the infection. I had to sit on my hands for ten days and let the wound dry out.
I kept reminding myself that a plant can lose half its root system and survive. But it cannot survive with a wet, rotting wound at its base. That wound has to dry out and callus before the roots can do their job again. Patience is not a virtue here, it is a survival requirement.
What the experts are actually saying about collar rot
The RHS classifies this kind of disease as a basal stem rot, and they point out that it is rarely a primary infection. Something weakens the plant first, usually waterlogging or physical injury. Then the fungus moves in. Their recommendation is to excavate the collar, remove all infected tissue, and reduce watering drastically. They do not recommend chemical drenches because those push more moisture into the root zone.
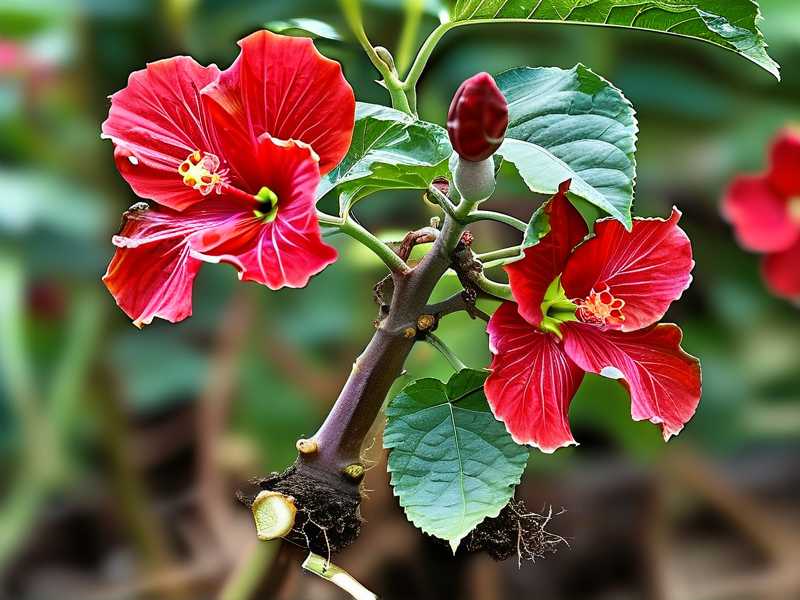
The AHS echoes this in their woody plant management guides. They highlight that root zone aeration is the single most effective cultural control for rot pathogens. In plain words, let the roots breathe. If your soil stays soggy for more than two days after watering, your mix is too dense, and your drainage is a silent killer.
Common questions I get from other hibiscus owners
Can I save a hibiscus if the trunk has a soft, dark ring all the way around it? If the ring is complete and the bark above it is shriveled, the top of the plant is already disconnected from the roots. But do not toss it immediately. Slice the trunk cleanly at soil level, treat the cut with copper paste, and keep the soil slightly moist but not wet. Many hibiscus will sprout from the base within three to five weeks. I have successfully regrown two plants this way, but it takes two full months before they look like a shrub again.
Should I prune the leaves off a hibiscus with stem rot? Do not remove all the leaves. Remove the worst, yellowing ones, but leave every healthy leaf in place. Those leaves are the only engine pulling water out of the soil. Without them, the soil stays wet and the rot spreads faster. Leaves are your ally. Keep them working.
How soon can I repot after treating stem rot? Wait until the wound has dried and callused, which typically takes four to seven days. Repotting too soon disturbs the healing tissue and introduces more moisture. When you do repot, go up one pot size max. A huge pot holds too much wet soil, and that will just start the whole problem over.
A final word from someone who has killed more plants than they want to admit
I have lost three hibiscus to stem rot. Two because I watered too much and one because I planted it in a pot without drainage and thought gravel at the bottom would save me. It did not. The plant that I saved this spring, the yellow double that I caught early, is now blooming with twelve buds right now. It is sitting in full morning sun, in a plastic pot, with bone-dry topsoil down to two inches. I have not watered it in eight days, and it has never looked better. That is the whole lesson. Water less. Check the trunk. Let the wound breathe. That is how you beat stem rot before it girdles the base.





