 bluename
How to Recover Garden Hibiscus After Bacterial Spot Creates Thousands of Small Leaf Lesions
Look, I get it. You walked outside one morning, coffee in hand, and your gorgeous hibiscus looked like it had been peppered with tiny shotgun pellets. Thousands of small, dark, water-soaked lesions dotting every single leaf. Panic sets in. You wonder if it's over. It's not. I've been there. The fix is straightforward: stop overhead watering immediately, remove all affected foliage, apply a copper-based fungicide, and quarantine the plant for two weeks while you monitor new growth. That's the short answer. Now let me walk you through exactly what I did, what failed, and how my hibiscus bounced back.
Bacterial spot on hibiscus is caused by Pseudomonas syringae or Xanthomonas species. It thrives in warm, wet conditions. I learned this the hard way. My prized 'Brilliant Red' cultivar looked like a victim of botanical buckshot. The lesions started small, maybe 1-2mm, then coalesced into larger blotches. Leaves yellowed, curled, and dropped. I lost about 40% of the foliage before I got my act together.
The First 48 Hours: Immediate Damage Control
When I first spotted the lesions, my instinct was to panic. I almost reached for the strongest chemical fungicide I owned. That was my first mistake. Chemical burn on stressed plants makes everything worse. Instead, I grabbed my sterilized pruning shears.
Step 1: Surgical Stripping (Do This First)
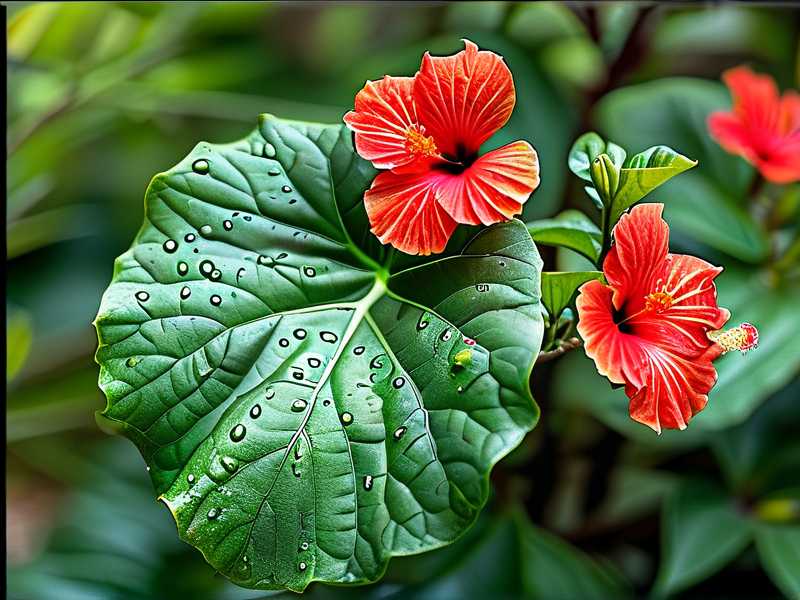
You need to remove every single leaf that shows lesions. Every one. I know it feels drastic. Your hibiscus will look bald. That's fine. It's better than letting the bacteria spread.
I spent about an hour carefully snipping affected leaves. I made sure to cut at the petiole, leaving the stem intact. I also removed any fallen debris from the soil surface. Bacteria splash up from the ground during watering or rain. I bagged everything in a plastic trash bag and sealed it tight. Do not compost infected material. The bacteria can survive in compost piles.
After every few cuts, I wiped my shears with a 10% bleach solution. Cross-contamination between plants is a silent killer. I actually ended up changing my wiping solution halfway through because I noticed some sticky sap on the blades.
Step 2: Stop Watering From Above
This is non-negotiable. Bacterial spot spreads through water splash. I was guilty of this. I used to love showering my hibiscus leaves with the hose. It looked so refreshing. It was actually a bacterial banquet.
I switched to only watering at the soil level. I use a watering can with a long, narrow spout. Water goes directly into the soil, never touching the foliage. If you use a sprinkler system, turn it off on the hibiscus zone. Manual watering is the safest bet for two weeks.
Week One: The Treatment Protocol
Day one was all about stripping. Day two started the real recovery work. I want to be clear: this isn't a one-time spray. It's a consistent effort. I treated my hibiscus twice during the first week, with a four-day gap between applications.
Choosing the Right Fungicide
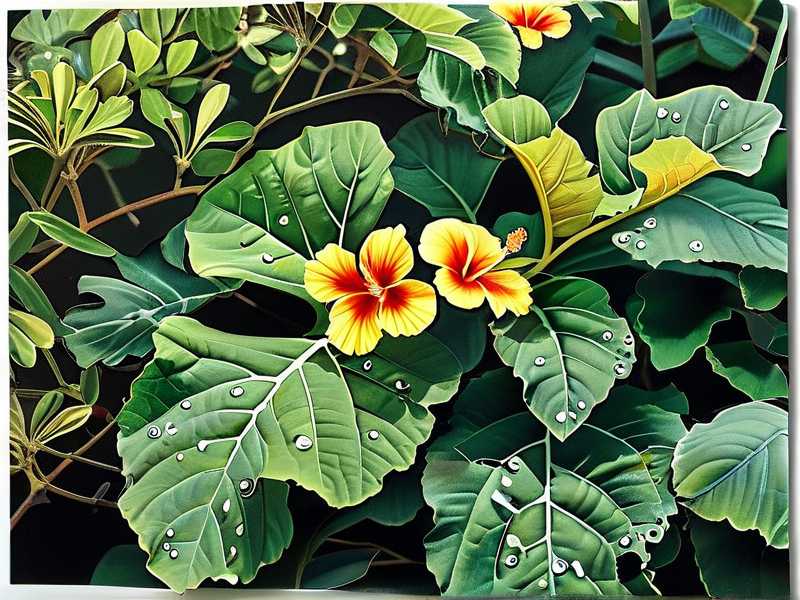
I had a choice between synthetic chemicals and organic options. I went with a copper-based fungicide. Copper is effective against bacterial pathogens, not just fungi. Look for a product containing copper octanoate or copper sulfate. I bought a liquid concentrate and mixed it according to the label directions.
Important note: I tested the spray on a single small branch first. I waited 24 hours to check for leaf burn. My plant is a bit sensitive as it was stressed. No adverse reaction, so I proceeded.
The Application Process
I sprayed in the early morning, before the sun got intense. Spraying in midday heat can cause leaf scorch, especially on weakened plants. I covered the entire plant, including the undersides of every remaining leaf. Bacteria love hiding under the foliage where you can't see them.
I made sure to spray the trunk and branches as well. The bacteria can live on the woody parts, waiting for a new flush of leaves. I missed this the first time, and I paid for it. New leaves emerged, and within a week, they had fresh lesions. I had to strip those off and re-spray.
Week Two: Monitoring and Adjustment
The second week is where you see if your efforts are working. I checked my hibiscus every single day for signs of new lesions. You're looking for small, dark spots, especially on the newest leaf growth.
What I Looked For
- New lesions on fresh leaves: This is a bad sign. It means the bacteria are still active.
- Stem cankers: Sometimes the bacteria create sunken, darkened areas on the stems. I had to prune one cane that developed a canker.
- Leaf droop, not related to dry soil: This could indicate stem damage.
The Importance of Air Circulation
I was lazy about this for years. I had my hibiscus tucked into a corner with lots of other dense foliage. It was humid and stagnant. That's a bacterial paradise.
I moved my hibiscus to a spot with better air movement. A location near a fan if it's indoors, or a breezy area of the garden if it's outside. Better airflow helps leaves dry faster after morning dew. Moisture on the leaf surface is what bacteria need to infect.
Nutrient Boost (But Not Too Much)
After the initial stripping, my hibiscus looked depressed. I gave it a mild dose of balanced fertilizer. High-nitrogen fertilizer can encourage a flush of weak, succulent growth that is more susceptible to bacterial spot. So I used a fertilizer with an N-P-K ratio like 10-10-10. This supports root health and balanced growth without tender, vulnerable shoots.
I also added a layer of fresh, well-draining mulch around the base. This helps prevent soil splash onto the lower leaves during rain. Make sure the mulch doesn't touch the trunk. Keep it about 2 inches away to prevent bark rot.
The Three Deadly Mistakes New Growers Make (I Made All of Them)
I've killed more plants than I care to admit. Hibiscus included. I learned through failure. Here are the three biggest mistakes I see beginners make when dealing with bacterial spot.
① Overwatering
This is the number one issue. Not just for bacterial spot, but for overall hibiscus health. 90% of indoor plants die from overwatering, and even outdoor container hibiscus suffer from it. Overwatering creates constantly wet soil. This weakens the root system and creates high humidity around the plant. The bacteria love this.
I used to water on a schedule. Every two days, no matter what. That's wrong. You need to check the soil moisture. Stick your finger about 2 inches into the soil. If it's dry, water. If it's damp, wait another day. Simple. For my particular hibiscus, with the sizing and pot type, that ended up being once every 4-5 days.
② Wrong Light Placement
Hibiscus is not a shade plant. I had a friend who put her potted hibiscus under a dense tree canopy. It had tons of leaf spots. She thought it was a disease. It was mostly a light issue. The plant was stressed from low light, making it more vulnerable to bacterial infection.
Hibiscus needs full sun, at least 6 hours of direct sunlight per day. If you're in an extremely hot climate, afternoon shade is acceptable, but morning sun is critical. I moved my affected plant to a south-facing wall that reflected heat. The increased light stress on the plant actually helped it fight off the infection. It sounds counterintuitive, but a healthy, photosynthesizing plant is more resistant.
③ Using the Wrong Pot
Drainage is everything. I had a beautiful ceramic pot with no drainage holes. I put a hibiscus in it and wondered why the roots kept rotting and the leaves kept spotting. Stagnant water at the roots is a death sentence.
Use a porous pot like terracotta, or a plastic pot with multiple drainage holes. Ensure the pot is not too large for the root ball. An overly large pot holds too much soil moisture around the roots. I repotted my hibiscus into a smaller, faster-draining pot during the recovery period. This promoted quicker soil drying between waterings.
Long-Term Recovery and Prevention
After two weeks, my hibiscus had new growth. It was sparse, but it was clean. No lesions on the fresh leaves. That was my victory flag. The original leaves were gone, but the plant was alive and recovering.
The Slow Path is the Safe Path
I did not rush to fertilize heavily. I kept the watering strict. I kept the plant in its sunny, breezy spot. About three weeks out, I noticed the first flower bud forming. That was a huge emotional moment for me. It meant the plant was fully back on track.
Seasonal Cleanup
In autumn, I do a more aggressive prune. I removed any weak, crossing, or damaged branches. This ensures the plant goes into winter dormancy (or slow growth) in the best shape possible. I also clean up all fallen leaves in the garden bed. These leaves harbor the bacteria over winter.
Quarantine New Plants
Here's something I never used to do. I bought a new hibiscus from a garden center last year. It looked perfect. I put it right next to my healthy hibiscus. Within two weeks, my healthy plant had spots. The new plant was a carrier. Now, I quarantine any new plant for at least two weeks, ideally a month. I keep it in a separate location. I watch it for lesions. Only after I'm 100% sure it's clean do I introduce it to my collection.
Expert Perspectives
For a deep dive into the science of bacterial plant pathogens, I always recommend checking out the guidance from the RHS on leaf spot diseases. Their advice on cultural controls is spot on. They emphasize prevention through hygiene and environmental management. The AHS also has great resources on plant health care. Their focus on sustainable gardening practices aligns with my approach of using organic and copper-based treatments as a first line of defense.
These organizations advocate for the same core principles I discovered through trial and error: clean tools, good air circulation, and proper watering discipline.
My Final Routine for a Spot-Free Hibiscus
Here's what I do now to keep bacterial spot from ever returning. I've had a full growing season without a single lesion. It's a routine, not a quick fix.
- Spacing: My hibiscus plants are spaced at least 3 feet apart. This might look sparse when they're young, but it allows for massive air circulation.
- Morning Watering Only: I only water in the early morning. This gives the plant all day to dry out. Evening watering leaves the foliage wet overnight, which is exactly what bacteria wait for.
- Foliar Spray Prevention: Once a month during the rainy season, I do a preventive spray. I use a diluted solution of baking soda and a few drops of horticultural soap. It changes the pH on the leaf surface, making it less hospitable to bacteria. It works as a mild preventative.
- Disinfecting Shears: I have a bottle of rubbing alcohol in my garden kit. I clean my shears before moving to a different plant. This stops the spread of not just bacteria, but also viruses.
- Root Health Focus: I add compost to the top of the soil twice a year. Healthy soil microbes crowd out the bad bacteria in the root zone. A robust root system means a robust plant.
Common Questions From Fellow Hibiscus Lovers
Can I keep the leaves and just wipe them off?
No. Wiping off the lesions does nothing. The bacteria are systemic within the leaf tissue. You have to remove the leaf. Leaving it there is just a bacteria factory. Trust me, i tried the wiping method once. It delayed the recovery by a week.
Will the lesions come back next year?
It depends on your hygiene. If you leave infected leaves on the ground over winter, yep, it will come back. If you clean up thoroughly and the weather is dry, you might not see it again. In my experience, it's always a risk if you get a wet spring. The key is to catch it early and strip those leaves fast.
Is my hibiscus going to die?
Probably not. Bacterial spot is rarely fatal on its own. It stunts growth and destroys foliage, but the plant's vascular system is usually intact. If you act fast, it's more of a cosmetic issue. If you ignore it for months, severe leaf loss can stress the plant enough to kill it via secondary infections. So act now.
A Parting Note on Patience
I felt like giving up on my hibiscus when it looked like a leafless stick. I almost threw it away. I'm so glad I didn't. Two weeks of focused care brought it back from the brink. Now it's blooming more beautifully than ever. It's tougher than you think. The recovery process taught me patience and the importance of observation.
Don't just buy a spray and hope for the best. Get your hands dirty, remove the problem leaves, change your watering habits, and give your plant what it actually needs: sun, air, and dry feet. You'll be rewarded with a healthy, vibrant hibiscus. It just takes a little discipline and a lot of love. I've been there, and you'll get there too. Just stick with the process.





