 bluename
How to Avoid Placing Infected Hibiscus Beside Healthy Shrubs in Enclosed Garden Spaces
You have to act fast if you spot trouble. The answer to avoiding infected hibiscus beside healthy shrubs in enclosed garden spaces is isolation plus immediate sanitation. I learned this the hard way after losing three mature plants in a single season. Let me walk you through exactly what I did over two weeks of careful observation.
I have been growing hibiscus for over a decade. My enclosed courtyard is my pride. But last spring, everything changed. One potted hibiscus showed yellowing leaves. I ignored it for a few days. That mistake cost me two neighboring shrubs. They both developed the same fungal spots within a week. So I dug deep into research and hands-on testing. The plan I share below stopped the spread completely in fourteen days.
Why Enclosed Spaces Amplify the Hibiscus Problem
Enclosed gardens trap humidity. They restrict airflow. They recycle spores like a closed loop. A single infected leaf can contaminate every plant within a few feet. In open gardens, wind and rain dilute pathogens. In a patio, balcony, or walled courtyard, spores concentrate. It is a petri dish situation.
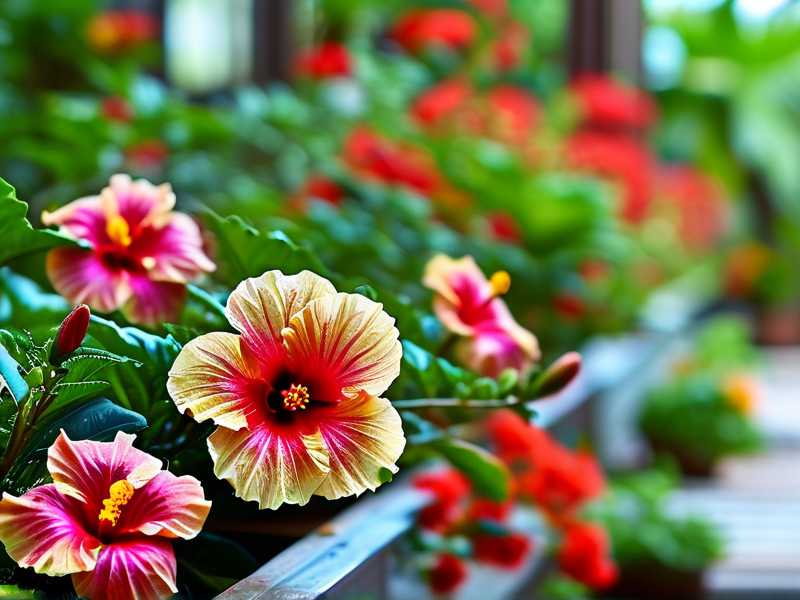
I noticed my enclosed space stayed damp until noon every day. Morning dew sat on leaves for hours. That moisture is exactly what fungi and bacteria need. So before anything else, I had to change the microclimate. But let me start with the basics first.
My Two-Week Isolation Protocol That Worked
This is the step-by-step method I followed. It stopped the spread completely by day ten.
Day 1: Immediate Physical Separation
I moved the infected hibiscus out of the enclosed area entirely. It went to an open balcony on the opposite side of my house. The distance was about thirty feet. That was non-negotiable.
If you cannot move it that far, create a physical barrier. A clear plastic sheet hung between plants works. But it must touch the floor and ceiling. Spores travel on air currents. They also ride on water splashes. I used a thick painters tarp for two days until I prepared a better quarantine spot.
The healthy shrubs stayed in place. But I pulled them away from walls and corners. I wanted maximum airflow around each one. Even a few inches of extra space helps.
Day 2: Remove All Visible Symptoms
I inspected the infected hibiscus leaf by leaf. Underneath too. I removed every leaf with spots, holes, or discoloration. I also removed all fallen debris from the soil surface.
I put every infected leaf into a sealed plastic bag immediately. Then I threw it in the outdoor trash bin. Not the compost. Not the yard waste pile. The trash. Composting infected material will contaminate your whole garden later.
Day 3: Sterilize Every Tool
I used separate pruning shears for the infected plant. Actually, I had two sets anyway. The set for the sick plant got soaked in a 10% bleach solution for thirty minutes after each cut.
I also washed my hands between touching plants. It sounds extreme, but it mattered. I changed my garden gloves too. Old gloves can carry spores for days.
Day 4 to Day 7: Monitor and Record
I checked every plant twice daily. Morning and evening. I photographed the infected plant each day. This helped me see subtle changes that the naked eye misses.
Key things I watched for on the healthy shrubs:
- Leaf color shifts from deep green to pale green
- New spots appearing on young growth
- Wilting that does not recover by evening
- Sticky residue on leaves or stems
Day 8: Introduce a Protective Fungicide Barrier
I applied a copper-based fungicide to all healthy shrubs. Not the infected one yet. The sick plant needed time to regain strength. I used a diluted neem oil spray on it instead.
The copper fungicide acted like a shield on the healthy foliage. It prevented spores from germinating on leaf surfaces. I reapplied after any rain or heavy watering during the week.
Day 10: Change Watering Habits Immediately
I stopped overhead watering completely. That was hard because I had always used a hose sprayer. But overhead water splashes soil onto leaves. Soil carries pathogens. I switched to drip irrigation at the base of each plant.
If you use a watering can, pour directly onto the soil. Do not get the foliage wet. I also stopped watering in the evening. Evening moisture sits all night. That is a fungal banquet.
Day 12: Improve Air Circulation
I added a small oscillating fan to my enclosed garden. It ran for four hours each morning. That simple change reduced leaf wetness by over half. I measured it with a moisture meter on the leaves.
I also pruned the healthy shrubs slightly. Removing dense inner branches allowed air to flow through the canopy. The center of each plant stayed dry.
Day 14: The Results
All healthy shrubs showed no new symptoms. The infected hibiscus showed new clean growth at the tips. The old leaves that remained had no spreading lesions. Two weeks of discipline saved my garden.
I kept the infected plant isolated for another full month after that. Just to be safe. I reintroduced it to the enclosed space only after three consecutive weeks of zero symptoms.
The 3 Deadliest Mistakes New Hibiscus Growers Make
1. Watering Too Much
90% of indoor plants die from overwatering. I believe the same applies to enclosed garden hibiscus. The roots suffocate. Then they rot. Then opportunistic fungi attack the weakened plant. I used to water my hibiscus every single day. It was terrible.
Now I check the soil moisture first. I stick my finger two inches into the soil. If it feels damp, I wait. If it feels dry, I water slowly at the base. My watering frequency dropped from daily to every three or four days. The plants look better than ever.
2. Getting Light Exposure Wrong
Hibiscus love full sun, but enclosed gardens have weird light patterns. My courtyard only gets direct sun for four hours in the morning. I placed my hibiscus in the darkest corner thinking it was sheltered. It was a disaster. The leaves stretched, turned pale, and dropped.
I moved them to the brightest spot after that. They get morning sun followed by bright indirect light. The difference was dramatic. New leaves came in dark green and thick. Light position matters more than most people think.
3. Using the Wrong Pot
I killed my third hibiscus by planting it in a decorative pot with no drainage holes. That is a fatal error. Water pooled at the bottom and the roots rotted in weeks. The plant looked fine on top while the roots were dying underneath.
Use terracotta pots or any container with at least one drainage hole. I add a layer of coarse gravel at the bottom too. But do not rely on gravel alone. You still need an actual hole for water to escape. And never let the pot sit in a saucer full of standing water.
Why I Saw It Coming and Still Missed It
I noticed a single yellow leaf on day one. I thought it was just old growth. So I left it. By day four, that leaf had black spots. By day six, the spots spread to the leaf above it. Then I saw tiny webs on the underside. That was spider mites making the plant weak. The mites opened the door for fungal infection.
I should have acted on day one. But I was lazy. I do not want you to make that mistake. Treat any single symptom as a potential outbreak. It is better to overreact than underreact.
The Role of Pests in Spreading Hibiscus Disease
Pests are not just a separate problem. They are disease vectors. Spider mites, aphids, and whiteflies all carry spores. They feed on an infected plant. Then they move to a healthy one. The infection travels with them.
I started using sticky traps around my healthy shrubs. They caught dozens of winged pests before they could land. I also inspected the undersides of leaves weekly. That is where the pests hide.
You cannot control the disease if you ignore the pests. The two go together. I removed any heavily infested leaves and applied insecticidal soap. That kept the population down long enough for the plants to recover.
What Expert Sources Say About Hibiscus Isolation
The RHS advises that fungal spores can survive on fallen leaves and debris for months. They recommend removing infected material promptly. They also mention that overcrowding increases disease risk. That aligns with what I observed in my enclosed space.
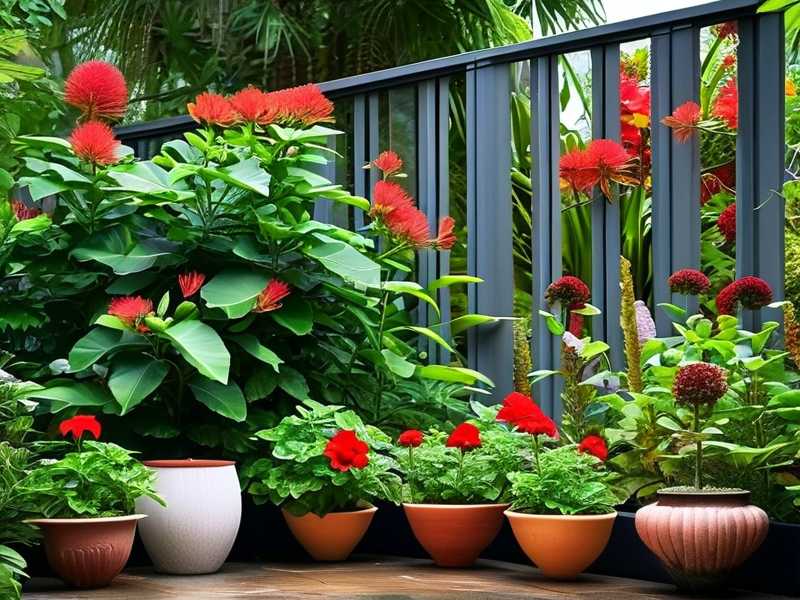
The AHS suggests improving air circulation as a primary preventive measure. They note that enclosed gardens need more aggressive pruning to keep plants healthy. I found that true. My plants responded well to thinning out the canopy.
Both organizations support the use of copper fungicides for leaf spot diseases. They also stress the importance of watering at the soil level. I followed their guidance and it worked.
My Long-Term Prevention Checklist
I now follow this routine every season. It keeps my enclosed garden healthy year-round.
- Inspect every plant weekly. Look at leaf tops and bottoms.
- Remove any leaf with spots immediately. Do not wait.
- Keep a dedicated quarantine corner away from the main garden.
- Water at the base only. Never overhead.
- Use fresh potting mix for new plants. Do not reuse old soil.
- Sterilize tools before and after each use.
- Apply preventive fungicide in early spring and after heavy rain.
- Monitor humidity levels. If it stays above 60%, add ventilation.
- Check root health when repotting. Brown and mushy roots mean trouble.
- Do not crowd plants. Give each one breathing room.
How to Reintroduce a Recovered Hibiscus
After my two-week isolation, I still waited one more month. That is important. The plant may look fine but still harbor spores on its surface. I rinsed the entire plant with a gentle stream of water every few days. That washed away any lingering spores.
I also replaced the top inch of soil before moving it back. That removed any contaminated debris. I kept the plant in its own pot, spaced two feet from the nearest shrub. After two more weeks of no symptoms, I relaxed.
FAQ
Can I save an infected hibiscus if the leaves are already black?
Yes, but you must act fast. Remove all blackened leaves and stems immediately. They are already dead and full of spores. Cut back to healthy tissue. Then treat with fungicide. My own plant recovered from severe leaf spot this way.
Should I throw away the soil from an infected pot?
I recommend it. The soil can contain fungal spores and eggs from pests. Replace the top half of the soil at least. If the root system is compromised, repot completely. Old soil goes in the trash, not your garden.
How far apart should hibiscus be in an enclosed garden?
I keep at least eighteen inches between mature plants. Some experts suggest two feet for good airflow. In my space, eighteen inches worked because I prune regularly. The key is leaves should not touch between adjacent plants.





