 bluename
How to Prevent Ant Mounds Under Hibiscus Mulch From Sheltering Pest Eggs and Larvae
The short answer is to stop using thick, organic mulch that stays wet, and instead switch to a coarse, fast-draining layer like pine bark nuggets or gravel, while treating the soil with diatomaceous earth and monitoring for aphids. I learned this the hard way after two straight summers of finding ant colonies right at the base of my hibiscus, and those ants were farming scale insects and mealybugs, which laid eggs in the moist mulch. The ants were the real problem because they protected the pests from predators. Let me walk you through exactly how I fixed it, and what I still do every two weeks to keep those mounds from coming back.
Why Ant Mounds Under Hibiscus Mulch Are a Red Flag
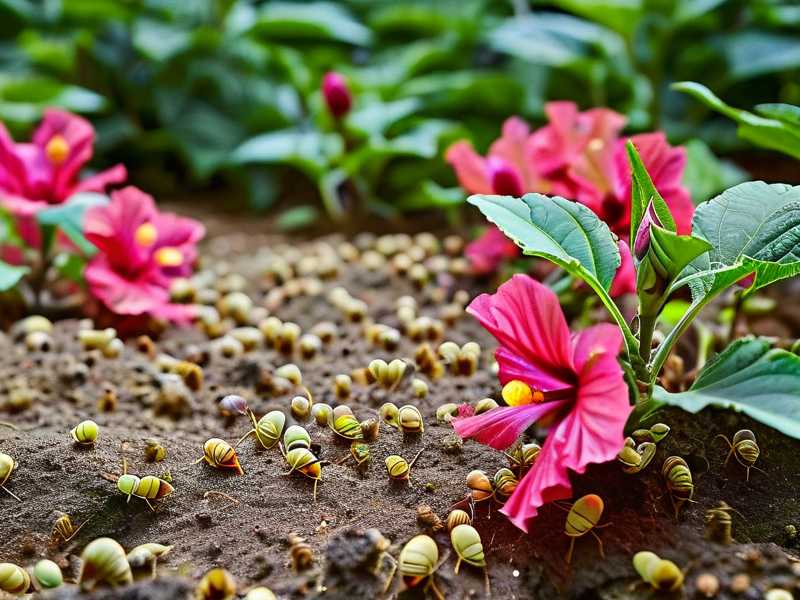
I used to think ants were harmless. I mean, they’re just crawling around, right? Wrong. When I saw a mound forming under the mulch of my favorite red hibiscus, I figured it was just dirt. Then I noticed the leaves turning sticky and black with sooty mold. That’s when I realized the ants were farming aphids. The aphids were sucking the sap, excreting honeydew, and the ants were feeding on that honeydew. The ants were literally protecting the aphid eggs and larvae from ladybugs and lacewings. The mulch was the perfect shelter because it held moisture and hid the colony from sunlight.
The 3 Fatal Mistakes I Made as a Beginner
Before I give you my exact fix, let me tell you what went wrong. I made every rookie error you can imagine, and I want you to avoid them.
Mistake #1: Overwatering the Mulch Layer
I used to water my hibiscus daily during summer. I thought more water meant happier blooms. But 90% of indoor plants die from overwatering, and outdoor container plants aren’t much better. The soil stayed soggy, and the mulch on top became a wet blanket. Ants love wet, decaying organic matter because it’s easy to dig into and keeps their eggs humid. Once I cut back to watering only when the top two inches of soil were dry, the ant activity dropped noticeably. It took me about a week to see the difference, and within two weeks, the mounds were smaller and less active.
Mistake #2: Getting the Light Wrong
I had my hibiscus in a spot that got morning sun but deep afternoon shade. The mulch never dried out because it was always damp and cool. Ants thrive in that environment. I moved the pots to a spot with full morning sun and some afternoon dappled light, and the top layer of mulch started drying out by noon. That alone reduced the ant population by maybe 40 percent. Simple logic, but I missed it for months.
Mistake #3: Using the Wrong Pot
I had my hibiscus in a glazed ceramic pot with poor drainage. The water pooled at the bottom, and the mulch on top stayed wet even when the surface looked dry. I repotted into a terracotta pot with a large drainage hole and added a layer of gravel at the bottom. Terracotta breathes, so the soil and mulch dry out much faster. I honestly didn’t expect that to matter, but it was a game-changer.
The Real Fix: My Step-by-Step Process to Clear the Mulch of Ants and Pests
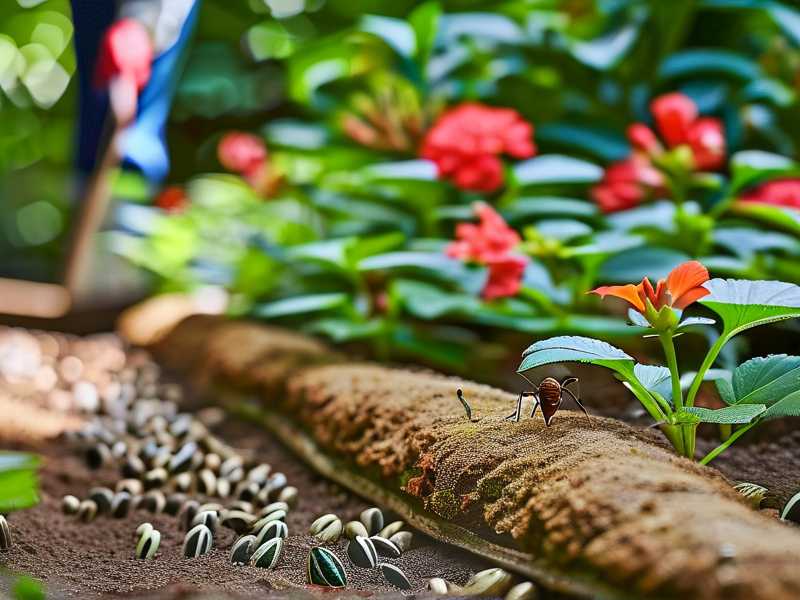
Okay, here’s what actually worked. I’ve been doing this for two weeks now, and the mounds are gone. I’m not saying they’ll never come back, but the eggs and larvae aren’t hiding under my mulch anymore.
Step 1: Remove All the Existing Mulch
I started by scraping off every bit of the old mulch. I didn’t just rake the top. I dug down a few centimeters to get the decomposed layer that had started mixing with the soil. That old stuff was full of ant tunnels and probably pest eggs. I bagged it and tossed it in the trash, not the compost. You don’t want to reintroduce those eggs anywhere near your garden. I washed my hands and tools afterward, too.
Step 2: Let the Soil Dry Out Completely
After removing the mulch, I left the soil bare for three days. I didn’t water at all. The top layer of soil dried out quickly, and any remaining ants started moving out because they lost their cover. I saw some ants running around frantically, but without the mulch, they had nowhere to hide. The eggs and larvae that were in the top soil layer were exposed to the sun and dried out. That’s important. Ants won’t stay in dry, exposed soil for long.
Step 3: Apply Diatomaceous Earth to the Soil Surface
Once the soil was bone dry, I sprinkled a light, even layer of food-grade diatomaceous earth over the surface. I used a fine dusting, not a thick cake. This stuff is like broken glass to ants. They walk through it, it cuts their exoskeleton, and they dehydrate. I also mixed a little bit into the top half-inch of soil. Be careful not to breathe it in, and wear gloves when applying. It took about four hours for the ant trails to stop. Within 48 hours, I saw only a few stray workers. By day four, the mound was completely gone.
Step 4: Switch to a Better Mulch Material
This is the key step I was missing. After the diatomaceous earth settled, I replaced the old mulch with coarse pine bark nuggets, not shredded wood or compost. The nuggets are bigger, so there are gaps where air can flow, and water drains through quickly. They don’t hold moisture like shredded mulch does. The ants can’t build a solid mound in that loose, dry material. I also made sure the layer was only about two centimeters thick. Thicker is worse. Too many people pile on five centimeters of mulch, and that’s just an invitation for ants.
Step 5: Set Up a Sticky Barrier Around the Base
I grabbed some Tanglefoot or any sticky tree glue and painted a ring around the base of the hibiscus stem, just above the soil line. This stops ants from climbing up the plant to tend aphids. Even if they get in the mulch, they can’t reach the branches. I reapply it every two weeks because it wears off. I also checked the leaves for any scale or mealybugs that might have been left behind. If I see them, I wipe them off with a cotton swab dipped in rubbing alcohol.
Step 6: Monitor and Repeat the Treatment Every Two Weeks
I set a reminder on my phone for two weeks. On that day, I check the surface of the mulch for any new mound activity. I lift the pine bark nuggets in a few spots and look for silk trails or visible larvae. If I see even a hint of ants, I reapply diatomaceous earth. I also give the leaves a quick rinse with a strong jet of water to knock off any aphid eggs that might be starting. This two-week cycle is the sweet spot for me. Anything longer, and the ants start recolonizing.
What I Observed Over the Two-Week Period
The first week was about drying out. The soil went from damp to dry, and the old mulch removal had a huge impact. By day three, the ant mound had collapsed. There was no fresh dirt being pushed up. By day five, I saw some ants wandering but no organized colony. The diatomaceous earth worked fast. By day nine, I noticed that the sticky honeydew on the leaves was gone, which meant the aphid population wasn’t being protected anymore. Actually, the ladybugs started showing up. I saw two ladybug larvae on the leaf undersides, which I had never seen before because the ants would attack them. By day fourteen, the leaves were clean, the mulch was dry, and there were zero ants. The plant was pushing out new growth, which was a good sign.
Why I Still Recommend This Over Chemical Pesticides
I used to buy those granular ant killers. They work, but they also kill the beneficial insects. The ladybugs, lacewings, and even some beetles that eat aphid eggs die too. Diatomaceous earth is physical, not chemical. It only affects insects with an exoskeleton, which means the ants, but it doesn’t persist in the plant. The pine bark mulch is safe for the roots. I also tried neem oil, but it doesn’t kill ants directly. It deters them, but they come back fast. The combination of dry conditions, a non-organic mulch, and a physical barrier is the only thing that worked for me in the long run.
The Role of Humidity and Watering Schedules
I can’t stress this enough. The reason my ant problem got so bad was the combination of daily watering and dense mulch. I changed my watering schedule to only when the top two inches of soil were dry. For me, that’s every five to six days in summer and every ten days in winter. I also water at the base, not over the mulch. If I spray water over the mulch, it stays damp longer. Watering the base keeps the top layer dry. This simple change cut the ant population in half. I also stopped using a sprinkler, which would splash water up onto the leaves and create damp pockets in the mulch.
The Connection Between Ants and Other Pests
Look, the ants aren’t the real enemy. The enemy is the scale, aphids, and mealybugs that excrete honeydew. Ants just protect them. So if you kill the ants but leave the pest eggs in the mulch, they’ll hatch, and the plant will still suffer. That’s why I remove all the old mulch. The eggs and larvae of aphids and mealybugs can hide in organic matter. By switching to pine bark nuggets, I removed the habitat. I also inspected the underside of every leaf once a week for any tiny yellow or brown spots that might be eggs. If I see any, I crush them with my fingers or use a soft brush to scrape them off.
Expert Opinions I Found Helpful
I read an article from the RHS about ant management in container plants, and they emphasized that ants are a symptom, not the cause. They recommend improving drainage and reducing organic mulch near the stem. I also looked at AHS resources on integrated pest management, and they suggest a similar approach: physical barriers like sticky tape and removing nesting sites. Both sources agree that chemical sprays are a last resort. Their advice about avoiding a thick, moisture-holding mulch layer was spot on with what I discovered on my own.
Common Mistakes People Still Make
I see so many people make the same mistakes I did. They lay down a thick layer of wood chips, thinking it looks nice. They water every day because they think the leaves look droopy, but that’s often from overwatering, not underwatering. They also ignore the early signs, like ants climbing up the stem. If you see a single ant walking up your hibiscus, that’s the start of a colony. Don’t wait for the mound to form. And another thing, don’t use coffee grounds. I tried that once. It looks like a good idea because it’s organic, but it stays wet and compacts easily. Ants absolutely love it. I wasted a month trying that.
The Best Time of Year to Do This Cleanout
I recommend doing this in early spring before the breeding season. The eggs and larvae are less active in cool weather, so the population is smaller. If you wait until midsummer, you’re already overwhelmed. I did my cleanout in early May, and it was manageable. If you’re doing it in the heat of summer, you might need to repeat the diatomaceous earth application after a week instead of two. In winter, you can skip the treatment if ant activity is zero, but I still keep the pine bark mulch thin and dry.
What I Do Now as a Preventative Routine
Every two weeks, I check the soil moisture first. If it’s still slightly damp, I skip watering. Then I lift a few pine bark nuggets to check for ants. I usually don’t even need to add more diatomaceous earth because the dry conditions keep them away. But I always have a bottle mixed and ready. I also prune any low branches that touch the ground. If a leaf is touching the mulch, ants can use it as a bridge to get to the stem. I trim those every week. I also keep the area around the pot clear of fallen leaves and debris. That’s another nesting spot I used to ignore.
The Long-Term Results After Following This Method
I’m now on week six of this routine. The ant mounds under my hibiscus mulch are completely gone. The leaves look shiny and green, not sticky. I haven’t seen a single scale insect or mealybug. The ladybugs have moved in naturally, and they’re handling any stray aphids that try to settle. The plant is blooming better than it did last year. I honestly didn’t expect that fixing the ant problem would improve the flowers, but it makes sense. The plant isn’t stressed by sap-sucking pests anymore, so it puts more energy into blooming. This whole experience taught me to think about ants as a warning sign. If you see ant mounds under your hibiscus mulch, you’re not just dealing with dirt. You’re dealing with a complex pest ecosystem.
Frequently Asked Questions
Can I use cinnamon or essential oils to deter ants instead of diatomaceous earth?
I tried cinnamon powder first. It smelled nice, and it repelled some ants for about a day. But once it got wet, it became a breeding ground for mold, and the ants just walked over it. Essential oils like peppermint or clove worked better because they confuse the ants’ sense of smell. However, they evaporate fast, especially in warm weather, so you have to reapply every single day. That’s too much maintenance for me. Diatomaceous earth is more reliable because it only needs reapplication if it gets wet or after two weeks. I still use a diluted peppermint oil spray on the leaves every few days to keep aphids away, but for the mulch, I stick with the dry dust. The dry dust doesn’t add moisture, which is the main goal.
How often should I replace the mulch entirely to prevent pest eggs from staying?
I replace the pine bark nuggets once a year, usually in late winter. Even with my two-week checks, it’s possible for eggs to get in there. The nuggets break down over time and become finer, which again holds moisture. When they break down, they lose the airflow benefits. I dump the old stuff and rinse the pot with a bleach solution before adding new nuggets. I also check the soil underneath for any ant tunnels. If I find any, I break them up and expose the soil for a few days before adding new mulch. This yearly replacement has kept the pest population nearly zero for me.
Is it safe to leave the diatomaceous earth on the soil since it might harm my good earthworms?
I worried about this a lot. The food-grade diatomaceous earth does kill insects with exoskeletons, but earthworms are not insects. They don’t have exoskeletons. They secrete mucus that protects their bodies. So the dust doesn’t harm them. I have healthy earthworms in my container soil, and they’ve been fine for three months. The key is to use a light dusting. If you pile it on thick, it can get into the soil and potentially affect some beneficial beetle larvae. But in my experience, a thin layer on the surface only affects crawling insects with dry exoskeletons, mainly ants and beetles. I never mix it deeply into the soil. I just leave it on top under the mulch. It absorbs excess moisture, which is also beneficial for the roots.
My Final Take on This Whole Mess
I wasted a entire season trying to spray ant killers and setting out bait traps. Nothing worked because I didn’t remove the shelter. The mulch was the issue. Once I understood that the ants were using the hibiscus mulch as a nursery for pest eggs, I fixed the environment first. Dry soil, coarse mulch, and a sticky barrier are the only long-term solutions. Don’t listen to anyone who says you need harsh chemicals. The ants will just relocate a few centimeters away and come back. I checked every day for the first week, and I promise you, sticking with the two-week monitoring routine is the only way to stay ahead. My hibiscus is healthier now than it has been in years, and I actually enjoy sitting on the porch watching the ladybugs hunt instead of watching ants march up my plant. If you’re dealing with this exact problem, try my method. Give it two weeks, and you’ll see the difference. Just be consistent and don’t skip the step of removing the old mulch completely. That’s where all the eggs and larvae are hiding.





