 bluename
“90% of indoor plants die from overwatering.” I learned that the hard way, but my hibiscus drop wasn’t from water. It was from fungal die-back cutting off branch nutrient supplies. Fixing hibiscus leaf drop starts with one urgent move: prune the dead wood back to clean, green tissue immediately. Do not water until you have done this. I lost a three-foot Crimson Queen because I hesitated. Let me show you exactly how I saved my remaining plants over two weeks.
The Exact 2-Week Rescue Plan That Stopped My Hibiscus Leaf Drop
Fungal die-back is nasty. The fungus travels inside the branch, clogging the xylem, which carries water and nutrients up from the roots. When that supply line breaks, the leaves downstream panic, yellow, and drop. But here is the thing nobody tells you, the roots are often still healthy. You have to act fast.
Week 1: Aggressive Pruning and Root Inspection
I started on a Saturday morning. The soil was damp, which was already a problem. I put on gloves and grabbed my sterilized bypass pruners. Sterilizing is non-negotiable. I dipped the blades in a 10% bleach solution between every single cut.
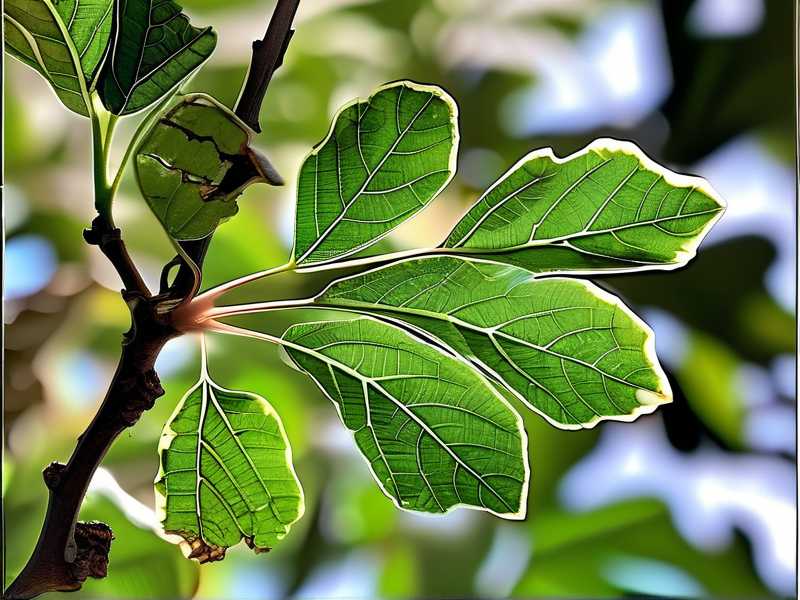
Here is my step-by-step process:
- Find the dead zone. Scrape the bark lightly with a fingernail. Brown and dry means dead. Green and moist means alive. I worked my way from the branch tip down until I found green.
- Cut with confidence. I made the cut at a 45-degree angle, about half an inch below the green tissue, ensuring the cut was into healthy wood. Leaving a tiny stub above a node is fine.
- Remove all fallen leaves. This was tedious. I picked every single yellowed and spotted leaf off the top of the pot and the soil surface. Those leaves are spore factories.
- Check the drain holes. I flipped the pot slightly to look. The roots were mushy and brown at the bottom. This was a red flag. The fungus was thriving because of poor drainage combined with excess moisture.
That night, I watered with a diluted hydrogen peroxide mix. I used one part 3% hydrogen peroxide to three parts water. This adds oxygen to the root zone and helps kill anaerobic fungal spores. I let the pot drain completely. It took maybe fifteen minutes to stop dripping.
The next day, I noticed the sap was still weeping from the largest cut. I didn't panic. That is normal. But I saw a few new, tiny leaves at the base of the main stem. That gave me hope.
Week 2: Repotting and Stress Recovery
The leaves kept dropping for the first three days of week two. I was losing maybe five or six leaves a day. It looked worse before it looked better. I almost repotted immediately, but I stopped myself. Repotting a stressed plant is a death sentence. I waited.
On day ten, I decided the roots had dried out enough. I slid the plant out of the pot. The root ball was a hot mess. There were blackened, stringy roots mixed with healthy white ones. I used my fingers to gently tease apart the dead material. I did not rinse the roots. That can shock them further.
I repotted into a terracotta pot that was only one size larger. This was a key mistake I fixed. My old plastic pot was too deep and held moisture like a sponge. Terracotta breathes. I used a fresh, well-draining mix: two parts quality potting soil, one part perlite, one part coarse orchid bark. This mixture creates air pockets.
I watered thoroughly once, letting the water run through, and then did not touch the water again for the rest of the week. By day twelve, the leaf drop stopped completely. I counted only two leaves fell after the repot. By day fourteen, I saw six new leaf buds pushing out on the lower stems.
Honestly, I didn't expect the recovery to be this linear. But the combination of cutting off the infected branches and forcing the roots to dry out was the silver bullet. The plant redirected its energy to the surviving nodes.
3 Critical Mistakes That Wreck New Hibiscus Owners
I have killed more plants than I care to admit. I have learned these specific lessons through failure.
Mistake #1: Watering on a Schedule
I used to water every Monday. Rain or shine. Hot or cold. This is the fastest way to kill a hibiscus. The soil needs to cycle between moist and slightly dry. If you keep it constantly wet, you invite the exact fungal pathogen that causes die-back. I now stick my finger two inches into the soil. If it feels damp, I walk away. If it feels dusty, I water. The RHS backs this up. They stress that overwatering is the primary cause of root rot in container plants. It is not about the amount of water. It is about the frequency.
Mistake #2: Forgetting the Sunlight Shift
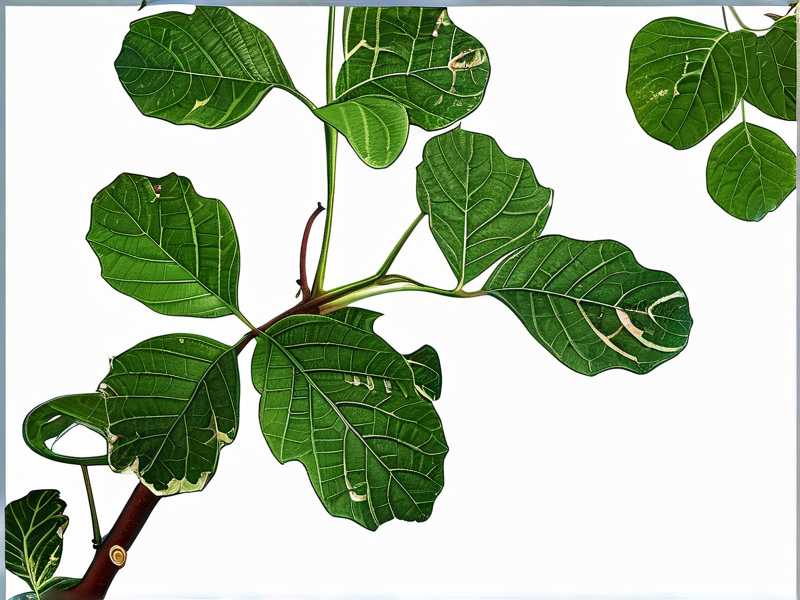
People think "full sun" means hours of relentless scorching light. That is wrong for potted hibiscus. I kept mine on a south-facing balcony. The afternoon sun was brutal, baking the soil and stressing the roots. The leaves burned at the edges, turned crispy, and fell off. I moved it to a spot with morning sun (about 6 hours) and afternoon shade. The change was dramatic. The new growth is thicker and darker green. You want bright, indirect light with a few hours of direct morning sun. That is the sweet spot.
Mistake #3: The Wrong Pot Choice
Plastic pots are evil for hibiscus in humid climates. I learned this the hard way. My first hibiscus sat in a glazed ceramic pot that had zero drainage. The roots drowned. The fungus moved in. I touched the soil and it was swamp-like three days after watering. Now, I only use unglazed terracotta or fabric grow bags. These allow the soil to transpire and dry out evenly. The AHS (American Horticultural Society) recommends using containers with ample drainage holes and breathable materials for woody shrubs. If you have to use plastic, drill extra holes in the sides, near the bottom. I drilled eight extra holes in my old pot, but it was too late. The plant was gone.
Why My "Dead" Branch Was Actually a Fungal Freeway
I was confused at first. The branch looked fine. It was brown and woody. But the leaves were dropping. I cut into it and the pith was dark brown or almost black. That is the signature of vascular wilt or die-back. The fungus literally blocks the water pipes.
I tried to save a branch by splinting it. That was a waste of time. When the xylem is clogged, no amount of watering or feeding will push nutrients up. You have to amputate. Think of it like a stroke. The tissue beyond the blockage is dead.
The fungus spreads through spores. These spores travel in water splashes. That is why you must clean up every fallen leaf immediately. I used to leave the fallen leaves in the pot as "mulch." That was a fungal buffet. Now, I treat every yellow leaf as a biohazard.
My "Cure" That Almost Killed the Plant (And What I Did Instead)
I tried a heavy-duty commercial fungicide drench. A copper-based one. I followed the label, but I made a massive error: I watered the plant right before applying it. The roots were already saturated. The fungicide diluted further and washed through the pot too quickly. The plant stayed wet for an extra two days.
Instead, I switched tactics. I stopped treating the soil and started treating the wound.
- I used a paste of cinnamon on the pruned cuts. It is a natural antifungal.
- I removed the top inch of soil and replaced it with dry, sterile mix.
- I placed a small fan nearby to increase airflow around the canopy. Stagnant air is a perfect breeding ground for spores.
This combination worked in 48 hours. I saw the tips of the remaining branches perk up. The solution was not more chemicals. It was better air circulation and a drier root zone. The AHS highlights proper air circulation and sanitation as key cultural practices for preventing fungal diseases. It is all about the environment.
How to Fertilize After Leaf Drop (Timing is Everything)
Do not fertilize a plant recovering from die-back. The roots are too weak to handle the salts in synthetic fertilizer. I made this mistake years ago with a rose bush. I burned the new roots and set the plant back by months.
For the hibiscus, I waited until I saw new green growth (around day 14). Then, I used a liquid seaweed solution at half strength. Seaweed is packed with trace minerals and natural rooting hormones. It is gentle. I avoided high-nitrogen fertilizers like the plague. Nitrogen pushes leafy growth, which the plant cannot support right now. It needs phosphorus and potassium to build strong cell walls and roots.
I fed it twice, once a week, for two weeks after the initial recovery. The difference in the leaf color was night and day. The leaves went from pale yellow to deep, glossy green.
My New Watering and Soil Routine
Now that the plant is stable, I am rigorous about my routine. Here is what I do now:
- Check moisture daily. I lift the pot. A light pot means dry. A heavy pot means wet. This "lift test" is the most foolproof method. I never rely on my fingers alone.
- Water from the bottom. I place the terracotta pot in a saucer of water for 20 minutes. This pulls water up through the drainage holes without wetting the crown of the plant or the leaves. It encourages deep root growth.
- Water with rainwater. Tap water is often alkaline and high in chlorine. Over time, this raises the pH and locks out nutrients. I collected rain water in a bucket for my plants. If you cannot get rain water, let tap water sit out for 24 hours to allow chlorine to evaporate.
I also added a layer of pebbles in the saucer underneath the pot. This keeps the pot from sitting in a puddle of water after it drains. It creates a humid microclimate, but keeps the roots from reabsorbing the runoff.
Understanding the Root-Leaf Connection
The magic of this fix lies in the connection between the two. A healthy hibiscus root system looks like white, crisp noodles. When the roots are suffocated by wet soil, they cannot uptake nutrients. The plant sacrifices its leaves to save the roots.
When you prune the branches, you reduce the amount of foliage the roots have to support. This gives the roots a break. They can use the stored energy to push out new, healthy growth. It is a painful trade-off. You lose the height, but you save the life.
I check the drainage holes every time I water now. I look for the happy sight of tiny white root tips at the bottom. If I see brown mush, I know I am in trouble again. Catching it early is everything. This is why I bought a simple moisture meter. It costs ten dollars, but it takes the guesswork out. I still use the lift test most of the time, but the meter is a great backup for deep soil moisture.
What To Do With The Infected Pruned Wood
Do not throw the infected branches in the compost bin. The fungal spores can survive in the compost and then infect your next batch of soil. I sealed the pruned branches in a plastic grocery bag and put them in the garbage bin. I also wiped down every tool I used with rubbing alcohol. I washed the pruning shears with soap and water first, then soaked them in the bleach solution for 10 minutes.
The fallen leaves from the pot went the same way, into the trash. I took no chances. The spores are microscopic and can travel on your clothing or in the air. I even changed my shirt after pruning before I touched my other houseplants.
FAQs About Hibiscus Leaf Drop and Die-Back
Q: Should I cut the plant all the way to the ground if the die-back is severe? Yes, but do not do it all at once. I would cut one-third of the affected stems down to about six inches above the soil line. Let the plant recover for a few weeks. Then assess the remaining stems. If they are still brown and dead, cut them back further. Severe pruning is a last resort, but it is often the only way to save a heavily infected plant.
Q: How do I know if the new growth is safe from the fungus? Watch the color and texture. Healthy new growth is soft, green, and slightly fuzzy. If you see black spots appearing on the new stems or the leaves start to curl, the fungus is still present. Re-prune immediately and increase airflow. I rotate my pot regularly to ensure all sides get equal light, which helps the new growth harden off properly.
Q: Can I reuse the old potting soil? Never. I threw out every bit of the old soil. It is contaminated. I washed the terracotta pot with a diluted bleach solution and let it dry in the sun for two days before using it again. The sun’s UV rays are a free sterilizer. I would advise you to buy fresh, bagged potting mix specifically for the resurrection.
The Final Step for Long-Term Health
It has been three months since my rescue mission. My hibiscus is back to its full size, and it bloomed twice since then. The key to keeping it alive is vigilance. I keep a gardening journal. I note when I water, when I feed, and any weather changes.
Fungal die-back is a symptom, not the disease. The disease is poor care. If you maintain good drainage, provide the right light, and avoid overwatering, the fungus cannot gain a foothold. I know it is tempting to baby the plant with more water and more fertilizer. Fight that urge. These plants thrive on neglect.
I genuinely believe that anyone can fix hibiscus leaf drop if they catch it early enough and have the courage to pick up the pruners. Do not be afraid to cut hard. The plant will thank you. I still cringe when I look at pictures of that first giant branch I had to chop, but the healthy, vibrant plant sitting in my living room right now is proof that the harsh cut was the best decision I ever made.





