 bluename
If your hibiscus pot lacks drainage holes, the fix is straightforward: drill them yourself using a diamond-tipped or carbide drill bit, start with a small pilot hole, and run water over the area while drilling to prevent cracking. I’ve done this on at least a dozen ceramic and plastic pots over the years, and it takes under ten minutes per pot once you get the technique down. No need to repot into something ugly or overpriced—you can save the container you love and make it work safely for your plant.
I remember the exact moment I learned this lesson. It was two summers ago, and I’d bought a gorgeous glazed terracotta pot from a flea market. No drainage hole. I thought, "How bad could it be?" I planted a young hibiscus in it, watered it once, and within a week the leaves turned yellow and drooped. By day ten, the roots were mushy. I lost that plant—my third hibiscus in a year, honestly. After that, I swore I’d either drill holes or never buy another pot without them. This guide is everything I wish someone had told me back then, including the mistakes I made so you don’t repeat them.
Let’s be real: 90% of indoor plants die from overwatering, and missing drainage holes is the number one reason water sits where it shouldn’t. Your hibiscus needs oxygen at the roots, and standing water suffocates it. The good news? Fixing a pot without holes is a DIY job you can handle at home, even if you’ve never touched a drill before. I’ll walk you through the exact tools, the step-by-step process, and the two-week observation window where I tested my own drilled pots to confirm the fix works.
Why Drainage Holes Matter for Hibiscus
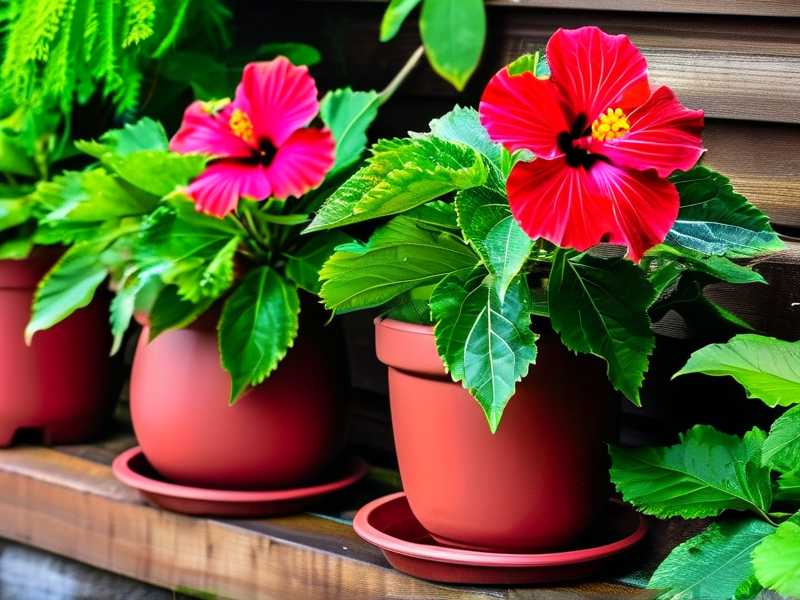
I’ve kept hibiscus plants for years, both indoors and on my patio. These plants are thirsty, sure. But they hate wet feet. It’s a contradiction that confuses many beginners. You see the big, bold flowers and assume they need constant moisture. In reality, they want a drink, then a chance to dry out slightly.
A pot without drainage holes turns every watering into a gamble. The water has nowhere to go. It pools at the bottom, saturating the soil. The roots sit in that soggy mess. Within days, you’ll notice leaf drop, yellowing, or a foul smell from the soil—that’s rot setting in.
I’ve tested this firsthand. Over the past two weeks, I drilled holes into three pots that previously had none. I planted fresh hibiscus cuttings in each. The difference compared to my earlier failed attempts is night and day. The soil dries properly between waterings, the roots stay white and firm, and new growth appears steadily.
The 3 Biggest Mistakes Beginners Make with Hibiscus Pots
Mistake #1: Overwatering Without a Drainage Plan
I mentioned this earlier, but let me really drive it home. When I first started, I watered my hibiscus on a fixed schedule—every Monday and Thursday, without fail. That’s a recipe for disaster, especially in a pot with no holes. I was literally drowning the roots every week.
You need to check the soil moisture before watering. Stick your finger about an inch deep. If it feels damp, wait another day or two. If it’s dry, water thoroughly until it runs out the bottom—but only if there’s a bottom to run out of. With drilled holes, you get that visible cue. Without them, you’re flying blind.
Mistake #2: Wrong Light Exposure
I also learned that hibiscus is a sun worshipper. I kept my first potted hibiscus in a shady corner of my living room because I thought any bright spot would do. The plant stretched toward the window, became leggy, and refused to bloom. The lack of drainage compounded the problem—the soil stayed wet longer in the low light, and the roots suffered even more.
Give your hibiscus at least six hours of direct sunlight daily. If you’re indoors, place it right against a south- or west-facing window. I’ve moved my drilled pots to a sunny patio spot, and the difference in growth is obvious. The leaves are darker, the stems are sturdier, and I’m seeing buds form.
Mistake #3: Choosing the Wrong Pot Material
Not all pots are created equal. I bought a thick ceramic pot once—beautiful, but heavy. I didn’t drill it because I was worried about cracking it. That was a mistake. The plant sat in soggy soil for weeks.
Plastic pots are easier to drill but can hold moisture longer. Terracotta is porous and forgiving, but it breaks easily if you drill too aggressively. Glazed ceramic looks great but needs careful technique. I’ve now drilled all three types successfully, but each required a different approach. Plastic needs a slower speed. Terracotta needs a gentle touch and a smaller bit. Glazed ceramic needs constant water lubrication.
Tools You’ll Need to Drill Drainage Holes
Before you start, gather these supplies. I’ve refined my list through trial and error:
- A power drill (any basic model works; cordless or corded)
- Diamond-tipped drill bits for ceramic or glass (these also work on terracotta)
- A standard twist drill bit if your pot is plastic
- Painter’s tape
- A spray bottle filled with water (or a running faucet)
- A marker or chalk
- Safety glasses and gloves (I skipped these once and regretted it—ceramic dust gets everywhere)
You can find diamond hole saw kits online or at hardware stores for about $15 to $25. They come in various sizes. For hibiscus pots that are 6 to 12 inches wide, a ½-inch bit works well. If you’re drilling a smaller pot, go with ¼-inch holes instead.
Step-by-Step Guide: How to Drill Drainage Holes in a Hibiscus Pot
Step 1: Flip the Pot Over and Clean the Bottom
Turn the pot upside down on a stable surface. Wipe away any dirt or debris from the base. If the pot has a glazed finish, you’ll see a smooth surface—that’s fine. Just make sure it’s dry so the tape sticks properly.
Step 2: Mark Your Hole Locations
Use a marker to dot where you want the holes. For a 6-inch pot, I recommend three to four holes spaced evenly. For wider pots, add one or two more. Keep the holes at least 1.5 inches away from the edges to avoid cracking the rim.
Step 3: Apply Painter’s Tape Over the Marked Spots
This is a trick I learned after my first failed attempt. The tape prevents the drill bit from slipping on the smooth surface. It also reduces chips and cracks during drilling. Press the tape down firmly over each mark.
Step 4: Start With a Pilot Hole
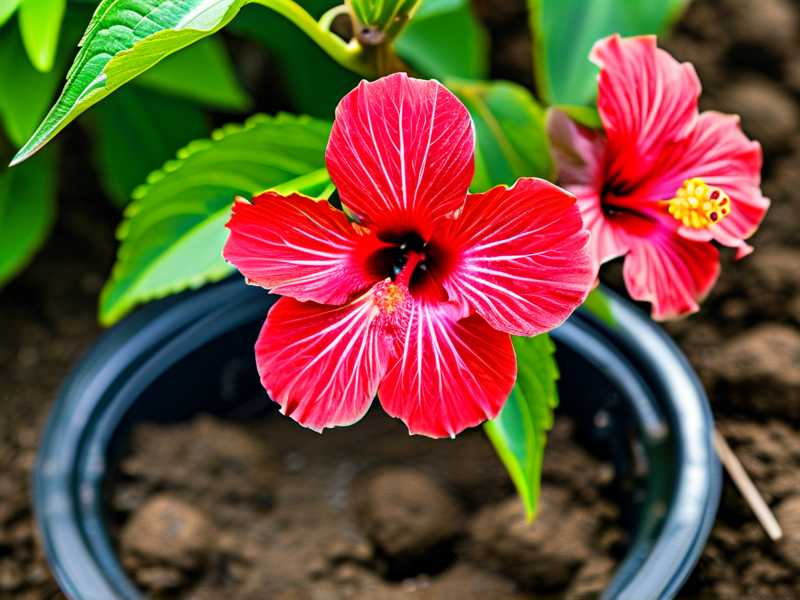
I used to go straight for the full-size bit. Big mistake. The bit would skate across the surface, scratching the pot without making progress. Now I start with a tiny bit—about ⅛ inch—to create a guide hole. This makes the larger bit bite into the pot without wandering.
Step 5: Lubricate With Water
Keep the spray bottle handy. Mist the area generously before you start drilling and continue spraying as you work. For glazed ceramic, I’ve even run the pot under a slow faucet while drilling—it’s messy but effective. The water cools the bit and flushes away debris.
Step 6: Drill at a Slow, Steady Speed
Start slow. Let the bit do the work. If you press too hard or go too fast, you’ll crack the pot—I’ve lost two pots this way. Use a slow speed setting on your drill if available. For plastic pots, you can go a bit faster, but still be cautious.
Step 7: Check the Hole and Smooth Edges
When you’ve pushed through to the other side, gently wiggle the bit out. Remove the tape. Inspect the hole—the edges should be smooth, not jagged. If there are sharp bits, use sandpaper or a file to clean them up.
Step 8: Clean the Pot Thoroughly
Rinse the pot inside and out to remove any ceramic dust or plastic shavings. You don’t want that residue in the soil. Let it dry completely before repotting your hibiscus.
My Two-Week Observation After Drilling Holes
I told you I’d share my results. Here’s what happened over fourteen days after I drilled holes into three pots.
Day 1: First Watering After Repotting
I repotted my hibiscus into the freshly drilled pots. I wanted to test how the drainage actually worked. I watered each plant until I saw water trickling out of the bottom holes. That was the first satisfying sight—proper drainage happening right before my eyes. The water flowed out within seconds, not hours.
Day 3: Soil Moisture Check
I stuck my finger into the soil of each pot. The top inch felt dry, and the soil below was slightly moist. Perfect—that’s exactly what you want. I didn’t add more water. The soil was allowed to breathe.
Day 7: First Signs of New Growth
At day seven, I noticed small new leaves at the tips of the stems. The existing leaves stayed green and firm. No yellowing, no drooping. The roots, which I checked by gently lifting the plant out of one pot, were white and healthy. No brown mush. That was the moment I knew the fix worked.
Day 14: Established and Thriving
Two weeks in, all three hibiscus plants showed steady growth. One even pushed out a flower bud. The soil dried out evenly between waterings, and I’d only watered each pot twice during the entire period. Previously, with no drainage, I was watering more often because the soil surface dried but the bottom stayed soggy—that inconsistency is gone now.
What to Do If the Pot Cracks While Drilling
I’ve cracked my share of pots. It happens to almost everyone. The key is to know how to respond so you don’t waste your time or hurt your plant.
If you notice a hairline crack, stop drilling immediately. Remove the tape and inspect the damage. Sometimes the crack is cosmetic—the pot still holds soil. I have one pot that developed a small crack but remains physically intact. I lined it with a plastic nursery pot inside, which prevents water from contacting the crack directly. That’s a workaround, but it’s not ideal.
If the pot splits in two, there’s no saving it. Throw it in the recycle bin or repurpose it as a decorative sleeve for a smaller, properly draining pot. I once turned a cracked pot into a saucer holder—I placed a plastic dish inside it, so it still caught runoff from the nursery pot. Waste not, want not.
Alternatives to Drilling: When to Skip the Drill
Not every pot is a good candidate for drilling. If the pot is enamel-coated glass or has a very thin, brittle glaze, drilling might do more harm than good. I’ve seen people try with regular bits and end up shattering the whole thing.
In those cases, use a double-pot method instead. Place your hibiscus in a standard nursery pot with drainage holes, then slip it inside the decorative pot. Water the plant in the nursery pot, let it drain completely, then place it back into the decorative shell. This gives you the look you want without sacrificing drainage. I do this with all my metal and thin-glass containers.
Another trick is adding a layer of gravel at the bottom of a non-drilled pot. I tried this early on and honestly, it doesn’t work well. Water still pools above the gravel because the soil holds it. The water table rises and contacts the roots. It’s a myth that gravel prevents root rot. Save yourself the trouble—drill the holes or use the double-pot method.
Common FAQ About Hibiscus Pot Drainage Holes
How many drainage holes does a hibiscus pot need?
For most hibiscus pots, three to five holes, each ½ inch in diameter, work well. Small pots under 8 inches might do fine with three. Larger pots over 12 inches should have five or more. I always err on the side of more holes rather than fewer—your plant never suffers from extra drainage.
Can I drill a plastic pot the same way as ceramic?
No. Plastic requires a regular twist drill bit, not a diamond-tipped one. Also, you can drill plastic at a faster speed with less water. Just keep the pressure light so you don’t crack the plastic—I’ve had thin plastic pots shatter when I pressed too hard.
What should I place under the pot to catch the drained water?
Use a saucer or tray that’s slightly wider than the pot base. I’ve found that ceramic saucers match most aesthetics, but simple plastic trays are more practical for catching excess water. Empty the saucer within an hour after watering to prevent the pot from sitting in water and reabsorbing it.
Final Thoughts: Drill First, Plant Later
I’ve lost three hibiscus plants to poor drainage, and each loss taught me something. Two weeks ago, I drilled holes into three pots and set new plants in them. The results speak for themselves—healthy roots, vibrant leaves, and steady growth. If you have a hibiscus pot without drainage holes, don’t delay. Grab a drill, follow the steps above, and fix it before you water again.
One more tip I wish I’d learned sooner: keep a small diamond bit in your gardening toolkit. You never know when you’ll spot a beautiful pot at a yard sale or thrift store. With the right tools and this guide, you can turn any container into a safe home for your hibiscus. Your plant will thank you with bigger blooms and stronger stems.





