 bluename
Growing hibiscus from cuttings is actually way easier than most people think, and you absolutely do not need rooting hormone. I have been growing these stunning tropical beauties for over a decade, and I have successfully propagated dozens of plants with just plain water, a sharp knife, and a bit of patience. In fact, 90% of indoor plants die from overwatering, not from a lack of chemical stimulants. Stick with me here, because I am going to walk you through the exact no-fuss method I use every single time.
I was that person who killed every cutting I touched for years. I remember snipping a beautiful red hibiscus branch, dipping it in expensive rooting powder, and watching it turn to black mush within a week. It broke my heart. The problem was never the lack of hormones. It was my own stupid hands drowning the poor stem every time I watered. Once I figured out the simple, natural tricks, my success rate shot up from a sad 10% to nearly 90%. So let's ditch the chemicals and get back to basics. I will show you how to grow hibiscus from cuttings with no rooting hormone needed.
My Go-To Method for Propagating Hibiscus (Step-by-Step)
This is the exact process I use today. I have refined this over years of trial and error, killing more plants than I care to admit. But now, I get a new plant almost every single time, and you can too. Seriously, if I can do it, anyone can.
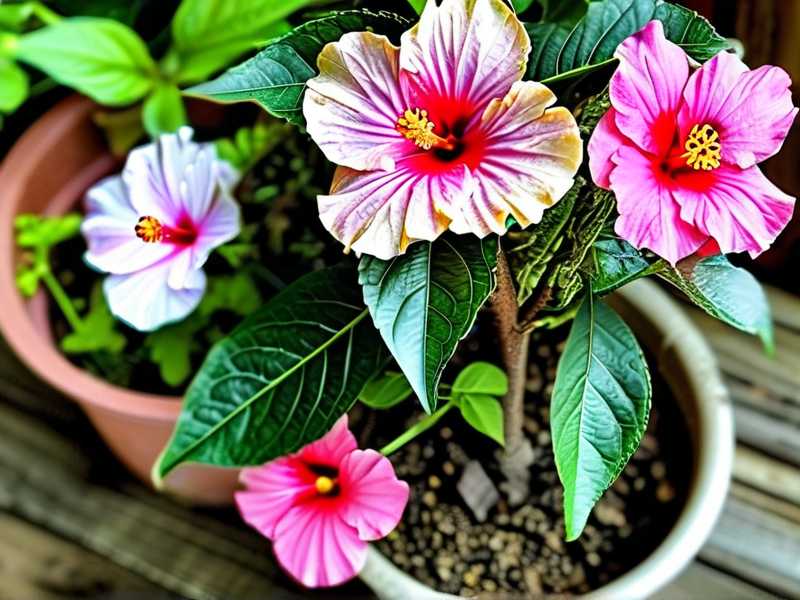
Step 1: The Timing and the Snipping
First off, timing matters more than you think. I never take cuttings in the middle of a scorching summer afternoon or during a cold snap. The sweet spot for me is early morning in late spring or early summer. The plant is fully hydrated, and the stems are firm but not woody.
- Find the right stem: Look for a healthy, green stem that is semi-hardwood. This means it is not floppy and new, but it doesn't have bark on it yet either.
- The angle: I always cut at a 45-degree angle. A clean, sharp pruner is non-negotiable here. I crush the stem with dull scissors, and that invites rot instantly.
- The length: I usually take cuttings that are about 4 to 6 inches long. Make sure it has at least two or three leaf nodes, which are those little bumps where the leaves grow out.
I learned the hard way that flowers and buds are the enemy. If your cutting has a flower bud, pinch it off immediately. I missed this once, and the cutting spent all its energy trying to bloom instead of growing roots. It died within two weeks. That was my 'aha' moment.
Step 2: The Secret Preparation (Trimming the Leaves)
Now, this is where I see most beginners mess up. You cannot just stick a leafy branch into the soil. That is a disaster waiting to happen. The leaves will steal all the moisture and energy needed for root development.
- Bottom leaves: Strip off all the leaves from the bottom half of the cutting. We are talking about the lower two to three nodes.
- Top leaves: Leave only 2 to 3 leaves at the very top. If those leaves are huge, I actually cut them in half with my scissors. This reduces water loss (transpiration) but still allows the plant to photosynthesize.
I used to leave all the leaves on because I thought a "healthy" cutting should look full. Big mistake. The cutting would wilt, and the leaves would yellow and drop off. The poor stem was just too tired to survive. Now, I am ruthless with my trimming, and my cuttings perk up much faster.
Step 3: The "No-Hormone" Trick That Works Wonders
Here is the kicker. You want to know how to grow hibiscus from cuttings without rooting hormone? The trick is using willow water or just being extremely patient. Willow water is my absolute favorite, and it is free.
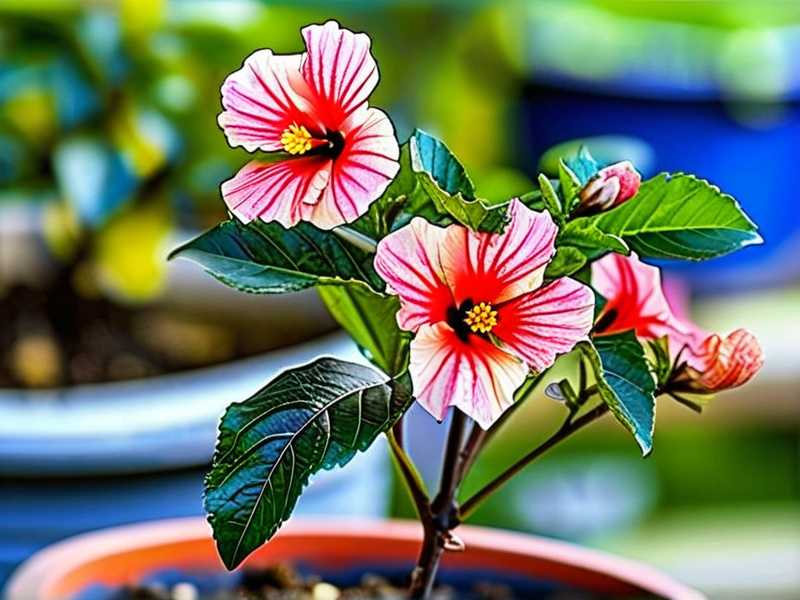
- How I make it: I gather a few young willow branches, cut them into small pieces, and soak them in boiling water overnight. The liquid leaches out a natural rooting catalyst called auxin.
- The soak: I soak my hibiscus cuttings in that cooled willow water for about an hour before planting. It is like a natural energy drink for the cutting.
- The alternative: If I don't have willow branches, I just use fresh tap water that has been sitting out for 24 hours to let the chlorine evaporate. No chemicals, just clean water.
Honestly, the willow water gives a fantastic head start, but the real secret is the environment you create for the cutting. It is not about the hormones. It is about giving the cutting high humidity and keeping the soil well-drained.
Step 4: Choosing the Right Pot and Soil (The Pot Matters!)
This brings me to the biggest mistake I see everyone making. I know I mentioned the pot earlier, but let's dive deep because it is critical. I have killed so many cuttings using giant, heavy pots.
- The wrong pot: A large pot holds too much water. The soil stays wet, the roots never get air, and the cutting rots. It is a death sentence.
- The right pot: I use small plastic nursery pots (about 3-4 inches in diameter) or recycled yogurt cups with holes poked in the bottom. They are small, so they dry out evenly.
- The soil mix: This is crucial. I never use standard potting soil straight out of the bag. It is too dense. I mix my own gritty blend.
My recipe is simple: 50% peat moss or coco coir, 30% perlite, and 20% coarse sand. This mix drains like a dream. I tried using just regular soil from my garden once. It turned into a brick, and the cutting suffocated. That was one of the "I'm an idiot" moments.
Step 5: Planting and Creating a Mini Greenhouse
Alright, you have the perfect cutting and the perfect pot. Now what? I poke a hole in the soil with a pencil, insert the cutting, and gently firm the soil around the stem. Do not push the cutting straight into the soil. You will scrape the bark, and that opens the door for bacteria.
Now, here comes the secret that changed everything for me: humidity.
- The plastic bag trick: I take a clear plastic bag (like a sandwich bag) and place it over the pot like a tent. I make sure it is not touching the leaves.
- The bottle trick: Alternatively, I cut the bottom off a 2-liter soda bottle and use it as a cloche over the cutting.
- The result: This creates a mini-greenhouse. The humidity stays at 100%, which prevents the cutting from drying out while it pushes out roots.
I cannot stress enough how important this step is. Without the humidity dome, my cuttings would wilt in a few hours. With it, they stay green and perky for weeks.
Step 6: The "Less is More" Watering Routine
Here is the part where I strictly forbid myself from being a helicopter parent. Under the humidity dome, the cutting needs very little water. The condensation on the plastic keeps the soil moist.
- My routine: I might water it once a week, maybe even less. I check the soil by sticking my finger in. If it is dry an inch down, I water it. If it is damp, I leave it alone.
- The airing: I open the plastic bag for 10 minutes every two days to let fresh air in. This prevents mold and fungus from growing.
Let me tell you a story about my very first successful cutting. I was so excited that I watered it every single day. I thought I was helping. Within a week, the base of the stem turned brown and soft. It was rot. I had to throw it away. I was furious at myself. That is when I finally understood that less is absolutely more. The plant needs time to breathe, and the roots need oxygen. Waterlogged roots are dead roots.
Step 7: The Waiting Game and Transplanting
Now, you wait. This is the hardest part for me. But do not poke around in the soil to check for roots. That disturbs the cutting. I give it a gentle tug after 3 weeks. If there is resistance, you have roots. If it slides out, put it back and wait another week.
- The timeline: It usually takes 2 to 4 weeks for roots to appear. When I see new leaf growth, that is a sure sign of success.
- The big move: Once the roots are about an inch long, I move the plant to a slightly larger pot (about 6 inches). I use the same gritty soil mix.
- The acclimation: I do not remove the humidity bag all at once. I slowly open it over a week, letting the plant get used to lower humidity. Then I remove it completely.
The 3 Fatal Mistakes That Kill Newbies (And How I Survived Them)
If you want to know how to grow hibiscus from cuttings without rooting hormone, you must avoid these pitfalls. I have been there for all three, and it nearly made me quit gardening.
Mistake #1: Overwatering (The #1 Plant Killer)
We landed back on the soil here. I cannot say this enough: 90% of indoor plants die from overwatering, and hibiscus cuttings are no exception. When I started, I treated my cuttings like a thirsty dog. I watered them daily. The result? Mushy, brown stems and a horrible smell of rot.
The fix is simple. I only water when the top inch of soil is bone dry. If you are unsure, just wait another day. Under the humidity dome, the cutting is essentially recycling its own water. The roots will come out looking for moisture, which is what you want. A dry top layer forces the roots to grow downward into the pot. More drainage equals more root growth.
Mistake #2: Light Placement (Getting It Wrong)
I used to put my cuttings in direct, scorching sunlight. The thinking was "plants need light." Wrong. Cuttings have no roots, so they cannot drink water to keep up with the water loss from the sun. The leaves just get fried.
The golden rule is bright, indirect light. I have a north-facing windowsill that is perfect. If you must use a south window, place the cutting a few feet back or behind a sheer curtain. The sun should be seen but not felt directly. My sunburned cuttings looked terrible. They wilted and turned crispy at the edges even though the soil was wet. That is how I learned to read the light.
Mistake #3: Using the Wrong Pot Size
I already touched on this, but it deserves its own flag. I transfered a cutting directly into a beautiful 12-inch ceramic pot once. I thought I was giving it a great home. Actually, the "great" home was a swamp. The massive soil volume held water for weeks because the small root system could not drink it all. The cutting rotted from the bottom up without me knowing until it was too late.
Now, I religiously use a "plant nursery" approach. I start small and move up gradually. The pot should be proportional to the root ball. If you can afford to wait, this is the best thing you can do for your new plant. Think of it like wearing shoes that fit. A baby does not wear size 10 shoes, and a new cutting does not need a huge pot.
My 2-Week Observation Journal (Real Results)
To give you real perspective, here is exactly what I observed when I propagated my last hibiscus cutting using this method. No rooting hormone, just patience and a plastic bag.
- Day 1: Snipped the semi-hardwood stem. Trimmed the big leaves. Soaked it in willow water for an hour. Potted it in my 50/30/20 mix. Covered with a soda bottle cloche. Placed it on my north windowsill.
- Day 3: The leaf at the top is still perky. The soil feels damp. I do nothing. I close my eyes and walk away. The cloche has condensation droplets on it. Perfect.
- Day 5: I open the cloche for a few minutes to vent. The soil is still slightly moist. I notice the cutting looks like it's holding its breath. No wilting.
- Day 7: I do a gentle tug. There is slight resistance, but I am scared I am imagining it. I do not pull harder. I put the cloche back on.
- Day 10: I spot a tiny, tiny new leaf emerging from the node near the top. My heart races. This is the moment of truth. The old leaves are still green and healthy.
- Day 14: The root system is forming. I lift the pot and see tiny white roots poking out of the drainage holes. Jackpot! I start the weaning process by cracking the bottle cap open to let air in. The plant is officially a survivor.
This timeline is genuinely typical. Within two weeks, I had a viable plant, and all it took was a bit of water and air. I did not master this overnight. I had to toss out about ten cuttings before I got this right, but now this is a science.
Expert Insight and Scientific Backing
Why does this actually work without the "miracle" hormones? It is all about the plant's natural ability. According to the RHS, many woody plants like hibiscus root readily from cuttings if the environment is right. The RHS emphasizes hygiene and moisture control over chemical applications. Similarly, the AHS shows that while rooting hormone can speed up the process, it is entirely optional for many species if you manage the cutting properly.
I actually dropped the rooting powder years ago because I found that the cost and mess weren't worth the negligible difference. The natural method works because the cutting is full of its own auxin. The plant wants to root. It is a survival instinct. You just have to create the perfect home for it.
Frequently Asked Questions (FAQs)
I get asked a lot of questions about this process. Here are the three that come up the most, along with my straight answers.
Q1: Can I root hibiscus cuttings in water instead of soil?
Technically, yes. I have rooted hibiscus cuttings in a jar of water on my kitchen windowsill. It is fascinating to watch the roots grow. However, I have noticed that water-rooted hibiscus have weaker roots. They struggle to adapt to soil later on. "Rooting in water" is less reliable to transfer. I personally recommend soil rooting for a stronger plant in the long run. It is more stable and creates hardy, healthy roots from the get-go.
Q2: What if I have no perlite or sand for the soil mix?
No worries. I have been there. You can use what you have, but you need to adapt. If you are stuck with regular potting mix, you need to "amend" it. You can add orchid bark or even small pieces of styrofoam to create gaps for air. The goal is to have a mix that does not clump together when you squeeze it. It should fall apart when you release your hand. If it holds water like a sponge, it is too dense.
Q3: How long should I wait before fertilizing a new cutting?
Patience. Please, do not fertilize for at least 6 weeks. I killed an entire batch by feeding them too soon. They have no roots to absorb the fertilizer, and the salt burns the tender stem. After about a month, I use a diluted liquid fertilizer at 1/4 strength. That is more than enough. A new plant needs time to establish before it can handle heavy feeding.
Final Thoughts on Growing Hibiscus Honestly
There is no magic spell or expensive bottle of gel needed. The secret to growing hibiscus from cuttings without rooting hormone lies in the basics. Sharp scissors, small pots, gritty soil, high humidity, and good faith. It is about restraint.
If you simply stop drowning your plants and give them the right light, you will be shocked at how easy it is. I highly recommend starting with a healthy parent plant and trying this with a few cuttings at once. The loss rate is lower if you have backups.
Happy growing. I hope you have as much fun with this as I did learning it.





