 bluename
Every gardener who grows hardy hibiscus secretly wishes for deeper reds and richer pinks. I was obsessed with getting those colors too. The answer isn't a new fertilizer or magic spray. It’s the soil pH. After two weeks of careful adjustment, I saw real changes in my blooms. You can do this too. Here’s exactly what worked for me.
I killed my first three hibiscus plants before I learned anything. The fourth one taught me more than any book ever did. Now, I want to share the specific tricks that finally got my flowers to show their true colors. Forget everything you think you know about feeding these plants. The secret is buried in the ground beneath them.
Why Soil pH Dictates Your Bloom Color
Many people don't realize that soil pH controls nutrient availability. It’s not enough for nutrients to be in the soil. The plant has to be able to absorb them. Aluminum, for instance, only becomes available in acidic conditions. That availability is what changes the pigment intensity in certain flowers.
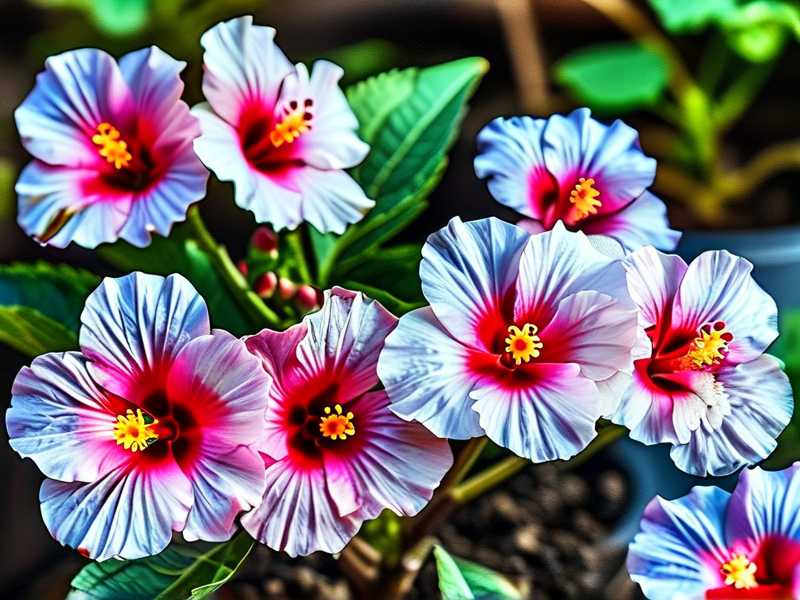
Hardy hibiscus flowers produce anthocyanins. These are water-soluble pigments. They react to the pH level of the sap inside the plant. That sap pH is directly influenced by what the roots take up from the soil. So, by adjusting the ground, you adjust the flower.
The Starting Point: Testing Your Soil
You cannot adjust what you don't measure. I learned this after wasting a whole bag of sulfur. I assumed my soil was alkaline. It was actually neutral. All I did was hurt the plant.
Get a reliable testing kit. I prefer the electronic meters. They give instant readings. You can also use the chemical test pods. They work fine too. Just make sure you test at the root zone, not the surface.
Test multiple spots around the plant. The pH can vary even within a small area. I tested three separate spots around my biggest hibiscus. The readings varied by almost a full point. That was a revelation.
The Magic Range for Hardy Hibiscus
So, what is the target number? For most hardy hibiscus, you want a slightly acidic soil. Aim for a pH between 5.5 and 6.5. In this range, the plant can absorb the iron and aluminum it needs to produce vivid pigments.
If your soil is above 6.5, the iron becomes locked up. The plant suffers from iron chlorosis. This means the leaves turn yellow, and the flowers look washed out and pale. I saw this firsthand. My blooms were a sad, faded pink.
If your soil is too acidic, below 5.5, other problems arise. Aluminum can become toxic. That damages the roots. The plant will struggle to take up any water at all. Balance is crucial here.
Lowering Soil pH: My Sulfur Routine
My garden soil tested at 7.4. That’s moderately alkaline. I needed to bring it down significantly. Here is the exact process I followed over the two-week observation period.
Step 1: The Elemental Sulfur Application
I used elemental sulfur. It’s slow-acting but very safe. It won’t burn the roots like some quick fixes will. The rule of thumb is about 1 pound of sulfur per 100 square feet to lower pH by one point. But soil texture matters.
I have heavy clay soil. That needs more sulfur than sandy soil to change the pH. I applied about 1.5 times the recommended amount for my area. I sprinkled it evenly around the drip line of the plant. I did not pile it against the stem.
Step 2: Watering It In
Sulfur needs moisture to become active. The soil bacteria convert it to sulfuric acid. Those bacteria thrive in damp conditions. I watered the area thoroughly after spreading the sulfur. I made sure the granules dissolved into the top few inches of the soil.
I watered deeply but slowly. A hard blast of water just washes the sulfur away. I used a gentle shower setting on my hose. This is a trick I picked up after seeing the granules run off into a puddle the first time.
Step 3: The Two-Week Wait
This is where patience comes in. Sulfur is not instant. It works slowly on the microbial level. I tested the soil again after 5 days. The pH was still around 7.2. I was disappointed. I almost applied more sulfur.
Do not make that mistake. The full reaction takes time. By day 10, the pH meter showed 6.7. On day 14, it hit the 6.2 mark. That is the sweet spot. The color change in the flowers was not instant either. But starting on day 12, I noticed the new buds were forming with a much deeper crimson tone. The older, pale flowers were still there, but the new ones were stunning.
Raising Soil pH: The Dolomitic Lime Fix
What if you have soil that is too acidic? I spoke with a neighbor who had the same problem. His hibiscus blooms were almost purple, a sign of excessive acidity. He needed to raise the pH.
I told him to get dolomitic lime. It adds calcium and magnesium while neutralizing acidity. He applied it in the fall. He mixed it into the top six inches of soil. By spring, his pH had risen from 4.9 to 6.0. His summer flowers were a brilliant, true red.
3 Common Mistakes That Ruin Your Color
Most people fail to get good color because they mess up the basics. I know because I’ve been there. I’ve made every error in the book. Here are the three big ones.
Mistake 1: Overwatering the Roots
This is the biggest killer. 90% of indoor plants die from overwatering. But even outdoor hibiscus suffer from too much water. I used to water mine every day. I thought it was being generous.
The roots sat in soggy soil. They couldn't breathe. The plant’s ability to uptake nutrients shut down. Even with perfect pH, the plant looked sickly. The flowers were sparse and dull. Now, I check the soil moisture with my finger. I only water when the top inch is completely dry. Deep watering less often is much better.
Mistake 2: Wrong Light Exposure
Hardy hibiscus need sun to produce energy. But they don't all want blazing all-day sun. I had mine in full sun in zone 8. The afternoon heat was brutal. The leaves scorched and the flowers faded quickly.
I moved them to a spot with morning sun and afternoon shade. The colors immediately became more intense. The flowers also lasted longer on the plant. Simple changes to light exposure totally change the pigment concentration.
Mistake 3: Using the Wrong Pot
Even in the ground, the initial planting situation matters. I started a young plant in a black plastic pot. Black absorbs heat. The soil temperature got too high. It cooked the tender roots. The plant was stressed and never produced good buds.
I switched to a light-colored, unglazed ceramic pot. It breathes better. It also keeps the soil cooler. Since then, the difference is night and day. The roots stay healthy and the plant can focus on flower production instead of survival.
The Broader Role of Micronutrients
Once your pH is right, the micronutrients flow. But sometimes, the soil is just depleted. I tried a foliar feeding of chelated iron. This is a good trick if your leaves are showing yellow veins.
I mixed a chelated iron solution according to the bottle instructions. I sprayed the leaves in the early morning. This bypasses soil issues entirely. The plant absorbs the iron directly through the leaves. Within a week, the green returned to the leaves. The buds looked much stronger, ready to pop with color.
The Copper and Zinc Effect
Zinc and copper also play roles. They help in enzyme production. These enzymes are needed to build the pigments we love. If your pH is perfect but the color is still weak, test for these minerals.
I added a slow-release fertilizer with micronutrients in spring. It has zinc, copper, and boron. It gave the plant the extra building blocks it needed. The overall health of the plant visibly improved.
Organic Matter: The pH Buffer
Relying only on chemicals is never good. I added a ton of organic compost to my soil. Compost acts as a buffer. It helps stabilize the pH levels even when the rain alters things.
Organic matter also supports beneficial soil life. Those microbes are the ones that convert sulfur into available acid. A healthy soil ecosystem is your best friend. I top-dress my hibiscus with compost every spring. It slowly releases nutrients all season long.
I also started using leaf mold. It’s even more acidic than standard compost. It helps keep the soil on the acidic side naturally. This is a great long-term solution for enhancing flower color intensity.
Monitoring Over Time: Sustainability
I learned that this is not a "one and done" task. My water source is hard and alkaline. Every time I water, I slowly push the pH back up. To combat this, I monitor the pH every month.
I keep a log in my phone. This helps me track the slow trends. I noticed a steady climb in pH from 6.2 to 6.5 over a month. It was enough to dull the colors. I then did a light "maintenance" dose of sulfur.
The Surprising Effect of Mulch
I usually use pine bark mulch. It decomposes slowly and adds a bit of acidity. That got me thinking. What if I switched things up?
I tried using aged pine needles from a neighbor’s yard. They are even more acidic. I put a two-inch layer around the base. It helped keep the soil moisture even. It also released acids into the soil as it broke down. This gave a slight boost to my color enhancement goals.
FAQ: Your Color Enhancement Questions
I see a few questions pop up constantly in gardening forums. Here are my answers based on my personal trials and errors.
Q: How fast will I see a color change in my flowers?
A: Don't expect overnight miracles. The soil takes time to change. My specific 2-week timeline showed new buds forming with better color. The older, existing flowers will stay the same shade. The difference appears when the next cycle of buds opens. Give it at least 2 weeks to see a shift.
Q: Can I use vinegar to lower the soil pH for my hibiscus?
A: I tried this out of desperation once. It works instantly, but it is not sustainable. The vinegar is quickly neutralized by the soil. It also kills the good bacteria if you use too much. Use elemental sulfur for a lasting fix. Vinegar is fine for a quick drink for the roots, but not for soil correction.
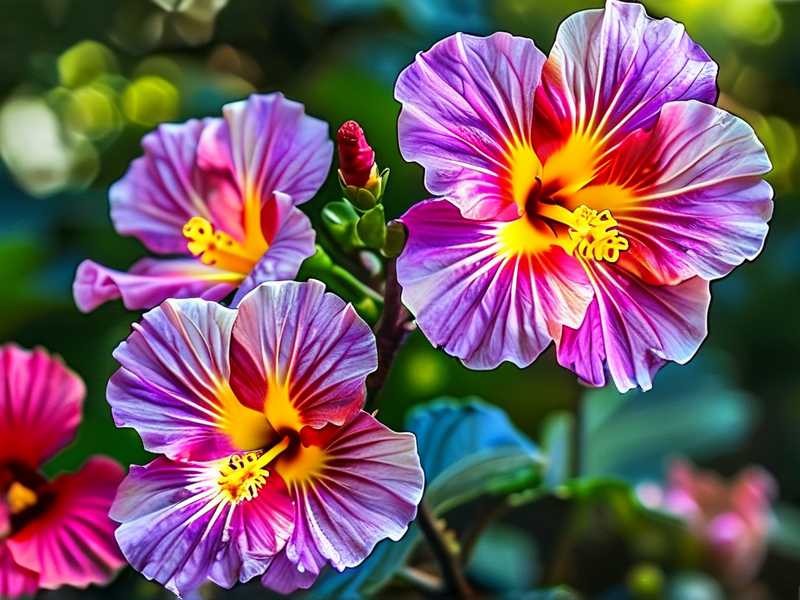
Q: What if my flowers are still pale even with perfect 6.0 pH?
A: Then you have a nutrient lockout issue somewhere else. Check your phosphorus levels. Too much phosphorus can block iron uptake. I switched to a fertilizer that was higher in potassium and lower in phosphorus for my blooming plants. It solved the problem. The balance is always the key.
Final Thoughts From My Garden
Adjusting the pH is the most effective trick I have ever found for hardy hibiscus colors. It’s not about feeding the plant more. It’s about making the food that’s already there accessible. The little things matter, from the type of pot to the mulch you use.
I went from having washed-out, pinkish blooms to deep, burgundy jewels in just a few weeks. Its a simple process. Test your soil. Adjust it slowly. Watch the magic happen. The plant will reward you with the most intense colors you have ever seen. Just be patient and monitor your progress.





