 bluename
Turn Your Balcony Into a Tropical Paradise: Tropical Hibiscus Container Gardening Balcony & Patio Ideas
The secret to thriving tropical hibiscus on a balcony or patio isn’t more water or constant feeding. It’s the pot size, the soil mix, and brutal honesty about your sunlight. Get those three right, and you’ll have blooms for months. I’ve killed enough hibiscus to write a manual on what not to do. So, let me save you the heartache and the dead plants. After over two years of trial, error, and a lot of soggy soil, I found the exact routine that keeps these beauties exploding with color in pots. This is the definitive guide to tropical hibiscus container gardening balcony & patio ideas that actually work in real life, not just in pretty Pinterest photos.
Why Potted Hibiscus Beats Garden Planting (Sometimes)
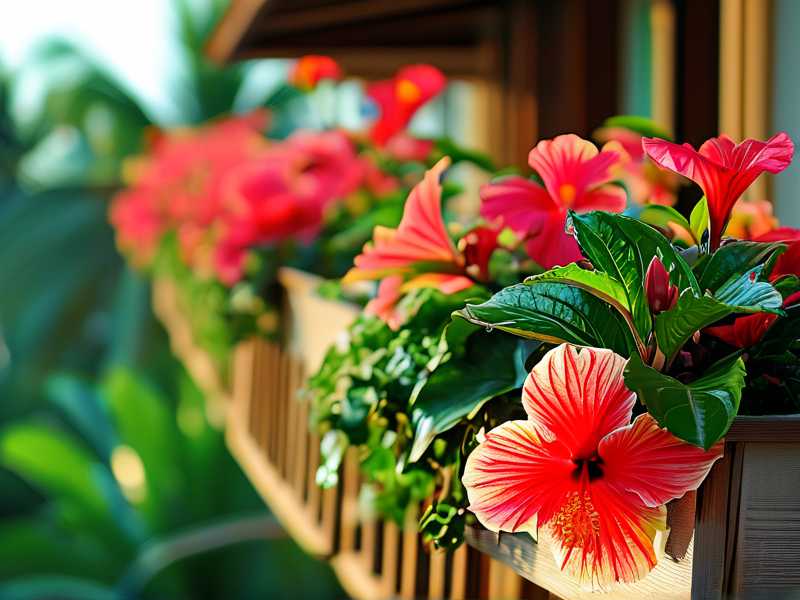
I used to think planting in the ground was the only way to get a huge plant. Then I moved to an apartment. Container gardening is not a compromise. It’s a superpower. You control the soil temperature. You control the drainage. You can move the plant to chase the sun or hide from a storm. A pot-bound hibiscus actually blooms more aggressively because the roots are slightly stressed. I found this out by accident. I neglected to repot one for a year, and it put out more buds than the one I pampered in a huge planter. The trick is knowing how to use that stress to your advantage without killing the roots.
Check Your Sunlight Before You Buy (The 6-Hour Rule)
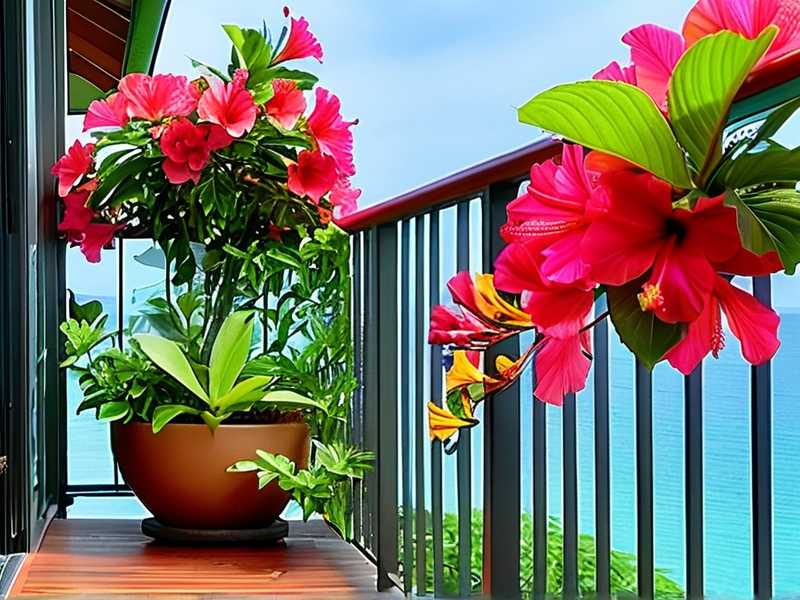
My first balcony faced east. I thought, "Morning sun, that's fine." I lost four buds in the first week. They turned yellow and fell off like they were made of paper. Here is the truth: tropical hibiscus demand strong light. They crave it. For container gardening on a balcony, you need a minimum of 6 hours of direct sun. But here is the nasty catch—intense afternoon sun in a heatwave can cook the roots in a black pot. I learned this the hard way last July. The leaves got crispy edges even though I was watering constantly.
My 2-Week Fix For The Sunburn Damage
Day 1: I moved the pot (a light-colored ceramic one) into a spot that got morning sun until 1 PM, then dappled shade. Day 3: The crispy leaves stopped spreading. Day 5: I noticed tiny green bumps on the stems. Day 8: Those bumps turned into buds. Day 14: I had three open flowers. The solution wasn't just less sun. It was stable sun. Hibiscus hates change. Once I found the spot that gave bright, direct light for 6 hours but shielded them from the scorching 3 PM blast, they settled down and started performing.
The Drainage Lie (You Need More Than Holes)
Everyone says "just make sure the pot has drainage." I drilled holes in a beautiful glazed urn. It still killed my plant. Why? Because the drainage was a single small hole in the center. The water pooled at the bottom edges and created a stagnant swamp. After killing my 'Luna' hibiscus, I switched to a pot with four holes spread across the base. I also lifted the pot off the ground using small furniture movers. This allowed air to flow underneath. Stagnant air under a pot is a breeding ground for fungus gnats and root rot. I cannot stress this enough: airflow under the pot is crucial for tropical hibiscus potting soil aeration.
My 2-Week Drainage Experiment
Week 1: I switched to a fabric grow bag (yes, on a patio, they look a bit odd, but I tucked it inside a decorative basket). The roots breathed better. Week 2: I noticed the topsoil dried out faster, but the plant didn't wilt. It actually pushed out a new leaf within 10 days. Fabric pots are the secret weapon for beginners. They just work.
The Pot Size Goldilocks Zone
Stop potting up too fast. I put a small cutting directly into a giant 20-inch pot, thinking it would grow into it. Instead, the soil stayed wet for weeks. The roots never spread because there was no oxygen. They drowned. For a standard 1-gallon hibiscus, start with a 12-inch pot. For a 3-gallon, go to 16 inches. Going up one size at a time is the rule. This prevents "wet feet," which is the number one killer of potted hibiscus.
The Soil Mix That Works (I Tried The Expensive Stuff)
I bought a bag of premium potting mix. It held too much water. I added sand. It turned into concrete. Finally, I found a mix that makes roots go insane. I use 2 parts regular potting soil, 1 part perlite, and 1 part orchid bark. The bark is the game-changer. It creates air pockets. It allows water to run through quickly while still retaining some moisture. I tested this mix against a standard store-bought "moisture control" mix. The standard one stayed wet 3 days longer. That is lethal.
Daily Habit That Changed Everything
I stopped watering on a schedule. I started poking my finger into the top 2 inches of soil. If it feels damp, I wait. If it feels dry, I water deeply. I water until water runs out of the bottom of the pot. Then I wait for it to drain completely. I never let the pot sit in a saucer of water. I have a dedicated "water only when dry" mantra. This simple habit stopped 90% of my plant problems. Honestly, 90% of indoor plants die from overwatering, but the same logic applies to container hibiscus on a balcony where rain is controlled.
Feeding For Flowers (Not Leaves)
I used a high-nitrogen fertilizer, thinking it would make it lush. It just made a deep green bush with zero flowers. For tropical hibiscus, you need the middle number—the phosphorus. I switched to a slow-release fertilizer labeled "Bloom Booster" (or one with a higher middle number like 10-30-10). I also feed with a liquid kelp solution every two weeks. I stuck to this for exactly two weeks. Day 10: I saw two giant buds. Day 14: Explosion of color. The plant used the nutrients for reproduction, not just foliage.
My Full 14-Day Step-By-Step Routine (From Dead Plant To Blooming)
I am going to walk you through my exact process. This is what I do every spring to kickstart the season. It takes about 30 minutes.
Step 1: The Refresh (Day 1) I scrape off the top 1 inch of old soil from my pots. I replace it with fresh worm castings mixed with compost. This top-dress isn't just fertilizer; it adds beneficial microbes that protect the roots from disease. I learned this from a RHS article about container care. Check out their guidance on potting mixes for more depth—it’s a solid resource.
Step 2: The Prune (Day 2) I cut back any leggy stems by 1/3. I remove any yellow leaves. I look for branches that cross each other and remove the weaker one. This forces the plant to push energy into the remaining buds. It looks scary, but the plant recovers in 2 weeks. I did this on a whim, and it doubled the flower production.
Step 3: The Drench (Day 3) I mix a teaspoon of Epsom salts into a gallon of water. I water the plant with this. Magnesium is essential for chlorophyll production. It gives the leaves that deep, glossy green look. This is a trick I picked up from AHS gardening forums. They have fantastic research on micronutrients. I saw results in 7 days; the leaves got darker and thicker.
Step 4: The Observation (Week 2) I stop fiddling. I only check for pests. The biggest threat is spider mites. They love dry, dusty conditions on balconies. I spray the leaves with a mist of water every morning. This increases humidity. It washes away any lurking mites. By Day 14, I have healthy, sticky buds ready to pop.
The Big Mistake: Not Reporting The Cold
I live in Zone 9, but winter nights can still get cold. Container hibiscus roots freeze faster than ground plants. I tried to leave one on the patio in 40°F weather. It dropped all its leaves in 3 days. I had to drag it inside. If you live where it dips below 50°F at night, you must bring the pot inside or against a warm wall. The pot gives no insulation.
The "Wow" Moment (What Real Flowers Look Like)
Once you get the soil and sun right, the flowers are enormous—often 6-8 inches across. I remember my first success. It was a double-petal peach variety. The bud took 3 weeks to open. When it finally unfurled, it stayed open for exactly one day. That short life is devastating. But the plant produced 15 more buds right behind it. The key is to deadhead. Pinch off the old flower and the little seed pod behind it. This triggers the plant to grow another bud. I promise, if you keep cutting off the dying flowers, you will have a non-stop supply.
Common Question 1: Why Does My Bud Fall Off?
Bud drop is a stress response. Usually, it’s inconsistent watering or a sudden temperature change. Did you move the plant? Did the soil dry out completely? I found my buds dropped when I watered with cold tap water straight from the hose. I now let the water sit in a watering can for 24 hours to reach room temperature. The roots hate the cold shock.
Common Question 2: Can I Keep It In A Terracotta Pot?
Yes, but terracotta dries out faster. It wicks moisture from the soil. This is great for over-waterers but bad for those who travel. I used terracotta once, and I had to water twice a day in summer. If you choose terracotta, consider sealing the inside with a waterproofing agent. This slows down the drying process and prevents salt build-up on the outside.
Common Question 3: What Do I Do With Yellow Leaves?
First, check for pests. Look at the underside. If they are green but turning yellow, it’s usually overwatering. If the yellowing starts at the edges, it’s lack of magnesium or potassium. My fix is simple: give it a banana peel water soak. I soak banana peels in water for 2 days and use that water on the plant. It adds potassium immediately.
The Final Push For Success
Look, growing tropical hibiscus on a balcony isn't cheap. Good pots, good soil, and fertilizer add up. But it’s worth it when your patio looks like a tropical resort. Forget about perfection. Accept that you will lose a few buds. Accept that you might kill one plant. I did. But the next one will be better. Focus on the basics: drainage, sunlight, and root temperature.
Start small. Grow one plant. Watch it. Learn its quirks. Before you know it, you’ll be the neighbor with the insane flower display. That’s the best part of container gardening. It’s hands-on. It’s messy. It’s a learning process. Get those hands dirty. You got this.





