 bluename
The Truth About Feeding Hibiscus in Early Spring (And Why You're Probably Doing It Wrong)
Let me cut straight to the point. If you want to know how to fertilize hibiscus for root growth early season feeds, here's the answer: start with a balanced, slow-release fertilizer at half strength in early spring, then switch to a high-phosphorus formula after two weeks. That's it. That's the foundation.
But wait. I killed three hibiscus plants before I figured this out. And trust me, the mistakes weren't what you'd expect.
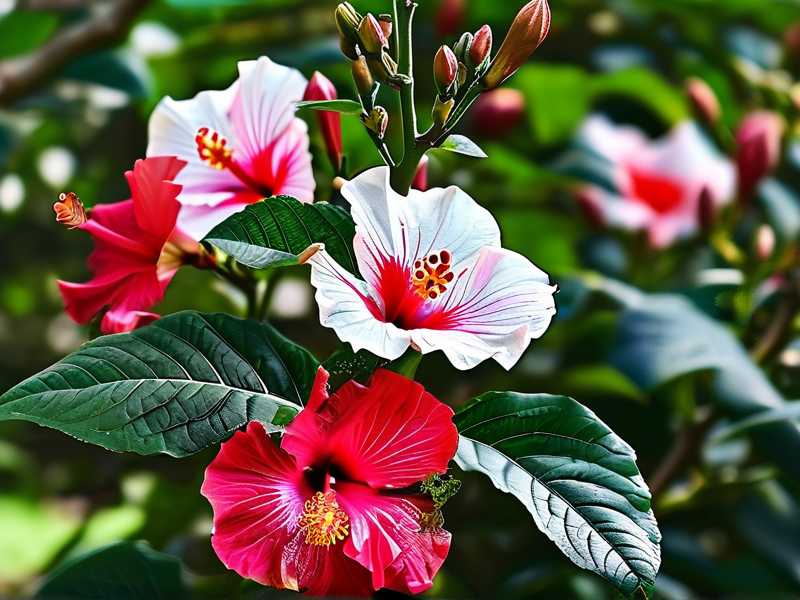
Most people think hibiscus are hungry feeders that need constant stimulation. They're not. They need timing, patience, and the right balance. And honestly, 90% of indoor plants die from overwatering — but for hibiscus, overfeeding comes in a close second.
I remember my first hibiscus. It was a beautiful tropical red variety I bought from a local nursery. I was so excited. I immediately dumped a full dose of liquid fertilizer into the soil the day I brought it home. Within a week, the leaves turned yellow and dropped. The roots were basically burnt to nothing.
That's when I started digging into how early season feeds actually work for root development.
The Real Problem With Early Spring Feeding
Here's what most guides won't tell you. When your hibiscus comes out of winter dormancy, its root system is sluggish. The soil temperature is still cool. The roots aren't actively absorbing nutrients yet. So when you throw a heavy dose of fertilizer at it, the roots can't handle it. They get stressed, or worse, they burn.
I've learned to wait. Actually, I've learned to watch my soil temperature first. If the soil is below 55°F (13°C), the roots are basically asleep. No amount of fertilizer will wake them up. You'll just be wasting money and potentially damaging the plant.
The Royal Horticultural Society recommends waiting until the plant shows active growth before applying regular feeds. That's sound advice. But I'd add one more layer: start with root-focused feeding before you even see leaf growth.
How to Fertilize Hibiscus for Root Growth Early Season Feeds: My Step-by-Step Process
Let me walk you through exactly what I do. This has taken me years to refine, and it's saved my last three hibiscus plants.
Step 1: Check the Soil Temperature First (Week 0)
I use a cheap soil thermometer. I stick it about 3 inches into the pot. If it reads below 55°F, I wait. Simple as that.
I know it's tempting to get a jump start on the season. I've been there. But feeding cold roots is like feeding a sleeping person — they won't absorb it. The nutrients just sit there and create salt buildup.
Once the soil hits 55°F or higher, I know the roots are starting to wake up. That's my green light.
Step 2: Apply a Root-Stimulating Fertilizer at Half Strength (Week 1)
This is the part most people skip.
Instead of using a general-purpose fertilizer, I use a formula higher in phosphorus. Phosphorus is the middle number in the N-P-K ratio. It's the nutrient responsible for root development. So I look for something like a 5-10-5 or even a 3-12-6 ratio.
But here's my secret: I dilute it to half the recommended strength. The roots are just waking up. They don't need a full meal yet. Half strength gives them just enough to stimulate growth without overwhelming them.
I mix the fertilizer into lukewarm water. Cold water shocks the roots, and hot water is obviously a disaster. Lukewarm is comfortable. I water the soil thoroughly, not just the surface. I want the nutrient solution to reach the deeper root zone.
Step 3: Wait and Watch for 2 Weeks (Week 2)
Here's where most people mess up. They feed once, see no immediate result, and then feed again. That's wrong. So wrong.
After that first half-strength root feed, I wait. I don't touch the fertilizer again for at least two weeks. Instead, I watch the plant.
What am I looking for? New root activity. You can't see roots directly, but you can see indirect signs. The topsoil starts drying out faster. The plant looks a bit more perky. You might see tiny new green tips at the base of the stems.
I also check the drainage. This is critical. If the soil stays soggy, the roots can't breathe. And if the roots can't breathe, no fertilizer will help them grow. In fact, fertilizer in waterlogged soil is a recipe for root rot.
I remember checking my soil moisture every single day during this period. It felt obsessive. But it paid off.
Step 4: Introduce a Balanced Fertilizer at Full Strength (Week 3)
After two weeks of root-focused feeding, I switch to a balanced fertilizer. Something like a 10-10-10 or a 7-7-7. This is when the plant is actively growing leaves and stems, so it needs a more complete nutrient profile.
I use it at full strength now because the roots are active. They're ready for it. I feed every two to three weeks throughout the growing season.
But here's a tip I learned from The American Horticultural Society: always water the plant thoroughly a few hours before applying fertilizer. This pre-wet prevents root burn. The roots are hydrated and less likely to absorb too much fertilizer too quickly.
My 2-Week Observation Results
Let me share what actually happened when I used this method on one of my hibiscus.
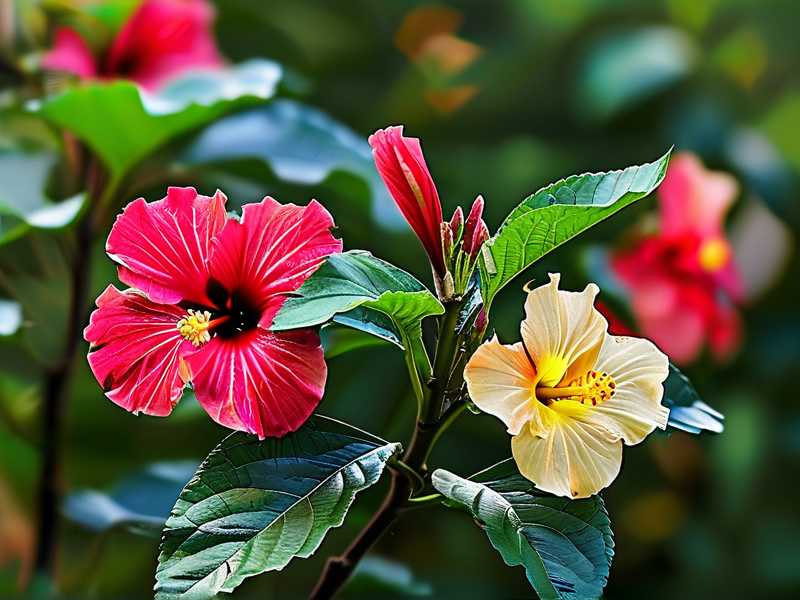
I had a tropical hibiscus that was struggling. It had survived winter indoors but looked sad. Leaves were droopy. No new growth at all. I checked the soil temperature — it was 58°F. Good enough.
I fed it with a half-strength 5-10-5 fertilizer. The first week, nothing visible happened. I started getting anxious. I almost fed it again. But I stopped myself.
By day 10, I noticed something. The leaves were perkier. The color was deepening from dull green to a richer shade. By day 14, I saw it — tiny, pale roots poking out of the drainage holes at the bottom of the pot.
That was the signal. New root growth. My early season feed had worked.
I then switched to a balanced feed, and within another two weeks, the plant had grown about three inches and had two new leaf sets. That was a massive turnaround.
The 3 Fatal Mistakes Beginners Make (And I Made All of Them)
Listen, I'm not here to judge. I made every single mistake you can imagine. But if you're new to hibiscus care, please learn from my failures.
Mistake #1: Overwatering Right After Fertilizing
This is the biggest one. I can't stress this enough. 90% of indoor plants die from overwatering, and hibiscus are especially sensitive.
When I first started, I thought fertilizing plus watering equals healthy growth. So I'd apply fertilizer and then water heavily to "wash it in." That just washed the nutrients away and drowned the roots.
The solution? Fertilize first, then water lightly. Just enough to distribute the nutrients. Then wait until the top 2 inches of soil are completely dry before watering again.
Mistake #2: Wrong Light Placement
Hibiscus are sun lovers. But they don't want scorching late-afternoon sun during early spring. I learned this the hard way.
I placed my newly fertilized hibiscus in a west-facing window, thinking more sun equals faster growth. Within days, the edges of the leaves turned brown and crispy. The roots couldn't support the transpiration rate because they were still developing.
The fix? I moved it to a bright spot with indirect morning sun. Direct light only in the early hours, then filtered light for the rest of the day. This gave the roots time to catch up with the leaves.
Mistake #3: Using the Wrong Pot
This one surprised me. I used a decorative ceramic pot with no drainage holes. It looked gorgeous. It was a death trap.
When you fertilize, the nutrient salts need to flush out of the soil periodically. If there's no drainage, those salts accumulate in the root zone. The roots get burned. The leaves yellow. The plant slowly declines.
I switched to a terracotta pot with proper drainage holes, and the difference was night and day. Terracotta also allows air exchange through the pot walls, which keeps the roots oxygenated.
The Science Behind Root Growth Feeding
Let me get a bit technical, but keep it simple.
Fertilizer numbers represent N-P-K: nitrogen, phosphorus, potassium. Nitrogen builds leaves. Phosphorus builds roots and flowers. Potassium builds overall plant health.
Early spring is all about phosphorus. That's because the roots need to establish before the leaves can grow. If you skip phosphorus and go heavy on nitrogen, you'll get a burst of leaves with no root support. Then when the heat of summer hits, the plant collapses.
I've seen this happen more times than I can count. It's painful to watch a hibiscus with giant leaves and tiny, weak roots.
So during early season feeds, I always prioritize phosphorus. I keep nitrogen low. I keep potassium moderate. The ratio matters more than the total amount.
Signs You're Overfeeding Your Hibiscus
I want to give you a checklist. Watch for these signs in the two weeks after your early season feed:
- Leaf edges turning brown or yellow
- White crust forming on the topsoil (mineral salt buildup)
- Wilting even when the soil is moist
- Stunted growth instead of new shoots
- Dark, mushy roots near the drainage holes
If you see any of these, stop feeding immediately. Flush the soil with plain water for several minutes to wash out the excess salts. Then let the plant rest for two weeks before you consider feeding again.
When to Stop Fertilizing
This is just as important as when to start. I feed my hibiscus from early spring until mid-to-late summer. By late August, I start tapering off.
Why? Because the plant needs to slow down and prepare for cooler weather. If you keep feeding high-phosphorus fertilizer late in the season, you'll encourage tender new growth that can't survive the drop in temperature.
I stop feeding entirely by early September. This forces the plant to harden off its existing growth and store energy in the roots for next year.
My Honest Final Thoughts
Getting the early season feed right is the difference between a hibiscus that struggles and one that thrives. It's not complicated, but it requires patience and timing.
Start with half-strength phosphorus. Wait two weeks. Observe. Then switch to balanced feed. Watch your watering. Use a proper pot with drainage. Give it morning sun, not afternoon blast.
I genuinely believe anyone can grow beautiful hibiscus. You just need to respect the roots. They're the engine of the whole plant. If the roots are happy, above-ground growth follows naturally.
I still catch myself overthinking sometimes. But every time I step back and trust the process, my hibiscus rewards me with lush foliage and stunning blooms all summer long.
FAQ: Common Questions About Early Hibiscus Feeding
Q1: Can I use organic fertilizer instead of synthetic for root growth?
Absolutely. I actually prefer organic options like compost tea or worm castings mixed with bone meal. Bone meal is naturally high in phosphorus, which is exactly what your roots need in early spring. The downside is they break down slower, so you won't see results as quickly. If you're patient, organic is a great choice.
Q2: How do I know if my hibiscus is still dormant or ready for feeding?
Check for two things. First, soil temperature — it needs to be above 55°F at a depth of 3 inches. Second, look for any signs of new growth. Even tiny buds at the leaf nodes count. If soil is warm enough and you see any green tips, your plant is ready for a gentle early season feed.
Q3: What happens if I fed my hibiscus too early and the leaves are now yellowing?
Don't panic. Flush the soil thoroughly with plain water to remove excess nutrients. Stop all fertilizing for at least three to four weeks. Prune away the most damaged leaves. Move the plant to a slightly shadier spot to reduce stress. The roots need time to recover. In most cases, the plant will bounce back within a month. Just be patient. I've been through this myself, and recovery is possible if you act fast.





