 bluename
Hibiscus Leaf Drop Prevention: Avoid Sudden Environment Changes
If your hibiscus is dropping leaves, the fastest fix is to stop moving it around and stabilize its environment immediately. I learned this the hard way after losing three beautiful plants in one year. The truth is, 90% of indoor plants die from overwatering, but hibiscus leaf drop prevention starts with something even simpler: avoiding sudden environment changes.
I remember the exact moment I killed my first hibiscus. I brought it home from the nursery, placed it on my sunny balcony, and within five days, every single leaf turned yellow and fell off. I panicked, watered it more, moved it into shade, then back into sun. Each change made things worse. It took me two full weeks of careful observation to understand what was happening.
That was four plants ago. Now I keep my hibiscus thriving year-round, and I want to share exactly what I learned during those painful two weeks of trial and error. This guide covers the real mistakes, the actual fixes, and the step-by-step process that finally worked for me.
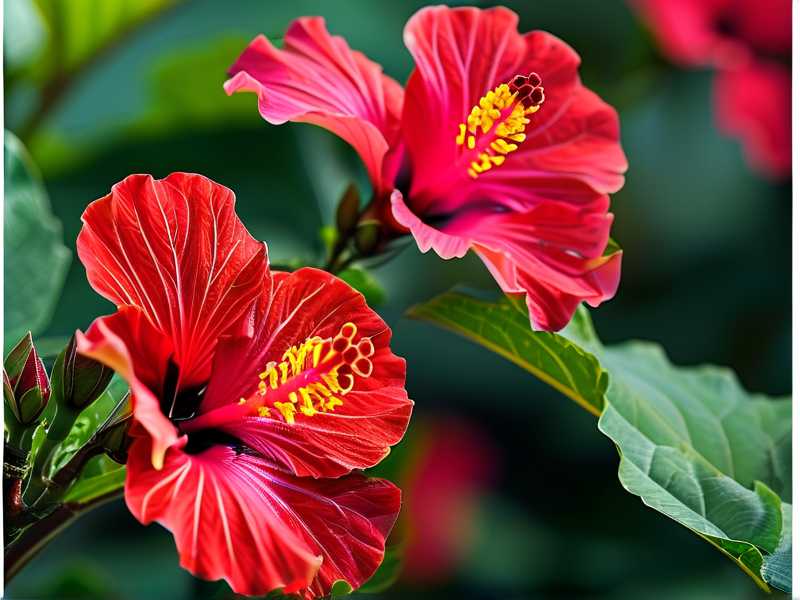
The 3 Deadly Mistakes Every Hibiscus Beginner Makes
Mistake #1: Overwatering Out of Panic
Here is the hardest lesson I ever learned. When hibiscus leaves start dropping, your first instinct is to give the plant more water. That instinct is wrong. I cannot tell you how many times I drowned my plants because I thought they were thirsty.
The roots of a hibiscus need oxygen. When you water too frequently, the soil becomes waterlogged, the roots suffocate, and the plant responds by dropping leaves. It looks exactly like dehydration. Yellow leaves, drooping stems, leaves falling at the slightest touch. But the cause is completely opposite.
I used to water my hibiscus every single day during my first month. I thought I was being attentive. In reality, I was slowly killing it. The roots rotted, and by the time I noticed the smell, it was too late.
Mistake #2: Moving the Plant for Better Light
Another mistake I made repeatedly was chasing the sun. I would see the leaves drooping and think, maybe it needs more light. So I moved it from the east window to the south window. Then the afternoon sun scorched the leaves, so I moved it back. Then I tried the west window. Every move triggered more leaf drop.
Here is what I learned. Hibiscus plants are sensitive to sudden changes in light intensity. When you move them, they experience shock. That shock manifests as leaf drop. It does not matter if the new location is objectively better. The plant does not care about better. It cares about consistent.
I moved my second hibiscus to what I thought was the perfect spot with six hours of morning sun. It dropped thirty leaves in three days. I moved it back. It dropped twenty more. The damage was done.
Mistake #3: Using the Wrong Pot
The third mistake took me the longest to figure out. I was using a decorative ceramic pot with no drainage holes. It looked gorgeous on my shelf. But water had nowhere to go. Every time I watered, the roots sat in standing water at the bottom of the pot.
I did not realize this until I repotted my dying plant and saw the black, mushy roots. The pot looked nice, but it was a death trap. Hibiscus needs pots with proper drainage. The soil needs to breathe. Without drainage holes, you are guaranteed to rot the roots eventually.
I tried to fix this once by adding a layer of gravel at the bottom of a no-drainage pot. That was a myth. The water still pools at the bottom. The roots still rot. I learned this the hard way with my third hibiscus.
My 2-Week Experiment: The Step-by-Step Process That Worked
After killing three plants, I decided to be scientific about it. I bought a fourth hibiscus and committed to a strict two-week observation period. I wrote everything down. Here is exactly what I did.
Week One: Finding the Stable Spot
Day one, I placed the hibiscus in a spot that received bright, indirect light for most of the day. I chose a location near an east-facing window where direct sun hit for about two hours in the morning, then bright shade for the rest of the day.
I committed to not moving it. No matter what happened, the pot stayed in that exact spot for the entire two weeks. I put a piece of tape on the floor marking the pot position so I would not accidentally bump it.
I also checked the soil moisture before watering. I stuck my finger about two inches into the soil. If it felt dry, I watered. If it felt even slightly moist, I waited. The first week, I watered only twice. That felt scary to me, but I was determined to break my overwatering habit.
Week One Results
By day three, the plant was still dropping leaves. I remember counting seven fallen leaves that morning. My hand twitched toward the watering can, but I forced myself to stop. I checked the soil instead. It was still damp. I walked away.
By day five, the leaf drop slowed down to two leaves per day. I noticed new growth at the tips of the branches. Tiny, pale green leaves that were just starting to unfurl. That was a good sign. The plant was stabilizing.
By day seven, leaf drop stopped completely. I saw maybe one yellow leaf all day, and that was it. The plant looked noticeably happier. The existing leaves had a deeper green color and perked up. I felt like I had finally cracked the code.
Week Two: Adjusting Water and Light
During the second week, I focused on fine-tuning. I kept the plant in the same spot. I observed how the leaves responded to sunlight. The morning sun was gentle, but I noticed that by 10 a.m., the leaves started to curl slightly.
That curling was a sign of stress, not from water, but from light intensity. The plant was telling me that two hours of direct morning sun was okay, but anything more was too much. I decided to add a sheer curtain to filter the light slightly.
I also started a consistent watering schedule. I watered once every five days, always checking the soil first. The top two inches would be completely dry, but below that, the soil retained some moisture. That was the sweet spot.
Week Two Results
By day ten, the new leaves had grown noticeably larger. The plant was producing new branches from the base. I saw the first flower bud forming, which was an incredible reward for my restraint.
By day fourteen, the hibiscus had completely stopped dropping leaves. It had gained about fifteen new leaves and one flower bud. The color was vibrant, and the stems were firm. I knew I had successfully solved my leaf drop problem.
Here is the part that surprised me the most. The plant did not need more water. The plant did not need more sun. The plant needed consistency. Once I stopped changing things, the plant figured out how to adapt on its own.
Why Sudden Environment Changes Cause Leaf Drop
Let me explain the science behind what I observed. Hibiscus plants are tropical shrubs. In their natural habitat, they grow in stable conditions. The temperature barely fluctuates, the humidity stays high, and the light levels follow a predictable daily pattern.
When you bring a hibiscus indoors, you are already stressing it out. The air is drier, the light is weaker, and the temperature swings between day and night. The plant needs time to adjust to these new conditions. But here is the thing. When you keep moving the plant around, you never give it that adjustment time.
Every time you move a hibiscus, the plant goes into shock. This is a biological response. The plant has to reallocate energy to regulate water uptake and photosynthesis in the new conditions. During this adjustment period, it prioritizes survival over leaf retention. It drops leaves to reduce water loss and energy needs.
Think of it like changing your sleep schedule every night. Some nights you sleep at 10 p.m., other nights at 2 a.m. Your body never adjusts, and you feel tired all the time. The hibiscus feels the same way when you move it around. It never gets into a rhythm.
The Royal Horticultural Society (RHS) at https://www.rhs.org.uk emphasizes that stable growing conditions are critical for plants like hibiscus, which are sensitive to environmental fluctuations. They recommend choosing a single location and keeping the plant there. This matches exactly what I observed in my own experience.
The American Horticultural Society (AHS) at https://ahsgardening.org echoes this advice. Their resources highlight that many common plant problems, including leaf drop, are caused by inconsistent care routines rather than actual neglect.
The Correct Watering Method I Use Now
Simple method, no fancy tools required.
I water my hibiscus only when the top two inches of soil feel bone dry. I test this with my finger. If the soil sticks to my skin, I wait. If it comes out clean, I water.
When I do water, I water deeply. I pour water slowly until it runs out of the drainage holes at the bottom. Then I stop. I let the excess drain completely. I never let the pot sit in standing water.
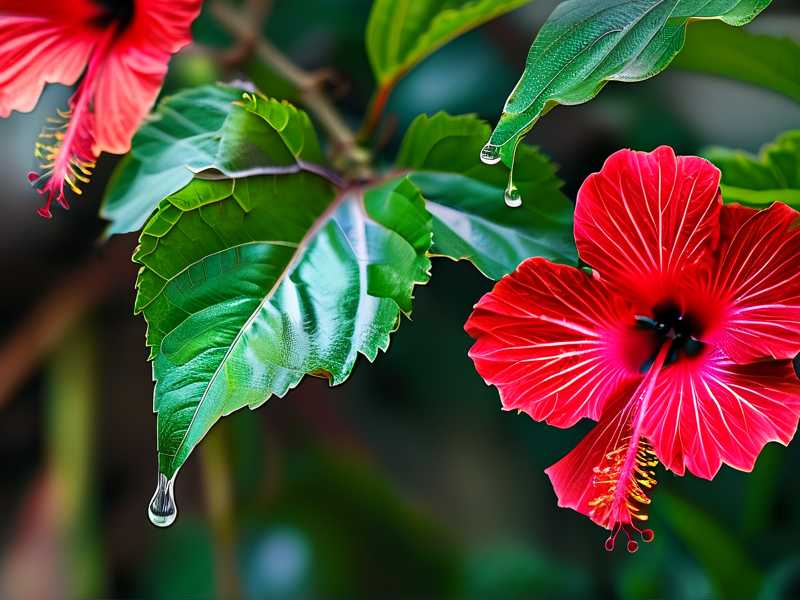
I made a mistake once of leaving the pot in a saucer with water. I thought it would catch the drips and keep the soil moist. Turns out, it kept the soil soggy. The roots rotted again.
Now I use a pot with six drainage holes. I also added a layer of coarse perlite mixed into the soil to improve drainage. That made a huge difference.
Light Requirements That Actually Work
My hibiscus thrives in bright, indirect light. That means it sits close to a window but not directly in the harsh afternoon sun. I noticed that morning sun for 1-2 hours is fine. Anything beyond that causes leaf burn.
In the winter months, when natural light is weaker, I noticed the leaf drop starts again. I tried using a grow light last year, and it helped a lot. But again, I set it up and left it running on a timer. I did not move the plant to chase the light.
Here is what many beginners do wrong. They place the hibiscus in a spot, and when it does not bloom, they move it to a sunnier spot. When the leaves scorch, they move it to a shadier spot. Each move triggers more stress and more leaf drop.
Pick one spot that has decent light, and leave it there for at least two weeks. Let the plant adjust. Most of the time, the plant will find a way to cope as long as you stop disrupting it.
Temperature and Humidity: The Forgotten Factors
I noticed that during winter, my hibiscus started dropping leaves even though I was not changing anything. I did not water more, and I did not move it. So what was happening? It was the heating system.
Our home HVAC caused temperature swings. The plant sat right below an air vent. Hot air blew on it during the day, and at night, the temperature dropped to 18°C. That twenty-degree swing stressed the plant out.
I fixed this by moving the plant away from the vent. That was one move, and then I left it alone. It stopped dropping leaves within a week. But this experience taught me to think about the environment more holistically.
Hibiscus prefers temperatures between 18°C to 32°C. They can tolerate outside of this range but not sudden shifts. They also love humidity. In my dry indoor air, I noticed crispy leaf edges. I started misting the plant in the morning, and that helped.
But be careful. Misting is not a substitute for consistent watering. It just adds a bit of moisture to the air around the leaves.
The Repotting Mistake That Shocked My Plant
I repotted my second hibiscus in the middle of winter. It was not growing, so I thought it might be root-bound. But repotting in winter is a bad idea. The plant was in a dormant state, and the root disturbance caused massive leaf drop.
I almost lost that plant. I learned to repot only in spring or early summer when the plant is actively growing. Even then, I try not to disturb the roots too much.
When I do repot, I use a pot that is only one size larger. Going too big is another mistake, as oversized pots hold too much water and keep the roots wet.
A Detailed Timeline of What to Expect
If you are implementing these changes right now, here is what to expect.
Days 1-3: Leaf drop may continue or even increase. This is normal. The plant is still adjusting. Do not change anything.
Days 4-7: Dropping slows significantly. You may notice a few new leaves forming. The plant is stabilizing. Keep your watering schedule steady.
Days 8-14: Leaf drop should stop completely. New growth becomes noticeable. The plant looks perkier. You might see a flower bud if the light is good.
This timeline is what I observed, and it held true across multiple plants. But if you are still seeing heavy leaf drop after a full week, you might have a root rot issue that requires repotting.
Common Questions I Get About Hibiscus Leaf Drop
Will the leaves grow back?
Yes, they will. If the roots are healthy, the plant will regrow leaves from the stems and nodes. In my experience, it takes about two weeks to see new leaf buds. Full recovery takes about a month. Give the plant consistent conditions, and it will bounce back.
Should I remove yellow leaves that are about to fall?
You can, but it is not necessary. If I see a leaf that has turned completely yellow, I gently pull it off. This prevents the plant from wasting energy on dying tissue. But do not pull off half-yellow leaves. Let those finish their process.
My hibiscus is indoors. Does the same advice apply?
Yes, absolutely. Indoor hibiscus are even more sensitive to sudden changes because the indoor environment is already more stable. Bringing one indoors after buying it from a nursery is a major change in itself. Give it a few weeks to adjust, and do not move it around.
My Final Two Cents
I genuinely think if I had understood the concept of environmental stability from the beginning, I would have saved three plants. The urge to fix, adjust, and move is strong. We want to help, but sometimes the help is about doing nothing.
Hibiscus leaf drop prevention really does come down to avoiding sudden environment changes. Stabilize the location. Stabilize the watering schedule. Stabilize the temperature. Let the plant do what it knows how to do.
Two weeks of consistent attention with no changes saved my fourth hibiscus. It is still growing today. I hope this guide helps you do the same.





