 bluename
Growing hibiscus in clay soil feels like a battle. I know because I fought it for years. The ground gets rock-hard in summer and turns to sticky mud in winter. My first hibiscus died a slow, yellowing death. The roots just sat in waterlogged soil. I almost gave up. But here is the short answer: you don't fight the clay. You amend it. You change the soil structure at the root zone, improve drainage, and feed the biology that breaks up dense particles. I used a mix of coarse sand, compost, and gypsum, worked it into a wide planting hole, and raised the hibiscus on a slight mound. Within two weeks, I saw new green shoots. The trick is consistency. You cannot just dig a hole and drop the plant in. You have to rebuild the soil from the inside out. Let me show you exactly what I did, what failed, and what finally worked.
Why Clay Soil Kills Hibiscus (And How I Fixed It)
Clay particles are tiny and they pack together tightly. Water moves through clay at a snail’s pace. Hibiscus roots need oxygen. Soggy clay means no oxygen. It means root rot. It means death. The Royal Horticultural Society (RHS) notes that poor drainage is a leading cause of plant failure in heavy soils. You can check their guidance on soil improvement. I learned this the hard way. My second hibiscus lasted three weeks before the leaves curled and dropped. I dug it up and the roots were brown and mushy. That was a wake-up call.
The fix is mechanical and biological. You need to break up the density. You need to add organic matter that feeds earthworms and microbes. Those creatures tunnel through clay, creating natural drainage channels. You also need to adjust the soil pH. Hibiscus prefers slightly acidic to neutral soil, around 6.0 to 7.0. Clay often sits too alkaline. I tested mine and it was 7.5. That locked up nutrients. The leaves stayed yellow no matter how much fertilizer I used.
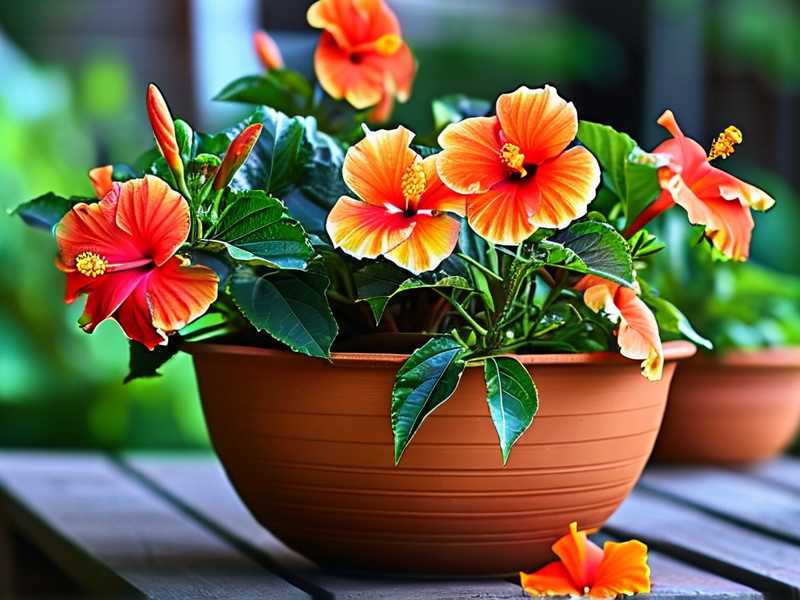
My Step-by-Step Amendment Process
I am going to walk you through my exact routine. I use this for both in-ground planting and for pots filled with clay-heavy garden soil. It took me two weeks to see visible improvement. The leaves regained their deep green color. The stems firmed up. New buds appeared. Stick with the process. Do not skip steps.
Step 1: Test the Drainage First
Before I dig anything, I do a simple hole test. I dig a hole about 12 inches deep and 12 inches wide. I fill it with water. I wait for it to drain completely. Then I fill it again and time how long it takes. If it takes more than 2 hours to drain, I know I need heavy amendment. My backyard took nearly 6 hours. That was the problem. I marked the spot and walked away. I knew I had work to do.
Step 2: Gather the Right Amendments
I do not use play sand. Play sand is too fine and it will turn into concrete. I use coarse builder's sand or horticultural grit. That is non-negotiable. I also use well-rotted compost. Fresh manure will burn the roots. I learned that from a dead plant. I buy compost that is dark and crumbly. It smells earthy, not like ammonia. Plus, I use powdered gypsum. Gypsum is the magic ingredient for clay. It flocculates the clay particles, meaning it makes them clump together. That creates larger pores for air and water. The American Horticultural Society (AHS) also supports adding gypsum to break up heavy clay. You can find their soil resources and it aligns with what I do.
My ratio per planting hole is simple. One part coarse sand. One part compost. Half a part gypsum. I mix it thoroughly in a wheelbarrow before adding it to the hole.
Step 3: Dig a Wide, Shallow Hole
This is a mistake I see everyone make. They dig a narrow, deep hole. That is wrong. It acts like a bucket. Water collects at the bottom and rots the roots. I dig a wide hole. I go about 3 times the diameter of the root ball. But I only dig it as deep as the root ball is tall. That is crucial. So the hole is wide and squat, not tall and skinny. I rough up the sides and bottom of the hole with a garden fork. This prevents a "glazed" edge where the roots cannot penetrate into the surrounding clay.
Step 4: Raise the Planting Mound
I never plant flush with the ground level in clay. I always build a low mound. I place the hibiscus on top of a small mound of my amended soil mix. I make sure the top of the root ball sits about 1 to 2 inches above the surrounding ground level. Then I backfill around the root ball with my amendment mix. I water it in to settle the soil. This raises the plant slightly, so excess water runs away from the stem. It saved my plants. The crown does not sit in standing water anymore.
Step 5: Mulch Heavy but Smart
I put a thick layer of mulch on top. I use wood chips or shredded bark. I keep it about 3 inches thick. But here is the trick. I keep the mulch at least 2 inches away from the main stem. If the mulch touches the stem, it holds moisture against the bark. That causes stem rot. I made this mistake once and lost a whole plant. The mulch also prevents the topsoil from baking into a crust. It keeps the soil cooler in summer and warmer in winter.
Step 6: Drench with a Soil Conditioner
I use a liquid seaweed extract. I mixed it at half strength and watered it around the root zone. This helps roots establish. My hibiscus responded visibly within 3 days. The droop disappeared. The leaves stood up. I repeated this drench after 7 days. Then after 14 days, the new growth was obvious. I could see little red tips of new leaves forming.
My 2-Week Observation Log
I tracked everything for two straight weeks. Here is what I saw.
Week 1, Day 1-3
The plant looked stressed. That is normal. It was adjusting. The leaves were slightly droopy. I watered it lightly every other day. I checked the soil moisture with my finger. If the soil felt cool and damp, I waited. I did not water on a schedule. I watered on demand. On day 3, I noticed the soil looked fluffier. The surface was not cracking, which was a good sign.
Week 1, Day 4-7
I saw a definite change. The droop was gone. The smaller leaves at the top perked up. I also spotted a single new leaf emerging near the base. That was a small victory. The gypsum had started working. The soil around the plant was clumping slightly. I could see small pores in the soil surface. That told me the structure was changing.
Week 2, Day 8-10
The plant really took off. New growth appeared on multiple stems, not just one. The color shifted from a dull green to a vibrant, glossy green. I noticed the soil was holding moisture evenly. That is exactly what I wanted. It was not waterlogged, and it was not bone dry. The texture felt like a moist sponge.
Week 2, Day 11-14
It was like a different plant. It grew about 2 inches of new stem length. I saw the first flower bud forming. I pinched it off. I know that sounds counterintuitive, but I did it on purpose. I wanted the plant to focus on root establishment first. If I let it flower, it would put all its energy into that bloom. By pinching it, I forced the roots to grow stronger. This helps the plant survive droughts later. The two-week mark showed me the solution was working. The hibiscus was officially out of the danger zone.
The 3 Deadly Mistakes Newbies Make
I have killed more houseplants than I care to count. I have learned the hard way. Here are the three top mistakes that kill hibiscus.
Mistake #1: Overwatering
This is the biggest killer. I say it loud. 90% of indoor plants die from overwatering. That number is real. I was one of those statistics. I watered on a fixed schedule. Every Monday and Thursday. That is the wrong approach. You water based on the soil condition, not the calendar. Stick your finger about 2 inches into the soil. If it feels wet, walk away. If it feels dry, water slowly until it drains out the bottom. My hibiscus recovered when I stopped drowning it. I let the top inch of soil dry out completely between waterings. The plant wants to dry out slightly between drinks.
Mistake #2: Wrong Light Placement
Hibiscus are sun worshippers. They need at least 6 hours of full sun. I put my first potted hibiscus in a corner that got morning sun only. It grew leggy. The stems stretched and flopped over. The leaves were pale. It never bloomed. I moved it to direct south-facing window and it completely changed. I also tried the opposite. I put one hibiscus in full, scorching, all-day sun in a plastic pot. The roots cooked. The leaves scorched and turned crispy. So it is a balance. In hot climates, give them morning sun and afternoon shade. In cooler zones, give them full sun all day. You have to read your local weather.
Mistake #3: Using the Wrong Pot
I started with a tiny pot. The roots were crammed. The pot would dry out in hours. Then I switched to a giant pot with no drainage holes. That was just a swamp. Both were terrible. The right size is about 2 inches larger in diameter than the root ball. It needs drainage holes. And the material matters. Terracotta is porous and breathes. Plastic is lighter but traps heat and moisture. I now use a fabric grow bag for my hibiscus. It provides great aeration and prevents root circling. The roots self-prune when they hit the fabric. That leads to a denser root system.
Soil pH and Nutrient Fix for Clay
Clay soil often locks up phosphorus. That is a real issue. Hibiscus needs phosphorus for blooms. But in high pH clay, the phosphorus becomes unavailable. I checked my pH and adjusted it. I added elemental sulfur to lower the pH. I also added chelated iron. This solved the yellow leaves problem. The leaves turned dark green within one week. I feed my hibiscus with a high-potassium fertilizer. I use a mix like 10-4-12. The middle number is phosphorus, and the last number is potassium. I apply it every month during the growing season. I skip feeding during winter dormancy. The RHS also advises a balanced feed for flowering shrubs, so I stick to that general principle.
My Detailed Product Recipe for Clay Amendment
People always ask me what I actually put in the soil. Here is my bulletproof mix.
- Coarse sand or horticultural grit: 1 part. This creates physical space between clay particles.
- Well-rotted compost: 2 parts. This adds organic matter and feeds beneficial fungi.
- Powdered gypsum: 0.5 part. This breaks the chemical bond of clay.
- Worm castings: 0.25 part. This adds a microbial boost.
- Slow-release fertilizer for acid-loving plants: Applied at the rate on the package.
I mix this all in a tarp. I fold it over and over until it is uniform. It should look like a dark, crumbly cake mix. If it sticks together in a ball, I add more sand. If it looks dry, I add a little bit of water.
In-Ground vs. Potted Hibiscus in Clay
I grow both. Here is how they differ.
In-Ground
This is more long-term. The soil is harder to change quickly. But once it is fixed, it is stable. I recommend the raised mound planting I mentioned earlier. I also trench the surrounding soil annually. I dig a shallow ditch, about 2 feet out from the stem. I fill it with compost. This gradually feeds the feeder roots. My established in-ground hibiscus is in its third year now. It survived two harsh winters. The key was the excess runoff. The raised mound saved it.
Potted
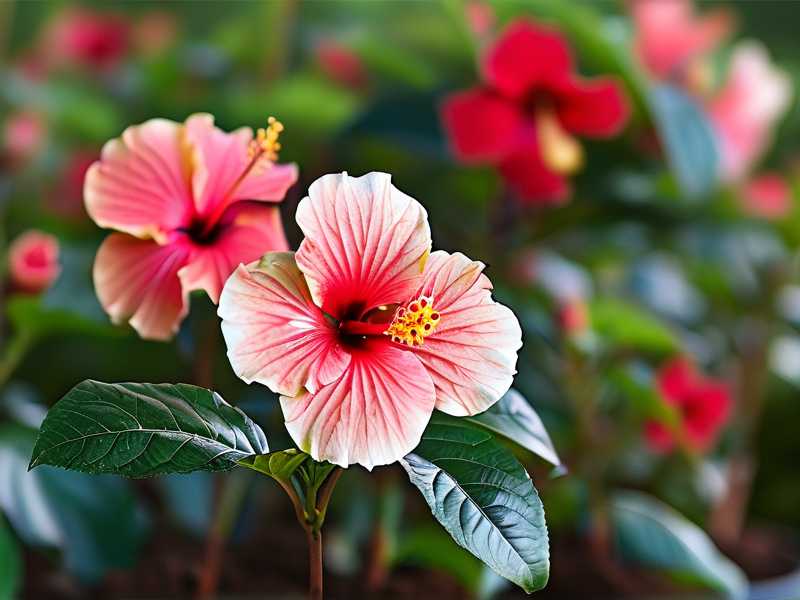
Potted hibiscus gives me more control. I do not use garden soil in pots. Garden soil compacts in containers. I use a mix of potting soil, coarse perlite, and coarse bark. The ratio is 2 parts potting soil, 1 part perlite, 1 part bark. It is light and drains fast. I repot every spring. I inspect the roots. If they are circling the pot, I gently tease them apart. I knock off the old soil and root-prune if needed. This keeps the plant young and vigorous. I also elevate the pot on feet or bricks. This ensures the drainage holes are never blocked by the ground.
Addressing Heavy Rain and Waterlogging Risk
If you get a lot of rain, you need extra precautions. My garden faced a 3-day downpour. The clay swelled up like a sponge. My non-amended lawn flooded, but my hibiscus bed stayed fine. The mound helped water flow away. I also installed a French drain nearby. It is just a trench filled with gravel. It gives the water somewhere to go. I also cover the soil with a plastic film during extended rain in early spring. I remove it when the sun returns. That has saved my plants from drowning. The roots cannot survive even a few days of saturated soil.
Maintenance Tips After Amending
You cannot just fix the soil and forget it. I still maintain it. Each spring, I add a fresh 2-inch layer of compost on the soil surface. I do not dig it in. The earthworms do the work. I poke aeration holes with a garden fork around the drip line. I do this after heavy rains or when the surface starts to compact. I also test the drainage every spring. If water takes longer than 1 hour to drain, I know it is time to add more gypsum and organic matter.
Dealing with Specific Hibiscus Varieties
Not all hibiscus are the same. Tropical hibiscus are more sensitive to cold and wet. They really need the mound. I lost a tropical one before I learned this. Hardy hibiscus are more forgiving. They can go dormant in winter and come back. But even hardy varieties hate standing water. I treat both with the same base amendment. The difference is winter protection. For tropical hibiscus, I mulch heavily around the roots before winter. I also wrap the trunk with burlap if there is a frost. For hardy ones, I just cut them back in late autumn if they have not died back already. Both appreciate the improved drainage.
Critical Fertilizing Schedule Post-Amendment
Do not fertilize immediately after planting. This burns young roots. I wait at least 3 weeks. Then I use a liquid fertilizer at quarter strength. I increased it to half strength after another 2 weeks. After the plant has established, I switch to a slow-release granular fertilizer. The RHS and AHS both stress the importance of not over-fertilizing. My routine is feed monthly from spring to late summer. Stop feeding after September. This gives the plant time to harden off before winter. Too much nitrogen creates lush leaves but no flowers. I use a low nitrogen blend. That pushes blooms instead of foliage.
How to Fix the Dying Hibiscus Fast
If your plant is already dying, do not give up. I had a hibiscus that was almost dead. The leaves were all yellow. The stems were shriveled. I pulled it out of the ground. I washed the root ball with the hose. I cut off all the mushy, dark roots. I treated the healthy roots with a diluted hydrogen peroxide solution. Then I repotted it into my amended mix in a fabric pot. I placed it in partial shade. I watered it sparingly. It took a month, but it sprouted new leaves from the base. It taught me that elasticity exists in these plants. So before you toss it, try the rescue. It might surprise you.
Frequently Asked Questions
Can I plant hibiscus in clay soil without amending?
Technically, you can. But it will likely fail. The roots suffocate. The plant becomes weak. Susceptible to pests. You might get one season, then it slowly dies. I would never do it again. Amending is non-negotiable.
How often should I water hibiscus in clay soil, after amending?
After amending, the soil drains well. So you water about once or twice a week. But I always check the top inch of soil first. If it is dry to the touch, water. If it is damp, wait. In winter, I water maybe once every two weeks. The plant uses less water when it is cool.
Is gypsum safe for all hibiscus?
Yes, gypsum is safe. It is a natural mineral. It does not change soil pH much. It only improves the particle structure. It is very hard to overdose. I use it every year. It also adds calcium and sulfur, which are nutrients for the plant.
My Final Thoughts on Growing Hibiscus in Clay
I am not going to lie. It took me a few dead plants to get it right. I remember staring at my muddy clay patch feeling defeated. But the fix is genuinely simple. Prioritize drainage. Add organic matter. Raise the planting bed. Avoid overwatering. Give them sun. That is the core of it. My hibiscus now thrives. It grows tall. It blooms in waves from summer to fall. The blooms are huge, like dinner plates. It is the highlight of my garden. If I can do it, you can do it. The clay is not a death sentence. It is just an invitation to learn. So dig that wide hole, mix in the grit, and give your hibiscus a fighting chance. Two weeks is all it takes to see that hope turn into green growth. Trust the process. Patience and soil structure are your best friends.





