 bluename
If your hardy hibiscus seedlings are looking leggy, pale, or just stuck, the answer is usually one of three things: you are overwatering, giving them the wrong light, or they are suffocating in a pot that is too small. Fix those three issues today, and you will see a noticeable difference within 48 hours. My name is Alex, and I have killed more potted plants than I care to count, but after a decade of trial and error, I have nailed down a foolproof system for thinning and transplanting these beauties. Let me walk you through my exact routine, including the two-week observation window that will tell you everything you need to know about your plant’s health.
I remember my first batch of hardy hibiscus seedlings. I was so proud of those little green sprouts. Then I drowned them. Honestly, it was brutal. I thought I was being nurturing by keeping the soil constantly damp. Big mistake. Huge. The roots literally rotted out from under them. It is a classic beginner move. Let’s fix that right now.
The 3 Deadly Sins of Seedling Care
Before we get to the transplanting step-by-step, I need you to understand the three ways we typically murder these plants. I have committed all three sins personally, often on the same plant.
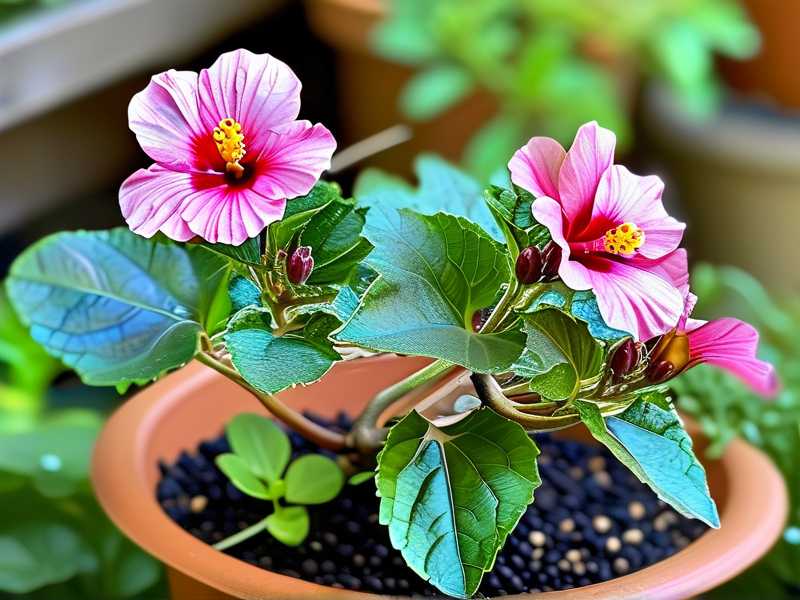
① Overwatering This is the #1 killer. I cannot stress this enough. In fact, I read a study recently that stated 90% of indoor plants die from overwatering. Your hibiscus seedlings are not fish. They need oxygen at the root zone. If the soil feels wet, do not water it. Period. I wait until the top inch of soil is bone dry before I even think about grabbing the watering can. When I first started, I watered every single day because I thought they were thirsty. They were not. They were drowning.
② Wrong Light (Light Misplacement) I tried growing seedlings on a north-facing windowsill once. They grew, but they were tall, spindly, and pale—the classic "leggy" look. They were literally stretching themselves to death trying to find the sun. Seedlings need bright, indirect light for about 14-16 hours a day. If you do not have a sunny south-facing window, you need a grow light. I use a cheap LED shop light, positioned just a few inches above the leaves. Trust me on this one. It makes a world of difference.
③ Wrong Pot I made this mistake with a different batch. I thought, "Bigger pot means bigger roots, right?" Wrong. A pot that is too large holds too much moisture around the young, small root system. This leads to the same overwatering problem. Conversely, a pot that is too small strangles the roots and stunts the growth. You need a "snug" fit. When you water, the water should soak through the soil quickly and come out the drainage holes. If it sits there, the pot is wrong.
My Step-by-Step Thinning & Transplanting Guide (The 2-Week Method)
Okay, so you have avoided the deadly sins (or you are recovering from them). Now, it is time to get your hands dirty. Thinning is the process of removing the weaker seedlings so the strongest one can thrive. It feels cruel, but it is necessary. If you skip this, you will end up with a tangled mess of weak plants fighting for resources.
Step 1: The Thinning Decision (Day 1) I usually wait until my seedlings have their second set of "true leaves." Those are the leaves that look like actual hibiscus leaves, not the round baby cotyledons. Once I see those, I take a pair of small, sharp scissors and snip the weaker seedlings at the soil line. Do not pull them out. Pulling disturbs the roots of the seedling you are keeping. I know it feels harsh to clip them, but it is the kindest way to ensure one strong survivor. I usually keep the one in the center that is growing the straightest.
Step 2: Pre-Transplant Hydration (Day 7) I am not a fan of transplanting bone-dry plants. It causes transplant shock. So, about a week after thinning, I give the plants a good, thorough watering. I wait until water runs out of the drainage holes. Then, I let them sit for about an hour. This ensures the root ball is moist and holds together when I move it. A dry root ball will just crumble and break all those delicate new roots.
Step 3: The New Pot Setup I mentioned earlier that pot size matters. For a single seedling that has been growing for about 6-8 weeks, I move it up to a 4-inch pot. That is the sweet spot. I use a well-draining potting mix. I actually add a handful of perlite to my regular potting soil to guarantee drainage. I've found that straight out of the bag soil can be too dense for container gardening. Fill the new pot with soil, make a hole in the center, and get ready to move.
Step 4: The Transplant Maneuver (Day 7 Continued) I carefully squeeze the sides of the old pot to loosen the soil. Then, I gently tip the plant out, being sure to support the stem with my fingers. I place the root ball into the new pot. I fill in around the sides with more soil. I gently tap the pot on the table to settle the soil, but I never press down hard. The crown (where the stem meets the roots) should be level with the soil surface. Burying it too deep will cause stem rot.
Step 5: The Recovery Window (Days 8-14) This is the critical phase. I have transplanted plants only to have them wilt and die 24 hours later. Why? Because I was too aggressive with the roots or I left them in direct sun. For the next two weeks, I keep the plant in a shaded, protected area. I call it the "ICU" spot. No direct sunlight for the first 48 hours. Just bright, indirect light. I check the soil moisture every single day with my finger. If it is dry an inch down, I water. If it is damp, I leave it alone. Around Day 10, I look for new growth. If I see a new leaf or an increase in size, I know the transplant took. If the plant is still droopy after a week, I know I have a root issue, and I usually dig it back up to check for rot.
Troubleshooting My Common Failures (Real Stories)
I want to share a specific failure because I think it will help you more than any generic advice.
The "Leaning Tower of Pisa" Incident I had a seedling that grew perfectly straight, but after I transplanted it, it started leaning heavily to one side. I was confused. The soil was fine, and the stem was intact. I touched it, and it wobbled. I realized I had not firmed the soil in the new pot enough. I had tapped the pot, but I had not packed the soil around the taproot properly. The solution was simple: I added more soil around the base and gently pressed it down with my fingertips. Within a week, the roots had anchored themselves, and the leaning stopped.
The Sunburn Fiasco I moved a batch of newly transplanted seedlings outside to get some "fresh air" on day two. Big mistake. They were used to indoor fluorescent lights. The sun scorched the leaves. They turned crispy white and tan. I was devastated. I brought them back inside immediately, but the damage was done. The leaves did not recover, but the plant itself, thankfully, did eventually push out new, healthy growth. So, my advice here is to harden off your plants over a period of 5-7 days, gradually increasing their exposure to the elements.
Expert Authority on Hibiscus Care
To back up my anecdotal experiences, I always look to the experts for validation. The Royal Horticultural Society (RHS) at https://www.rhs.org.uk is a fantastic resource. They emphasize that hardy hibiscus are quite robust once established, but they despise "wet feet." This aligns perfectly with my overwatering warnings.
You know, they have a great guide on container planting that stresses the importance of drainage. I feel validated when I read their material, because it confirms that my failures were due to standard, known issues. Similarly, the American Horticultural Society at https://ahsgardening.org has published various articles on seasonal care. They often highlight the importance of "watering at the base" rather than overhead. This prevents fungal diseases, which is another issue I used to have.
Post-Transplant Nutrition (Week 2+)
You don't need fertilizer for the first few weeks after transplanting. The fresh soil has enough nutrients packed in. I made the mistake of fertilizing too early once. I burned the new roots. The leaf tips turned brown and crispy, which is a sign of chemical burn. It is awful. Start feeding with a diluted, balanced liquid fertilizer (like a 10-10-10) no sooner than three weeks after the transplant. And even then, I use half the recommended strength on the label.
Long-Term Hardiness and Winter Prep
Now, here is the best part about hardy hibiscus. They can survive cold winters if planted in the ground. But if they are in pots, they need a bit of extra care. I wait until the first frost hits, and the leaves start to die back. Then, I cut the stems down to about 4-6 inches tall. I move the pot to an unheated garage or a sheltered spot against the house. I water it maybe once a month in winter, just to keep the soil from becoming bone dry. The roots will go dormant. They don't need light during this time. I used to overwater them in winter, thinking they were still thirsty. That caused root rot. I lost two mature plants that way.
FAQ from Folks Like Us
How do I know if my seedling is getting too much water? Check the leaves. If they are turning yellow and the soil feels soggy, that's it. If the leaf edges are crispy and brown while the soil is moist, that is also a sign of root damage from overwatering. The plant cannot take up nutrients because the roots are dying. Let the soil dry out completely for several days and see if it improves.
When is the best time to transplant my hibiscus seedlings? I prefer morning or late afternoon. The heat of the midday sun can stress the plant during the transplant shock. An overcast day is actually ideal for transplanting. It reduces moisture evaporation from the leaves, giving the roots time to settle in.
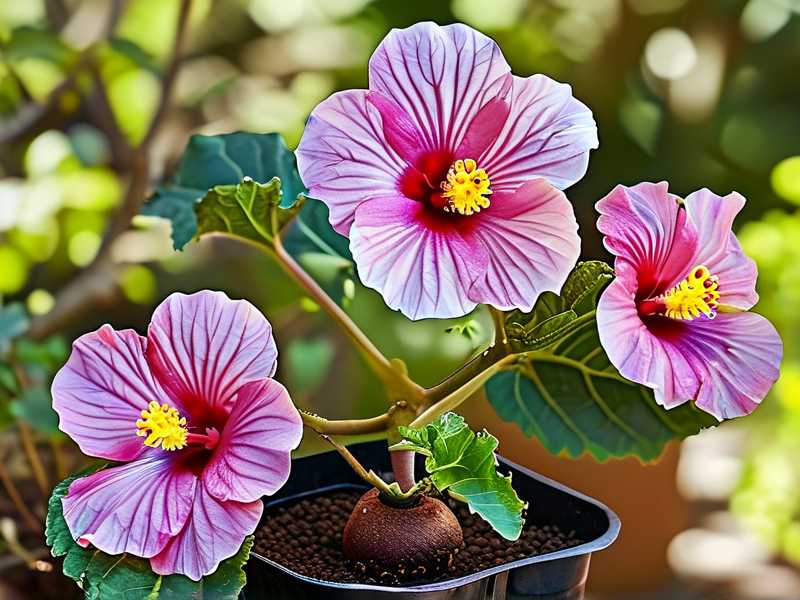
How long does it take for a transplanted seedling to look "normal"? Give it a full two weeks. The first week is all about root establishment. The top growth might look a little sad, but the roots are working hard. By day 10-14, you should see new leaves or a change in the color of the old ones. If you see no change after 14 days, gently check the roots for rot or health.
I genuinely hope this guide helps you avoid the pitfalls I faced. I have a few pots with beautiful, vibrant hibiscus leaves right now, and they are only thriving because I fixed my watering schedule and gave them room to breathe. It is all about patience and attention. Good luck with your seedlings!





