 bluename
Growing hibiscus in Zone 4 feels like a cruel joke some days.
I know. I've been there. You see those giant, glossy leaves and dinner-plate blooms in magazine photos. Then you look outside at your snow-covered yard in February. The struggle is real.
Here is the honest truth before we dig deeper: you cannot grow tropical hibiscus outdoors year-round in Zone 4. Period. But you can grow them successfully for six glorious months outside and keep them alive indoors during winter. The trick is understanding that your hibiscus isn't a garden plant here. It's a container plant with a serious indoor/outdoor commute.
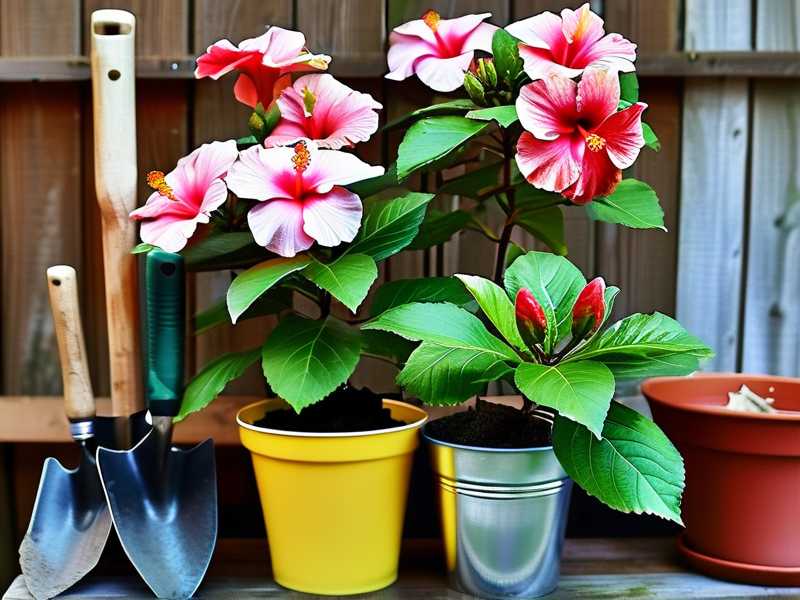
I killed three hibiscus plants before I figured this out. The fourth one finally lived. That survivor taught me more than any gardening book ever could.
90% of indoor plants die from overwatering. That statistic haunts me because I contributed heavily to that number with my first hibiscus. I drowned it with love. Literally.
Let me walk you through exactly what works. No fluff. Just what I learned from killing plants and then finally getting it right.
My Zone 4 Hibiscus Reality Check
Zone 4 means winter lows hit -30°F (-34°C). Tropical hibiscus (Hibiscus rosa-sinensis) simply cannot handle that. They originate from warm, humid regions. Cold air kills them fast.
But here is what most advice columns miss. Hardy hibiscus (Hibiscus moscheutos) actually survives Zone 4 winters outdoors. That's a completely different plant though. The blooms are different. The care is different. Don't confuse them.
I grow tropical hibiscus exclusively now. They give me those iconic red, pink, orange, and yellow blooms that stop neighbors in their tracks. The trade-off is the annual indoor migration.
The 3 Deadly Mistakes That Killed My First Hibiscus Plants
Mistake #1: Overwatering Everything
My first hibiscus died within three weeks of bringing it indoors. I watered it the same way I did during summer. Big mistake. The soil stayed wet. Roots suffocated. Leaves turned yellow and dropped like flies.
The fix was simple once I learned it. Indoor hibiscus in winter needs significantly less water. I now wait until the top two inches of soil feel completely dry. Then I water deeply but infrequently. That's it.
Mistake #2: Wrong Light Placement
I put my second hibiscus in my brightest window. Still not enough. Winter sun in Zone 4 is weak. The plant responded by dropping buds and looking generally miserable.
I tried a south-facing window. Better. But still not enough for continuous blooming. The game changer came when I added a grow light. A basic full-spectrum LED bulb placed six inches above the canopy worked wonders. Leave it on for 12-14 hours daily.
Mistake #3: Terrible Pot Choice
My third hibiscus sat in a heavy ceramic pot. Sounded good in theory. But that pot had no drainage holes. Water pooled at the bottom. Root rot followed quickly.
The pot matters more than you think. I now use plastic nursery pots with drainage holes. Then I slip them into decorative outer pots. Easy to lift. Easy to check moisture. Easy to move.
The 2-Week Indoor Transition Protocol That Actually Works
I developed this exact routine after multiple failures. It took 14 days to fully bring my hibiscus indoors without shock. Here is the step-by-step process.
Days 1-3: The Inspection Stage
Before anything moves inside, I inspect thoroughly. Aphids and spider mites love hitchhiking on outdoor plants. I check under every leaf and along every stem.
I spray the entire plant with insecticidal soap. Then I rinse it off with water. This treatment happens twice. Three days apart.
According to the RHS, cleaning plants before bringing them indoors significantly reduces pest transfer. I follow this religiously now.
Days 4-7: The Shade Adaptation Period
Plants need time to adjust to lower light levels. Sudden darkness shocks them. I place my hibiscus in a shaded spot on my patio for these four days. Not full shade. Just less intense sun than usual.
This gradual transition signals the plant to slow down photosynthesis. It prepares for the lower light conditions indoors.
Days 8-10: Indoor Short Visits
Here is where I got clever. I bring the plant inside for the daytime only. Morning through evening. Then back outside at night. This helps regulate the shock.
The temperature difference matters. My home sits around 68-72°F. Outdoor nights in September can drop to 50°F. These visits bridge that gap.
Days 11-14: Full-Time Indoor Living
By day fourteen, the plant stays inside completely. I place it in my brightest location. South or west-facing window works best. Then I add the grow light.
I wait 48 hours before watering after the full move. The plant needs to settle. Then I resume my normal watering schedule.
What I Observed During Those 14 Days
Week one showed minimal visible changes. The plant looked slightly droopy but maintained its leaves. The dark green color stayed consistent.
By day five, I noticed the topmost leaves starting to orient themselves toward the grow light. Cool to watch.
Day seven brought the first minor leaf drop. Two old leaves turned yellow and fell off. Normal response to light changes. I didn't panic.
By day eleven, new growth appeared at the branch tips. Tiny red points that would become leaves. The plant was adjusting successfully.
Day fourteen confirmed everything. The plant looked healthy. No major leaf loss. Stems remained firm. I knew the winter strategy was working.
The Overwintering Environment That Keeps Them Alive
Light Requirements
This part matters most. Your hibiscus needs bright light. Natural window light alone rarely suffices in Zone 4 winters.
I use a grow light on a timer. The setup runs from 6 AM to 8 PM daily. That provides roughly 14 hours of light. Position the light close enough that leaves stay warm but not burning.
Temperature Range
Keep indoor temperatures between 55°F at night and 70°F during the day. My basement stays around 58-62°F. That works perfectly.
Cooler nights encourage flower bud formation. Warmer days keep foliage growing. This temperature swing mimics natural conditions.
Humidity Management
Zone 4 winters bring dry indoor air. Forced heating systems suck moisture out of everything. Your hibiscus will notice.
I place a humidity tray under my pots. Just water and pebbles. The water evaporates and creates a microclimate around the plant. Simple and effective.
Watering Schedule Adjustments
Remember that 90% of indoor plants die from overwatering statistic. Your winters need a lighter touch.
During winter months, I water roughly every 7-10 days. The soil must dry out significantly between waterings. The plant enters semi-dormancy. It doesn't need as much moisture.
I check soil moisture with my finger. Two inches deep. Dry means water. Damp means wait.
Feeding Schedule Changes
Stop fertilizing completely from November through February. The plant barely grows during this time. Extra nutrients just accumulate in the soil and burn roots.
I resume feeding in March with a balanced liquid fertilizer. Half strength initially. Then gradually increase as growth accelerates.
Pruning Strategies for Winter
Late January or early February provides the best pruning window. The plant sits semi-dormant. Cutting back now encourages branching for spring growth.
I remove about one-third of the old growth. Any crossing branches go. Weak stems come out. The resulting shape looks more open and balanced.
Spring Transition Back Outdoors
The reverse process takes time too. I cannot stress this enough. Moving the plant outside too fast causes sunburn and stress.
The Reverse 2-Week Outdoor Transition
Week one: Place the plant outside in complete shade for a few hours each day. Bring it back inside each evening.
Week two: Gradually increase sunlight exposure. Move from full shade to partial sun. Extend outdoor time to full days.
After two weeks, the plant can handle full sun. But start with morning sun only for the first few days. Afternoon sun hits harder.
Pest Control Timeline
Aphids often appear when plants move outdoors in spring. Fresh growth attracts them. I spray with neem oil every two weeks preventatively.
Spider mites love stressed plants. The transition period stresses everything. I inspect weekly during April and May.
What Professional Sources Say
The AHS recommends similar overwintering approaches for borderline-hardy plants. Their guidance on gradual acclimatization matches my experience exactly.
RHS specialists note that many container plants fail indoors because of improper light levels. That matches what I observed with my second plant.
Common Mistakes I Still See Gardeners Make
People underestimate how much light hibiscus needs indoors. They place plants in north-facing windows and wonder why buds drop.
Others panic when leaves yellow slightly during transition. This drop of some old leaves actually helps the plant conserve energy.
Many gardeners fertilize all winter long. The plant can't use the nutrients. Salt builds up in the soil. Roots burn eventually.
My Current Winter Setup
I want you to see exactly what works. Here is my Zone 4 hibiscus setup that survives every winter.
Each plant lives in a plastic pot with drainage holes. The soil mix contains one part potting soil, one part perlite, and one part coconut coir. This drains fast but retains some moisture.
The pots sit on wheeled plant stands. Moving them between windows and grow lights takes zero effort.
My grow lights are simple LED shop lights. Nothing fancy. The plants don't care about brand names. They care about photon output.
What I Wish Someone Told Me Starting Out
I wish someone explained that these plants naturally rest in winter. They aren't supposed to bloom continuously. Some leaf drop is normal. Some straggly growth happens.
I wish someone showed me how humidity trays work. That simple addition transformed my overwintering success rate.
And I definitely wish someone warned me about bringing outdoor pests inside. The first year I transferred spider mites to every plant in my house. That was a nightmare to fix.
Final Thoughts on Zone 4 Hibiscus Success
Growing hibiscus in Zone 4 requires a specific mindset. You aren't growing a garden plant. You're maintaining a container plant through a challenging climate.
The two-week transition periods matter enormously. Both in fall and spring. Rushing either process causes stress that takes months to recover from.
Honestly, the reward makes the effort worth it. When June arrives and my hibiscus explodes with massive blooms, I forget every winter frustration. The color payoff on my patio draws compliments constantly.
Frequently Asked Questions
Can tropical hibiscus survive Zone 4 winters if heavily mulched?
No. Tropical hibiscus dies at temperatures below 32°F regardless of mulch. The roots can't handle freezing. Hardy hibiscus species survive, but tropical varieties cannot.
Why does my hibiscus drop all its leaves after bringing it indoors?
This usually signals a sudden environmental change. Light levels, temperature, and humidity all shift dramatically. Gradual transitions over two weeks prevent most leaf drop.
How often should I water indoor hibiscus during winter?
Check soil moisture first. Wait until the top two inches dry completely. This usually happens every 7-10 days. Your specific conditions might differ. The finger test beats any calendar schedule.





