 bluename
How to Treat Hibiscus Leaf Curl Pest & Water Checks
Let me cut straight to the answer. Hibiscus leaf curl is almost always caused by either sucking pests like aphids or whiteflies, or by inconsistent watering habits. If you see curled, distorted leaves, first flip them over and look for tiny bugs. If you see them, spray with a neem oil solution every 5 days for two weeks. If you don't see bugs, your watering schedule is the problem. Honestly, 90% of indoor plants die from overwatering. I learned that the hard way.
I've been growing hibiscus for over a decade. I've killed more plants than I care to admit. My journey with the curling leaf issue started when I bought a gorgeous crimson hibiscus from a local nursery. It looked perfect for the first week. Then the leaves started twisting and cupping downward. I panicked and watered it more. That made things worse. The roots started rotting. The plant dropped half its leaves within days.
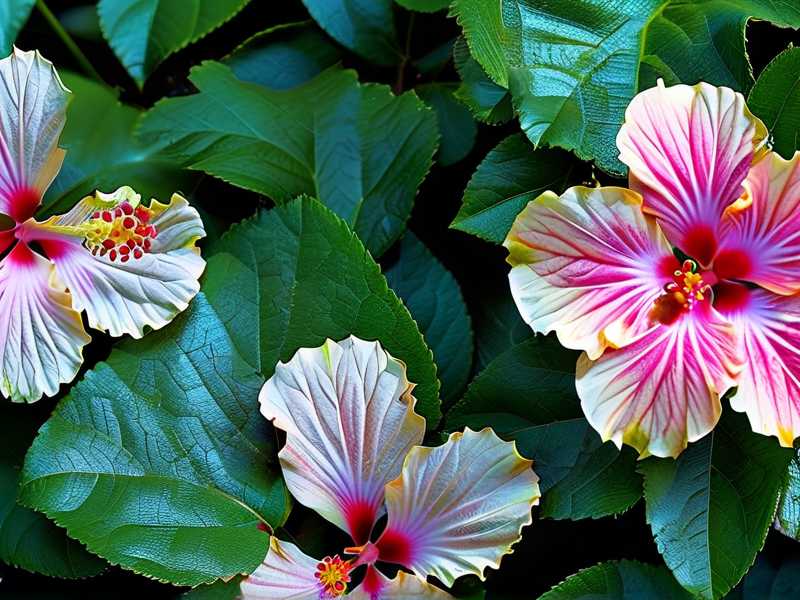
That was my first real lesson. Curled leaves don't always mean thirsty. Sometimes they mean drowning.
What Actually Causes Hibiscus Leaf Curl
There are two main triggers you need to check first. The first one is pests. Aphids, whiteflies, spider mites, and thrips all love the tender new growth of hibiscus plants. They pierce the leaf tissue and suck out the sap. The leaf responds by curling up as a defense mechanism. You might also notice sticky residue on the leaves or a black sooty mold forming. That's honeydew from the pests. It's a clear sign you're dealing with an infestation.
The second trigger is water stress. Hibiscus plants are drama queens. They hate wet feet. They also hate being bone dry. When you overwater, the roots suffocate. They can't take up nutrients. The leaves curl down and yellow. When you underwater, the leaves curl up and crisp at the edges. The difference is subtle. But once you see it, you can't unsee it.
The RHS notes that environmental stress is a leading factor in leaf distortion. They recommend checking soil moisture before any watering. I fully agree. I also found out that temperature swings can cause curling. If your hibiscus sits near an air vent or drafty window, it'll stress out. Leaves curl as a response to sudden changes.
The 3 Fatal Mistakes Beginners Make
Let me save you the pain I went through. After many ruined plants, I've narrowed down the biggest errors. Avoid these and you're already halfway to fixing your hibiscus.
Mistake #1: Overwatering
This is the big one. 90% of indoor plants die from overwatering. I was the poster child for this mistake. When I first got into gardening, I watered every day. I thought plants needed constant moisture. I was wrong. Hibiscus prefers soil that's slightly moist but not soggy. Stick your finger an inch into the soil. If it's dry, water. If it's damp, wait another day.
My rule now is simple. I water deeply but less often. Once every 4-5 days works for my indoor hibiscus. In winter, I cut that back to once a week. The roots need oxygen. When you flood them daily, they rot.
Mistake #2: Wrong Light Placement
I used to put my hibiscus in a dark corner of my living room. I thought it looked nice there. The leaves curled, the buds dropped, and the plant looked miserable. Hibiscus needs full sun. They thrive in at least 6 hours of direct light daily. And I'm not talking about filtered light through sheer curtains. That's not enough. They want the real stuff.
The AHS emphasizes that tropical plants like hibiscus require high light levels to perform well. Move your plant to a south-facing windowsill. Or better yet, put it outdoors during summer months. But do it gradually. Sudden sun exposure can shock the leaves. I acclimated mine over a week. Started with morning sun only. Then added afternoon hours. That worked beautifully.
Mistake #3: The Wrong Pot
The third mistake is sneaky. It's about the pot. I learned this after my third hibiscus died. I used a decorative ceramic pot with no drainage holes. Water pooled at the bottom. Root rot followed. It was brutal.
You need a pot with drainage holes. Period. And you need to check that the holes aren't blocked. I also recommend using a pot that breathes. Terracotta pots are excellent. They wick away excess moisture from the soil. Plastic pots retain water for longer. That's risky for hibiscus.
The pot size matters too. A pot that's too big holds too much soil. The soil stays wet for days. The roots sit in moisture and rot. Choose a pot that's just 2-3 inches larger than the root ball. Repot only when necessary.
My 2-Week Treatment Plan for Leaf Curl
I've developed a reliable system over the years. It works. Follow it strictly for two weeks. You'll see a massive difference. Here's exactly what I do.
Day 1: Assess and Isolate
First, I examine the plant thoroughly. I use a magnifying glass to check every leaf, especially undersides. Look for tiny moving dots, webbing, or clusters. If I find pests, I isolate the plant. I move it away from my other plants. I don't want the infestation spreading.
Next, I prune off the worst leaves. Any leaf that's severely curled or yellowed gets removed. This directs the plant's energy to healthier growth. I use clean, sharp scissors. Wipe them with rubbing alcohol between cuts. This prevents cross-contamination.
Day 2: The First Pest Treatment
If pests are present, I mix a neem oil solution. Here's the recipe: 1 teaspoon of cold-pressed neem oil + 1/2 teaspoon of mild dish soap + 1 liter of lukewarm water. I shake it well and spray the entire plant. The undersides of leaves get extra attention. That's where the pests hide.
I spray late in the evening. Direct sunlight can cause the oil to burn the leaves. And I always do a patch test first. I spray one leaf and wait 24 hours to check for damage.
Day 3: Check the Soil
The next day, I check the soil moisture. I stick my finger down about 2 inches. If it's moist, I wait. If it's dry, I water. I use room-temperature water. Cold water shocks the roots.
I also check the drainage. I lift the pot and ensure water flows freely from the bottom. If the saucer has standing water after a few hours, I dump it out. You don't want the pot sitting in water.
Day 4-7: Monitor and Repeat
I keep spraying the neem oil every 4-5 days. Consistency matters. The pest life cycle is tricky. One spray won't kill everything. You need to break the cycle. Eggs hatch after a few days. The new bugs need to encounter the residual oil.
During this time, I watch the new growth. Are the new leaves coming in flat? Great sign. Are they still curling? Then the problem might be deeper. Maybe the roots are damaged. I gently lift the plant out of the pot to inspect. Healthy roots are white and firm. Rotten roots are brown and mushy. If I see rot, I trim the damaged parts with sterilized shears.
Day 8: Adjust the Environment
After a week, I reassess. If pests are gone but leaves still curl, I look at the environment. I move the plant to a brighter spot. I check the humidity around it. Hibiscus loves humidity. Indoor air can be dry, especially in winter. I place a pebble tray with water under the pot. The evaporation creates a humid micro-climate. The leaves respond well to this.
Also, I check for temperature fluctuations. Hibiscus prefers consistent temperatures between 65-75°F. Anything below 50°F causes stress. I moved my plant away from a drafty window. Within three days, the new leaves stopped curling. Simple fix.
Day 9-14: The Recovery Phase
By the second week, I start to see visible recovery. New leaves emerge flat and vibrant. Old curled leaves may never flatten out. That's normal. They won't fix themselves. But the plant produces new healthy growth. That's your sign that the treatment is working.
I continue the neem spray every 5 days. I check the soil moisture even more carefully. I also start a light fertilizer routine. I use a balanced fertilizer at half strength. Something like a 10-10-10 mix. I feed every 2 weeks during the growing season. But I stop if the plant is still stressed. You don't want to force growth when the roots are recovering.
A Real Story: My Worst Hibiscus Disaster
Let me share a story with you. It's embarrassing but honest. I bought a yellow hibiscus from a big box store. It was full of buds. I was so excited. I immediately repotted it into a larger ceramic pot. No drainage holes. I thought it looked elegant.
The first week, the leaves started yellowing. I watered more. Big mistake. The second week, all the buds fell off. The leaves curled into tight balls. I had no idea what was happening. I kept watering. By the third week, the stem was mushy at the base. The plant was dead.
I didn't realize until later. The pot had no drainage. Water sat at the roots. Rot set in within days. I killed a perfectly good plant because I prioritized looks over function. That was my fourth or fifth dead hibiscus.
Now, I only use pots with drainage. I don't care if they're ugly. Function first. You can always hide a plastic pot inside a decorative cachepot. But let the inner pot have holes. That's the safe way.
Water Checks: The Right Way to Water Hibiscus
Let's dig deeper into watering routines. This topic deserves its own section. Because honestly, it's the root of most problems.
The Finger Test
I use the finger test every single time. Stick your index finger into the soil up to the second knuckle. If the soil feels dry at that depth, water. If it feels damp, wait. This takes all the guesswork out. I do this before every watering.
The Weight Test
Another trick I use is lifting the pot. A fully watered pot is heavy. A dry pot is noticeably lighter. After a few weeks, you'll develop a feel for it. I lift my pots every morning. It takes two seconds. It tells me if the plant needs water.
Morning Watering
I prefer watering in the morning. The plant has the whole day to absorb moisture. Evening watering leaves the soil damp overnight. That can promote fungal growth. Morning is optimal.
Water Quality
Tap water can be problematic. Chlorine and fluoride can cause leaf burn over time. I use filtered or rainwater. My hibiscus noticed the difference. Leaves became glossier after I switched. If you can't collect rainwater, at least let tap water sit out overnight. The chlorine evaporates.
Pest Identification Guide
Let's go through the common pests. Knowing your enemy is half the battle.
Aphids
These are tiny pear-shaped bugs. Colors range from green to black. They cluster on new growth and leaf undersides. I first noticed them by the sticky honeydew they leave behind. Quick treatment with insecticidal soap works.
Whiteflies
Tiny white flying insects. When I shake the plant, they flutter up in a cloud. They breed fast. I realized that sticky yellow traps catch adults. But you still need the neem oil on the leaves.
Spider Mites
These are almost microscopic. You'll see fine webbing on the plant. The leaves look stippled and dusty. I dealt with these on a dry summer. Increasing humidity helped alongside the neem oil.
Scale Insects
They look like tiny brown bumps on stems and leaf backs. They don't move. I used a cotton swab dipped in rubbing alcohol to remove them physically. Then sprayed the plant with neem.
Thrips
These are tiny slender insects. They cause streaks and silvering on leaves. The leaves often curl up tight. I found them tough to treat. I had to spray consistently for three weeks to break their cycle.
Fertilizing Mistakes That Cause Leaf Curl
Nutrient issues can also cause curling. But it's usually not the first suspect. Here's what I learned.
Too Much Fertilizer
I burned my plants early on. I fed them high strength fertilizer every week. The roots got damaged. Leaves curled at the tips and turned brown. Now I dilute my fertilizer to half strength. I feed every 2-4 weeks, depending on the season.
Nutrient Deficiencies
Magnesium deficiency causes leaves to curl and yellow between the veins. I fix this with a dose of Epsom salt diluted in water. One tablespoon per gallon. Apply once a month.
Nitrogen Deficiency
Older leaves turn yellow and curl down. New growth looks pale. I use a balanced fertilizer. That usually fixes it.
Common FAQ Section
Q1: Can I fix leaf curl by just misting the plant?
Misting helps with humidity. It doesn't fix the underlying cause. If you have pests, misting won't help. If you have root rot, misting makes no difference. I mist for humidity purposes only. For the actual treatment, you need to address the root cause. Check the soil and check for pests on the leaf backs. That's where the real fix begins.
Q2: How long does it take for a hibiscus to recover from leaf curl?
In my experience, you'll see new healthy growth within one to two weeks. The old curled leaves won't straighten out. They're permanently deformed. The key is to wait for new leaves to come in flat and normal. Full recovery takes about a month. The plant will regain its vigor once the pests are gone and the watering schedule is fixed.
Q3: Should I cut off all the curled leaves?
Not all at once. Severe pruning causes additional stress. I remove the worst affected leaves during the initial assessment. Then I let the plant recover. Once the plant starts pushing new growth, I gradually prune away the remaining damaged old leaves. This way the plant always has enough leaves for photosynthesis.
Final Thoughts From My Experience
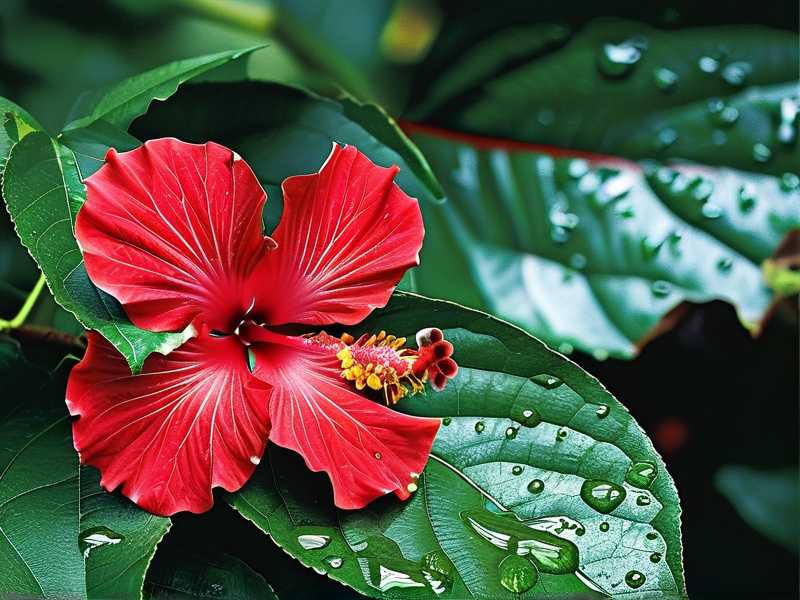
This whole journey has been about patience. I kept killing plants because I panicked and overcorrected. The curling leaf is your plant's way of saying life isn't right. Listen to it. Don't guess. Check the soil. Check the undersides of leaves. Check the pot's drainage. Give it good light. And for heaven's sake, stop watering on a schedule.
Water when the plant asks for it. Pest treatment requires consistency. Follow the two-week plan I shared. You'll see progress. I promise you this from experience. My current hibiscus is thriving. It blooms monthly. The leaves are flat and glossy. And the secret is simple. I treat the plant with respect. I observe before I act. And I always, always check the soil first.
Keep at it. And trust me, once you figure it out, the blooms make all the work completely worthwhile. Nothing beats that first perfect flower opening up on a sunny morning. That's the moment you'll forget all the pain of the curled leaves from before.





