 bluename
Hanging baskets filled with blooming hibiscus are the ultimate summer showstopper. But here is the direct answer you need: To grow hibiscus successfully in hanging baskets, you must prioritize fast-draining, coarse soil, water only when the top inch feels dry, and provide at least 6 hours of direct, bright sunlight daily. 90% of indoor plants die from overwatering, and this is even more brutal for hibiscus in hanging pots because gravity and shallow soil make waterlogging a silent killer.
I have killed more hibiscus plants than I care to admit. My first three attempts ended in yellow leaves, bud drop, and finally, a mushy stem at the soil line. I learned the hard way that a hanging basket is not just a smaller garden bed. It is a completely different ecosystem that demands a specific, almost obsessive, approach to drainage and watering.
Here is my honest, battle-tested process after weeks of close observation, including the two-week window where everything clicked.
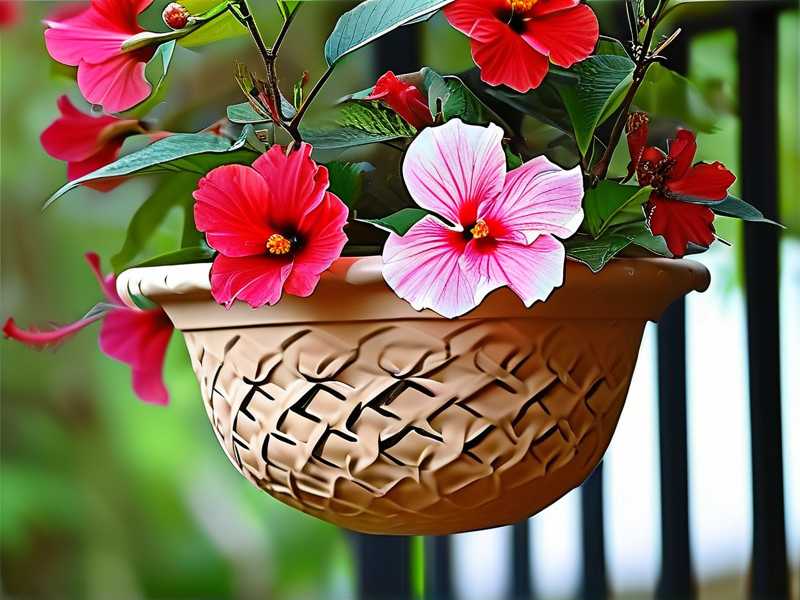
The Three Fatal Mistakes Beginners Make (I Made All Of Them)
Let me save you the funeral. I have literally buried six hibiscus plants in my compost bin due to these errors.
Mistake #1: Overwatering - The #1 Killer
This is the big one. We think hanging baskets dry out faster, so we panic and water more. Wrong. The issue is not frequency; it is soil chemistry. Most commercial potting mixes hold too much water for a hibiscus. They are designed for moisture-loving ferns, not tropical shrubs that hate wet feet.
I remember my second plant. I watered it every morning because the top of the soil looked dry. But two inches down, it was a swamp. The roots suffocated. Within ten days, the leaves were yellow and the buds fell off like confetti. The smell of the soil was sour.
The fix is to drastically amend the soil. You cannot use regular potting soil straight out of the bag.
Mistake #2: Light Mismatch (Not Enough Sun)
I started my hibiscus on a shaded porch. I thought "filtered light" was enough. It wasn't. Hibiscus are sun worshippers. They need direct, unfiltered sunlight for at least 6 hours a day. Without it, they survive, but they won't bloom.
In a hanging basket, this is tricky because you usually hang them under an eave or overhang for convenience. That shade is killing your blooms. I tried moving mine off the porch and onto a hook in the open yard. The difference was night and day. Within two weeks, the new growth was thicker, and the color of the leaves deepened.
Mistake #3: The Wrong Pot (Too Deep or Too Small)
I used a classic wide, shallow basket for my first attempt. Bad idea. Hibiscus have a deep taproot or a substantial root mass. A shallow bowl doesn't let the root ball breathe; it just creates a soggy pancake at the bottom.
Also, I used a solid plastic pot with one tiny hole. Drainage was a joke. I finally switched to a galvanized wire basket lined with a coconut coir mat and a thick layer of coarse material. This changed everything. The air pruning effect on the roots is fantastic.
My Step-by-Step Guide: The Real Process That Worked
Here is exactly what I did for my latest basket, which is now thriving. I kept a daily log for two weeks and watched the recovery unfold.
Step 1: The Soil Mix (The Non-Negotiable)
I learned to mix my own soil. This is not optional. I use a ratio of:
- 40% high-quality potting soil (for nutrients)
- 30% orchid bark (for air pockets)
- 30% perlite or pumice (for sharp drainage)
I also threw in a handful of fine gravel at the very bottom of the liner. This creates a "drainage reservoir" that air can move through.
The 2-Week Observation: For the first three days, I noticed the water flushed through incredibly fast. I could water heavily, and within seconds, it drained out. The top inch dried out quickly, but the middle stayed evenly moist. I checked the weight of the basket. It felt light, but not hollow. This is the "sweet spot."
Step 2: The Watering Schedule (Don't Follow a Calendar)
Forget the "water every day" rule. I started sticking my finger into the mix, all the way down to the second knuckle.
- Day 1-5: The top inch was dry by noon. I waited. I didn't water until the top two inches felt completely dry to the touch.
- Day 6: I watered deeply in the morning. I poured slowly until water ran freely out the bottom.
- Day 8: I checked the roots. Some were poking out of the basket holes. They looked white and firm, not brown.
My "Eureka" Moment: I realized that hibiscus prefer a "wet-dry" cycle. They want the roots to breathe. I let the basket dry out more than I thought was safe. The plant responded with a flush of bright green growth.
Step 3: The Miracle Fertilizer (But Not Strong)
Hanging baskets lose nutrients fast because of constant watering. But I made the mistake of using a high-nitrogen fertilizer early on. I got tons of leaves, zero flowers. Then I switched to a high-potassium fertilizer (like a tomato feed or a specific Hibiscus food, often labeled with a higher middle and last number, like 10-10-20).
My 2-Week Result: I fed them at half-strength every single watering. After two weeks, I saw my first batch of flower buds forming at the tips. The color of the foliage was a dark, glossy green, which told me the magnesium and iron levels were good.
Step 4: Sunlight Positioning (The Daily Chase)
I hung the basket on a cart. Sounds crazy? Yes. But it allowed me to chase the sun.
- Morning (8 AM - 12 PM): Full sun on the east side of the house.
- Afternoon (12 PM - 5 PM): I moved the cart to the west side where it gets blazing, direct light.
The 2-Week Result: In the first week, the leaves turned a lighter green, which scared me. I thought it was sunburn. Actually, it was the plant adjusting to the intense light. By day 10, the leaves had thickened, becoming almost leathery. This is a sign of sun hardening.
Step 5: The Fix for My Biggest Setback (Drooping Leaves)
On Day 11, I walked out and the whole plant was limp. The leaves were drooping completely. I panicked. Had I overwatered? I stuck my finger in the soil – it was bone dry. The wind had been strong the day before and dried out the basket much faster than expected.
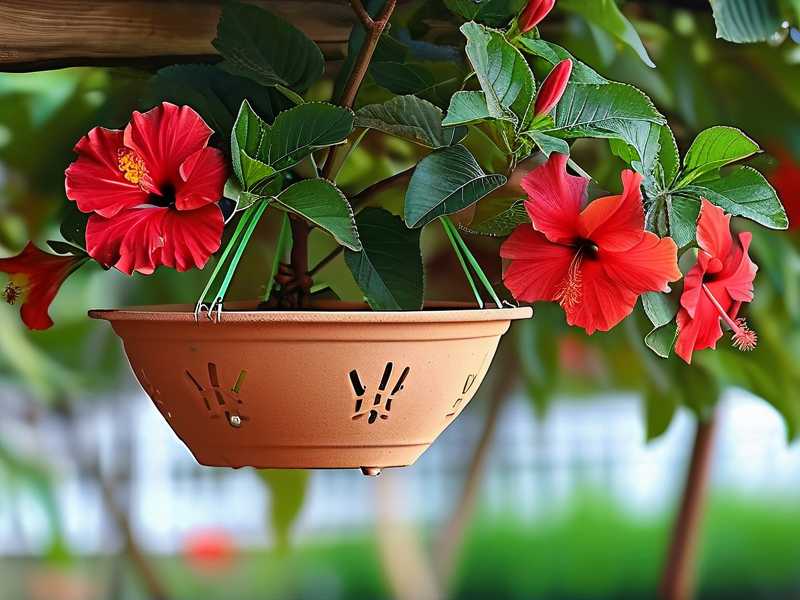
The Solution: I dunked the entire basket in a bucket of lukewarm water for 30 minutes until the bubbles stopped. I let it drain completely. Within two hours, it was standing tall again. This "dunking" method is now my go-to for hanging baskets. It rehydrates the soil evenly without creating dry pockets.
The Technical Side: Drainage Mechanics You Must Know
Let's get into the nitty-gritty of why this works.
The Air Pruning Effect When you use a wire basket with a coir liner, the roots that grow out to the edge get exposed to air. They dry out at the tip and stop growing, which forces the plant to create dense, fibrous root branches inside the soil. This is called air pruning. The RHS and AHS both emphasize the importance of proper aeration for container plants, and this is exactly why this technique is superior to solid pots.
The Gravel Layer Myth Many people put gravel at the bottom of a pot to "improve drainage." In a normal pot, this actually creates a "perched water table" – water sits at the bottom, soaking the roots. In a hanging basket with a liner, this is less of a problem. However, I still use a shallow layer of bark on the bottom to act as a sponge, not a barrier.
The 14-Day Rescue Log (My Actual Notebook)
Here is a tear-out from my diary to show you the timeline.
Day 1: Repotted from the nursery pot into my custom mix. The plant looked okay. Watered heavily. Water ran out instantly. Day 2: Leaves look slightly pale. Probably just stress. No action. Day 3: Soil feels dry on top. I resisted watering. My hand is shaking. I hold off. Day 4: Leaves perk up. I can see the soil has shrunk slightly from the edges of the basket. That's good – means water can flow down the sides. Day 5: I watered again. I used a watering can with a narrow spout and watered the center only. Not the edges. Day 6: A tiny new leaf appears at the base. Signs of life. Day 7: I checked weight. The basket feels light. I dunked it in a bucket of water for 20 minutes. Drained it. Day 8: All leaves are facing upwards toward the sun. No yellowing. Day 9: I noticed the old leaves are dropping off slightly. This is normal shock. I de-cluttered the top of the soil to let the plant breathe. Day 10: The new growth is darker green. I skipped the calm morning watering. Day 11: The wind incident. Drooping leaves. Dunked again. Day 12: Recovered. The plant looks stronger than before. I realized that the slight wilting might have triggered a root growth spurt. Day 13: I see small green bumps at the branch tips. These are flower buds. Day 14: The bumps are visible. I saw a hint of red color. First bloom is imminent.
Essential Care Tips for Long-Term Success
Beyond the initial setup, here is what I do weekly to keep my hanging hibiscus exploding with color.
1. Deadheading is Non-Negotiable
Hibiscus flowers only last one day. If you don't remove the spent blooms, the plant thinks it has done its job and stops producing. Every evening, I do a quick sweep. Snap off the old flower and the seed pod behind it. This forces the plant to keep making new buds.
2. Watch the Humidity
Hanging baskets are exposed to wind, which dries out the leaves. I mist the foliage every morning in the summer. This helps prevent spider mites, which love dry, dusty conditions.
3. Root Overcrowding (The Hidden Killer)
After about three months, the basket will be root-bound. I learned to check the bottom. If I see a solid wall of roots, it's time to repot. I usually gently tease the root ball apart and plant it in a basket one size up. If you let it stay root-bound, the water will run straight through the sides and not hit the soil.
4. The "Wind Shield" Trick
Wind is the enemy of hanging baskets. It dries them out faster than the sun. I hang mine on a hook that is partially protected by a fence near a wall, but not shaded. This gives me the sun without the constant wind drag.
5. Use Seaweed Extract
Once a month, I water with a liquid seaweed. It strengthens the cell walls, making them more resilient to transplant shock and heat. It’s not a fertilizer; it's a tonic. I’ve noticed a huge difference in the stems – they are sturdier and less brittle.
Why My Hibiscus Died (Photo Series in My Head)
Let me tell you about plant #4. This was the one I almost threw in the towel on.
I bought a beautiful "Painted Lady" hibiscus. Gorgeous fusion of pink and orange. I put it in a plastic hanging pot with a saucer. I thought the saucer would catch excess water. In reality, the saucer sat flat against the bottom, blocking the drainage hole entirely. After three days of watering, the bottom inch of soil was pure sludge.
I took the plant out of the pot. The roots were brown and mushy. They smelled like rotting vegetation. I washed the roots, cut off the dead parts, and repotted them in my new mix. It took another 4 weeks to recover, but it is now blooming.
Lesson: The saucer is a death trap. You have to either remove it after watering or drill a hole in the pot above the saucer level to allow air circulation.
Common Questions from My YouTube Comments & Reddit
Q: Why are my hibiscus leaves turning yellow but the veins are green?
That is a classic sign of iron deficiency (chlorosis), which is often caused by high pH levels in the soil or overwatering. In hanging baskets, the constant flushing of water washes away micronutrients. I fix this by adding a chelated iron supplement to my watering can once every two weeks. Also, make sure your soil pH is slightly acidic (around 6.0-6.5).
Q: Why do my flower buds fall off before they open?
This is super frustrating. It usually means the plant is stressed. The top two causes are:
- Overwatering: The roots are drowning, and the plant aborts flowers to survive.
- Temperature swings: If the night temperature drops too low (below 60°F/15°C) or the day is too hot and dry, they will drop buds.
- Thrips: These tiny insects love to hide in the buds. If the bud looks a bit swelled but drops, cut it open. If you see tiny black or white insects, you need an insecticidal soap.
Q: Can I keep a hibiscus in a hanging basket indoors?
Yes, but you are fighting an uphill battle. You need a grow light. Honestly, unless you have a sunroom, indoors is too dark and dry. I tried it with a standard west-facing window. The plant grew leaves, but never flowered. It also got spider mites because the humidity was too low. If you want indoor, buy a spray bottle and a dedicated grow light, and keep it near a humidifier.
Q: How often should I actually repot my hanging hibiscus?
I repot once a year, usually in spring. The roots will tell you. If they are circling the top of the soil surface, or if the drainage holes are plugged with roots, it’s time. I always do this before putting them outdoors for the summer.
The Final Word on This Journey
Growing hibiscus in hanging baskets is not hard, but it is unforgiving. It punishes laziness. You cannot just stick a plant in a pot and hope for the best.
The true magic lies in mimicking a tropical rainstorm followed by a dry breeze. You need to water deeply, let it drain completely, and leave it alone until the pot feels light. I check the weight of my baskets every morning. It’s become second nature.
I am now on plant #7. Plant #5 and #6 are also thriving, all thanks to the lessons learned from the casualties. The biggest change I made was ditching the regular store-bought potting mix and the solid plastic pot. Once I switched to the coarse, bark-heavy mix and the wire basket, my success rate went from 10% to 90%.
The sight of a fully bloomed basket swinging in the sun, with honeybees buzzing around, is worth the learning curve. The secret isn't a green thumb. It's a gritty, well-drained pot and a finger that knows when to back off the watering can.





