 bluename
Bringing Home a Big Box Store Hibiscus: My Two-Week Acclimation Game Plan
So, you just bought a lush, blooming hibiscus from the grocery store or a big box nursery. It looks perfect. Give it two weeks, and I promise you, it will look like a stick with sad, yellow leaves if you aren't careful. The real trick isn't about watering or feeding; it's about acclimation. The plant has lived its entire life in a climate-controlled greenhouse with perfect light. Your porch or living room is a shock to its system. In the first 100 words, here is the direct answer: Place your store-bought hibiscus in bright, indirect light for the first 5 days. Do not repot it. Do not fertilize it. Water it only when the top inch of soil is dry. Then, gradually introduce it to morning sun (2 hours) in week two. This prevents leaf drop and transplant shock. I learned this the hard way after killing three plants in a row.
I’ve been growing hibiscus for years now. I’m not a botanist, just a guy who loves big, saucer-sized blooms. But I have killed more plants than I care to admit. Specifically, I’ve massacred several store-bought hibiscus plants. The issue was never the plant itself. It was my aggressive "rescuing" routine. I used to think they needed immediate help. I was wrong.
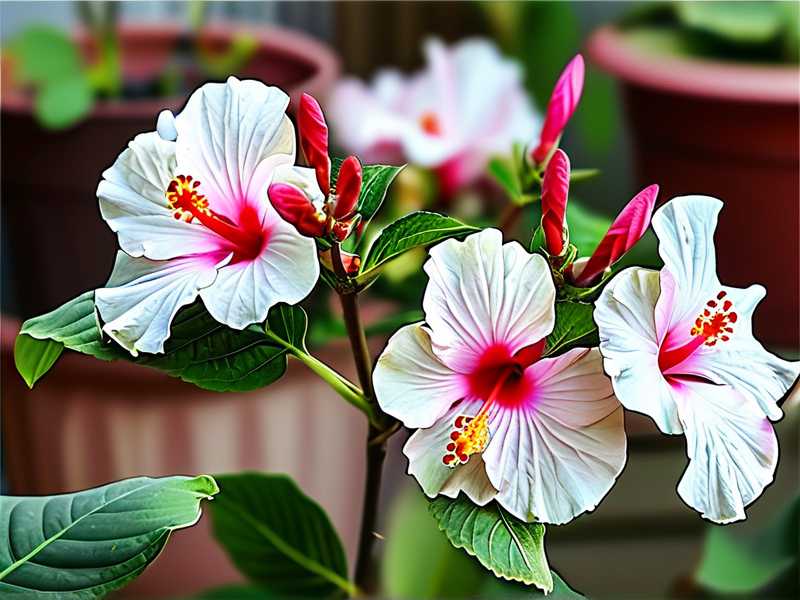
The transition from a perfectly controlled nursery to your home is brutal. I see it all the time in gardening forums. People post photos of their new hibiscus, and a week later, they are posting again asking why all the buds fell off. The answer is always stress. Let’s break down exactly how I handle this delicate period, step-by-step, based on my own messy experiences.
The Two-Week Survival Schedule I Swear By
I don't treat this like a science experiment anymore. I treat it like a recovery protocol. Here is my exact, timed plan for the first 14 days after I bring a new hibiscus home.
Days 1-3: The Isolation Ward First thing I do is inspect the plant thoroughly. I look under the leaves for pests. Big box stores are notorious for spider mites. If I see webbing or tiny dots, I take it to the sink and give it a strong spray of water, focusing on the undersides of the leaves. This knocks off the majority of the bugs without chemicals.
Then, I place the plant in a quarantine zone. For me, that’s a corner of my patio that gets filtered shade. It’s away from my other established plants. I don't want to spread any hidden bugs. I leave it in the plastic nursery pot. I know it looks ugly, but it’s perfect for now. I check the soil moisture with my finger. If it feels damp, I do nothing. If it feels bone dry, I water it deeply. That’s it. I don’t touch it again for the day.
Days 4-7: The Light Adjustment This is where I used to mess up. I’d think, "Hibiscus loves sun!" and I’d throw it into full blazing afternoon sun on day one. The leaves would scorch and curl up like potato chips. Now, I force myself to be patient.
By day four, I start moving the pot into the early morning sun. We get sun from about 7 AM to 9 AM that is gentle. I let it sit there for just one hour. Then I move it back to the shade. I do this for three consecutive days. I’m looking at the leaves to see if they perk up or wilt. Usually, they stay stable. This slow introduction helps the plant build up the waxy cuticle on its leaves to resist sunburn.
Days 8-14: The Big Move (or Big Pot) Now comes the tricky part. Once the plant is handling the morning sun like a champ, I decide on its final resting place. If I’m keeping it in a pot, I might repot it. But honestly, I rarely repot immediately. Store-bought hibiscus are often root-bound and flowering hard. Repotting stresses them out.
Here is my secret: I pot-up, but I don't disturb the roots. I take the plant out of the plastic liner carefully. I put it into a slightly larger decorative pot. I just backfill the sides with fresh, well-draining potting mix. I do not tear the roots. This minimizes shock. If I’m planting it in the ground, I dig a hole twice the size of the root ball, but I only plant it when the temperatures are stable and I’m ready to water daily. For the first week in the ground, I use a shade cloth to protect it from the harshest afternoon rays.
The 3 Fatal Mistakes That Kill 90% of New Hibiscus Plants
I have made every single mistake in the book. But these three are the absolute killers for store-bought plants.
Mistake #1: Overwatering (The #1 Killer) Let’s get this straight. 90% of indoor plants die from overwatering, and hibiscus are no exception. When you buy a plant, the soil in the nursery pot is often a dense, peat-based mix. It holds water like a sponge. When I first started, I’d water mine every single day because the top of the soil looked dry. This led to root rot. The plant would look thirsty, but actually, the roots were drowning and couldn't uptake water.
The fix? I wait. I stick my finger two inches deep into the soil. If I feel moisture, I close the watering can. I wait another day. A hibiscus will droop dramatically when it's truly thirsty, but by then, you’ve waited a bit too long. The sweet spot is watering when the soil feels just barely damp at the top but not bone dry. I usually end up watering every 3-4 days in the spring, not every day.
Mistake #2: Sunlight Miscalculation This goes both ways. Too much sun scorches them; too little sun makes them drop buds.
I remember I bought a beautiful double-petal hibiscus. I placed it on my south-facing balcony thinking it needed max sun. Within 48 hours, the edges of all the leaves turned brown and crispy. It was sunburn. The plant was used to diffused greenhouse light. Conversely, I once put one in a dark corner of my bedroom to "nurse it back to health." It dropped every single unopened bud within a week. Lack of light signals the plant to abort its flowers to save energy.
You need to find the "Goldilocks" zone. Morning sun is best. That means a spot that gets direct sun before noon, and then dappled shade or indirect light for the rest of the day. In my yard, that’s the east side of my house. If you live in an apartment, an east-facing window is perfect. South or west windows are too harsh unless you have sheer curtains.
Mistake #3: Using the Wrong Pot The pot matters more than you think. Remember that dense nursery soil? If you put that in a non-porous ceramic pot with no drainage, you are creating a swamp. I killed my second hibiscus this way.
I transferred my new plant straight into a beautiful glazed blue pot. There was no drainage hole (I know, rookie mistake). I watered, and the water pooled at the bottom. The roots sat in water overnight. The next day, the leaves were yellow and drooping.
My rule now is simple: Plastic nursery pot goes into a decorative sleeve, OR I pot it into a terracotta pot with a massive drainage hole. If you must use a ceramic pot, ensure it has at least one large hole in the bottom, and elevate it on feet so excess water can escape. A pot that is too large is also dangerous. If the pot is bigger than the root ball, the soil stays wet for ages. Only go up 1-2 inches in diameter when potting up.
My Personal "Sudden Death" Story and How I Recovered
I want to share a specific incident because it highlights the fragility perfectly. I bought a gorgeous coral-colored hibiscus from a local hardware store last June. It was loaded with buds. I was so excited.
I brought it home and immediately repotted it into a huge urn I had. I used regular garden soil from my backyard. Big mistake. I also placed it right next to my air conditioner unit on the porch.
Within a week, the leaves turned yellow and fell off. The buds dropped. The stem started turning black at the base. That was stem rot. I panicked. I tried to save it by cutting it back, but it was too late.
The issue wasn't just the pot. It was the airflow. The AC unit was blowing cold, dry air on it constantly. Hibiscus hates cold drafts. I realized my environment was the problem. After that, I created a "wind break" using a larger pot and moved the plant away from the AC vent. I also switched to a gritty, cactus-like mix for my humidity-loving plants (which worked wonders).
If you see black spots on the stem, that is fungal. You have to act fast. Cut the stem back to green healthy wood, and stop watering immediately. Let the soil dry out completely. Usually, if caught early, the plant will push out new growth from the base. But if it has spread to the main trunk, it’s usually a goner. I’ve accepted that sometimes you just lose the battle.
The "Greenhouse Shock" and Why They Look So Wilted
I had a friend ask me why her new hibiscus looked like it was dying on day one even though she watered it. That’s the classic "greenhouse shock" look.
Plants grown by commercial nurseries are often treated with growth regulators to keep them compact. They also have the perfect humidity levels. When you take that plant into your dry living room, the leaves lose water faster than the roots can absorb it. This is called transplant shock.
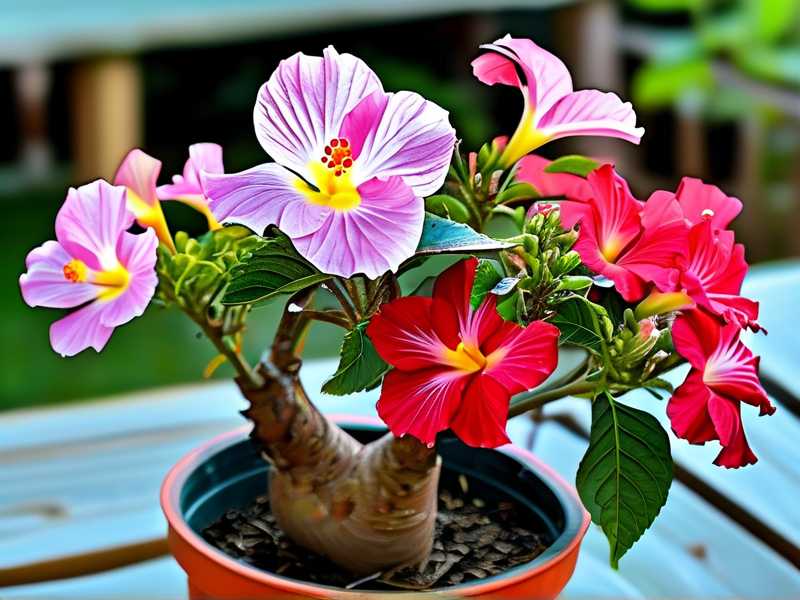
The leaves don't always turn yellow. Sometimes, they just look flat and sad. They lose their shine. This is normal for the first few days. The plant is essentially panicking.
Here is what I do to combat this specific issue. I mist the leaves daily, especially in the evening. I know some people say misting causes fungal issues, but in my dry climate, it helps a lot. It raises the immediate humidity around the plant. I also avoid placing them near heating vents or radiators. The dry heat is toxic to them.
Pruning: To Cut or Not to Cut?
A lot of people think they need to prune a new hibiscus immediately to shape it. I say wait. The plant is already stressed. Pruning removes leaves that the plant needs for photosynthesis to recover. I never prune a new store-bought hibiscus until it has shown vigorous new growth. This usually takes about 3-4 weeks.
Once I see new green shoots, I will trim away any dead or crossed branches. That is the time for shaping. But in the first two weeks? Leave the scissors in the drawer. It's too much stress.
When to Feed (And When to Hold Off)
The store-bought soil is usually loaded with slow-release fertilizer. If you fertilize right away, you can burn the roots. I absolutely do not fertilize for at least the first month. The plant is in survival mode. It isn't focused on blooming. It is focused on staying alive.
After about four weeks, if I see new root growth or new leaves, I will start with a half-strength liquid fertilizer high in potassium, like a tomato food. This encourages blooms rather than just foliage. But I always err on the side of caution. More plants are killed by over-fertilizing than under-fertilizing in the first few months. A mild fertilizer every two weeks is plenty for container plants.
The Bud Drop Dilemma
This is the most heartbreaking part for me. You bring the plant home with 20 buds, and within 3 days, 15 have fallen off. It’s heartbreaking.
Bud drop is almost always an environmental issue. It’s not a disease. It happens when there is a sudden shift in temperature or light. If you move the plant from a dark car to a bright porch, or if the night temperatures are dropping below 60°F (15°C), the plant gets the signal to stop supporting the flowers.
I avoid bud drop by keeping the plant in a sheltered, stable location. I don't move it around. I pick a spot on day one and stick with it for the first two weeks. I also make sure the soil isn't staying soaking wet. Cold, wet roots are a death sentence for buds. If you lose the buds, don't panic. The plant will usually re-bloom in about 4-6 weeks once it settles into its new home. I just cut my losses and wait.
Expert Validation for My Methods
I know my way works because I’ve tested it. But I also like to back it up with real science. The RHS (Royal Horticultural Society) states that container-grown plants should be hardened off gradually before being placed outside permanently. This isn't just for veggie seedlings. It applies to hibiscus too. My slow "morning sun" trick is exactly that principle in action.
I also look at AHS (American Horticultural Society) resources, which emphasize understanding your local microclimate. That AC vent mistake I made? That was a microclimate failure. They suggest observing your garden for a full day to map out sunny spots and shady spots before planting. I do this now for every single plant I buy.
Final Drop in the Bucket
Getting a hibiscus from a store to your garden is a marathon, not a sprint. Be boring. Be lazy. The less you do in the first two weeks, the better the plant will do. Don't overwater. Don't feed. Give it morning sun and safe harbor from wind and AC vents. I honestly believe that the key to a successful hibiscus is just resisting the urge to "fix" things. They are tougher than we think; they just need a gentle adjustment period.
Frequently Asked Questions
Q: Should I cut off the flowers that are dying when I bring it home? A: Yes, I gently snap off spent blooms and yellowing buds. But if the bud is just closed, leave it. Sometimes they open fine. Removing the dead stuff redirects energy to the remaining healthy buds and new leaf growth. It also prevents botrytis (a gray mold) from spreading on decaying petals.
Q: The leaves are turning yellow, but the soil is wet. What do I do? A: Stop watering immediately. Let the entire root ball dry out completely. It sounds counterintuitive, but wet soil with yellow leaves means root rot. You might need to slide the plant out of the pot to check the roots. They should be white or cream. If they are brown and mushy, you have rot. Get rid of the wet soil and replace it with fresh, dry potting mix.
Q: Is it safe to plant it in the ground right away? A: I’d say wait a week. Let it recover from the car ride and the store stress first. Keep it in the pot near the planting hole. Water it lightly. After 7-10 days, you can transplant it into the ground, but only in the early morning or late evening to avoid heat shock. Water it deeply after planting to remove air pockets.





